The Tumbling Composter Assembly
After a few years of having this used tumbling composter sitting in the yard on the ground, I finally took the time to start a garden revamp. Along with cutting down overgrown trees I moved the composter that we had sitting near the entrance to the garden, over next to the Kennel Greenhouse. I chose this location as the bulk of the raised beds are around the back of the garden and having the composter close to here makes things easier to move compost to the beds. Now one of the things that I wanted to do was make a slab with which to mount the composter onto so it can actually be used as intended versus just dumping trash in there and never being able to mix the stuff up properly. To do this I needed a wood frame set up with which to pour concrete into. After pouring a slab for a whole house generator that we're also working on, I took the wood frame from that slab and decided to use it for this slab, after shrinking it down some since it doesn't need to be as large as the genny slab.
After pouring the slab I made a set of templates using some surplus pallet boards screwed together at 90 degree angles to coincide with the feet on the legs of the composter. They too are at 90 degree angles, with two bolt holes at the ends for mounting. I took the templates and measured the spacing between the legs that would be present to ensure the legs are vertical when the composter is mounted. After doing this I determined that the two sets of templates could be screwed together as the bolt spacing would be the same as the spacing on the legs of the composter. I drilled the holes in the boards and test fitted the template to the legs of the composter to make sure all was well then moved on to mixing and pouring concrete. I ended up using five bags of concrete for the whole slab before I could smooth the top properly. Afterward I laid the templates on the top of the concrete, pushing four long bolts through the holes in the templates and into the concrete to the gravel. I would let this slab sit for a couple of days to ensure the concrete is cured down to the core so I don't risk pulling up the bolts due to the concrete still being soft in the middle.
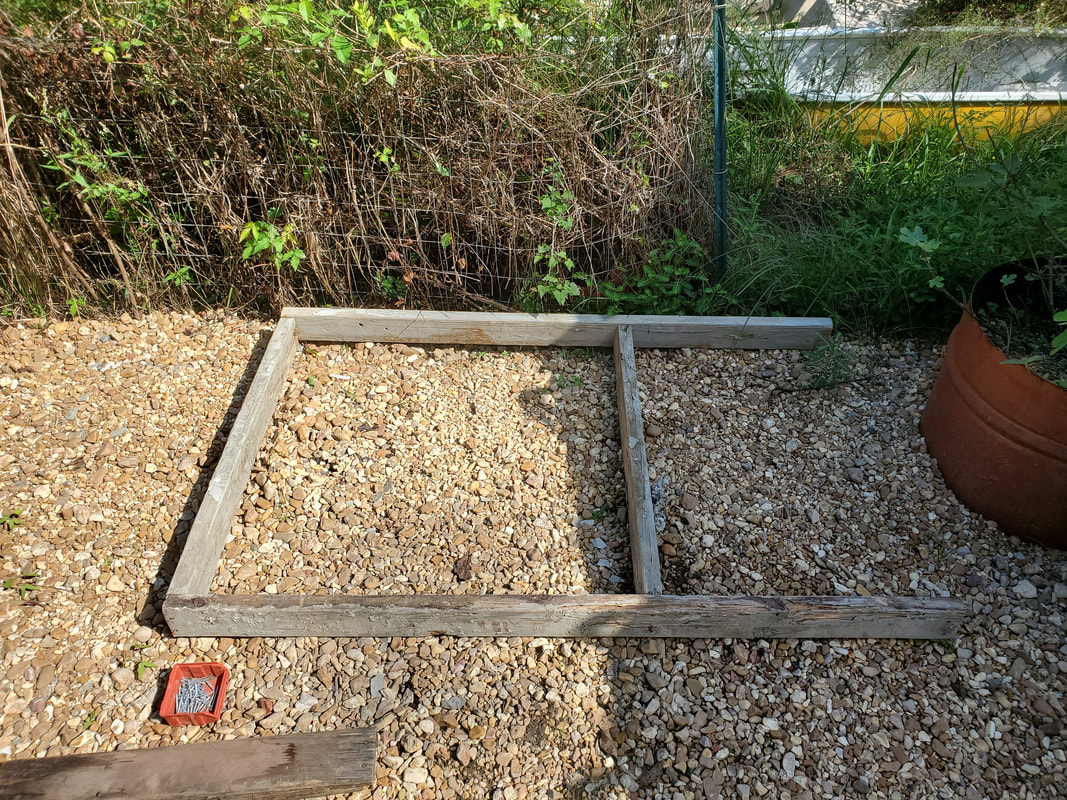
Slab frame from genny slab, with board moved in to the new dimensions of the composter slab. The excess wood will be cut off later.
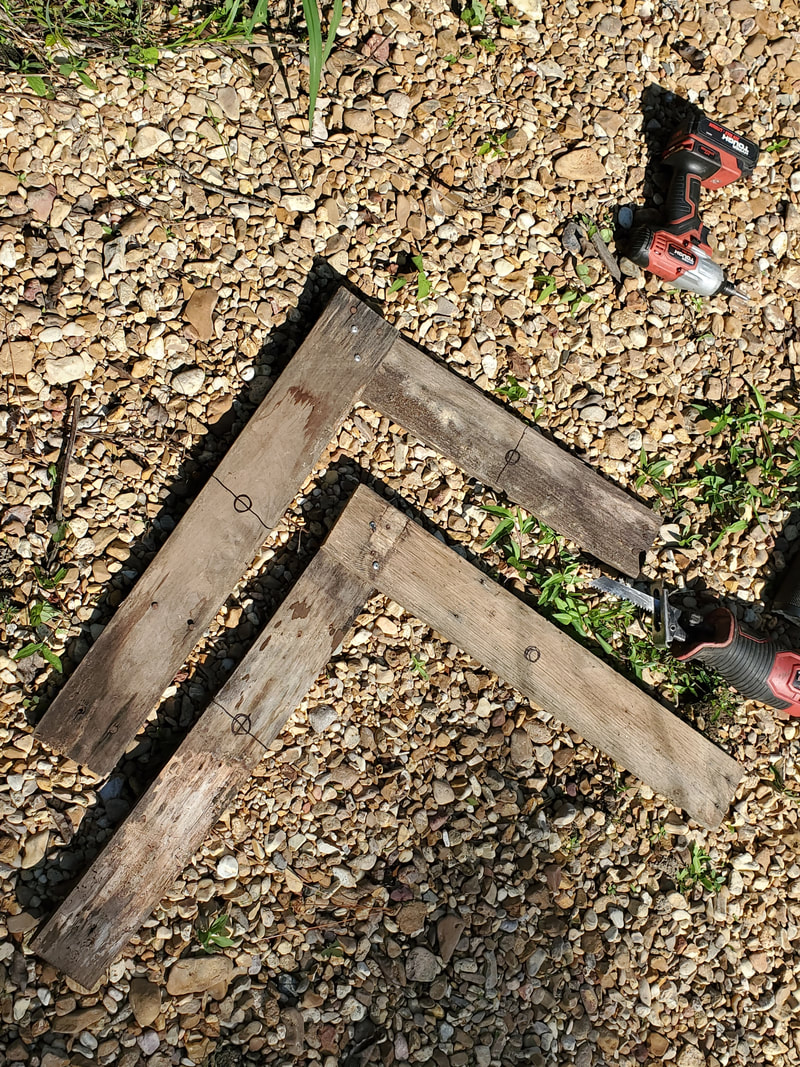
Two templates made from pallet boards at 90 degree angles with holes to be drilled where markings are. These templates coincide with the feet on the composter legs.
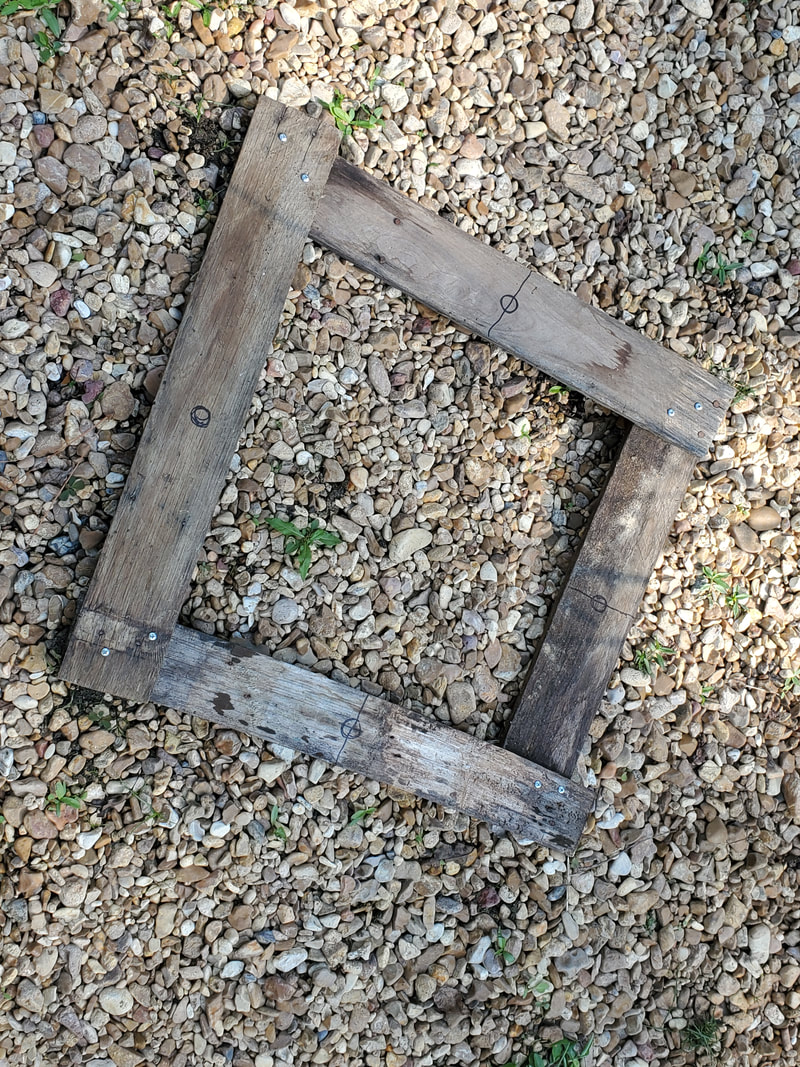
The spacing on the composter's legs had it right enough to allow me to screw the two templates together to form a diamond that would be used to place the bolts in the concrete that would hold the composter to the top of the slab.
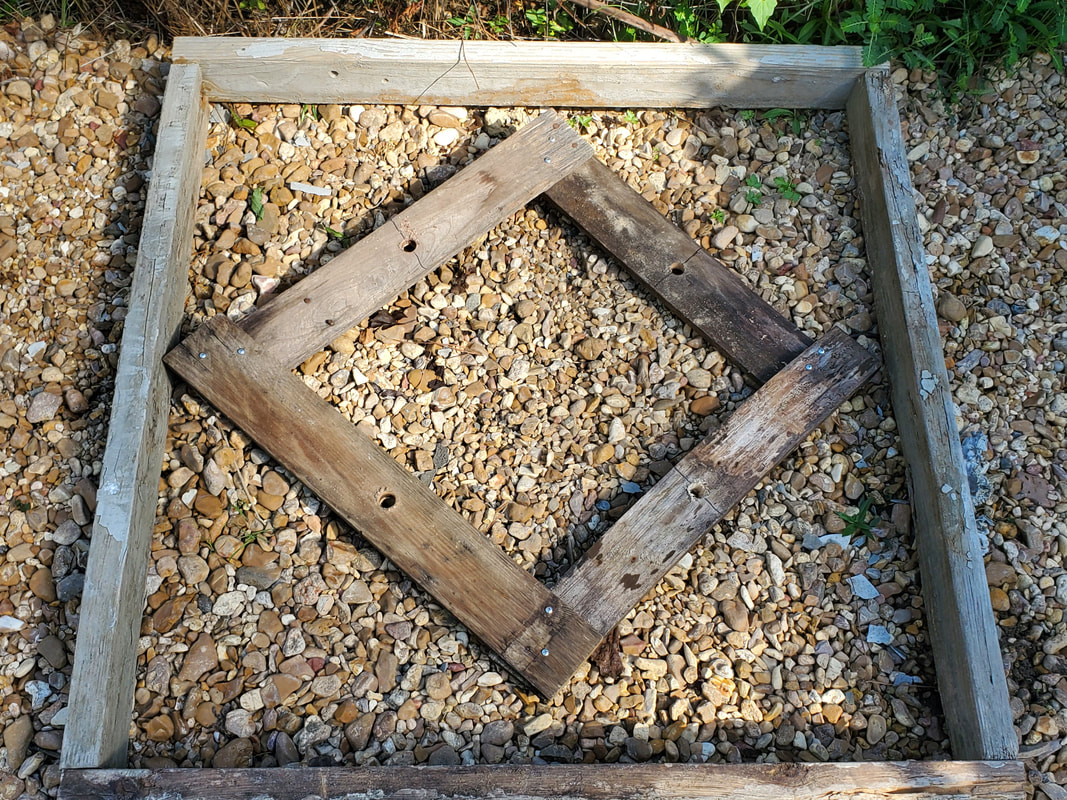
Template test fitted in the slab prior to pouring concrete. Since slab frame is situated on an already graveled area of the garden, paving gravel was unnecessary.
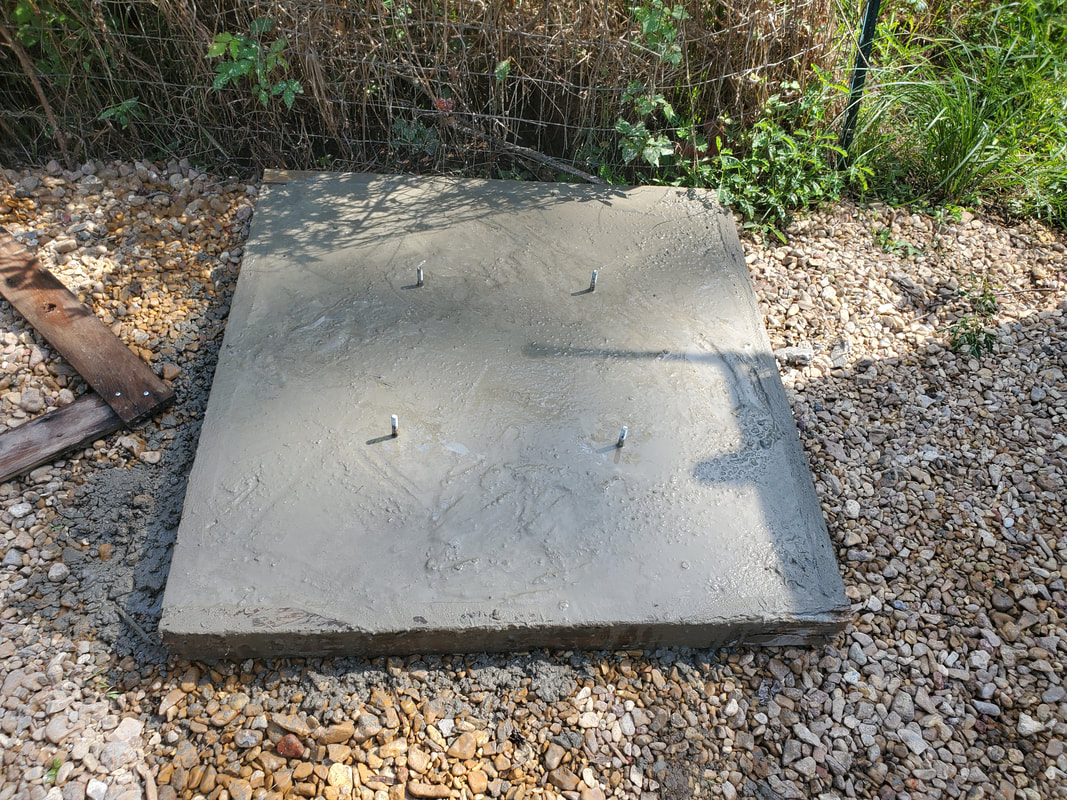
Slab poured and smoothed out on top with a long board. Note the four long bolts that were pressed into the concrete in line with the template. I'll let the slab cure for a couple days before mounting the composter using nuts and washers.
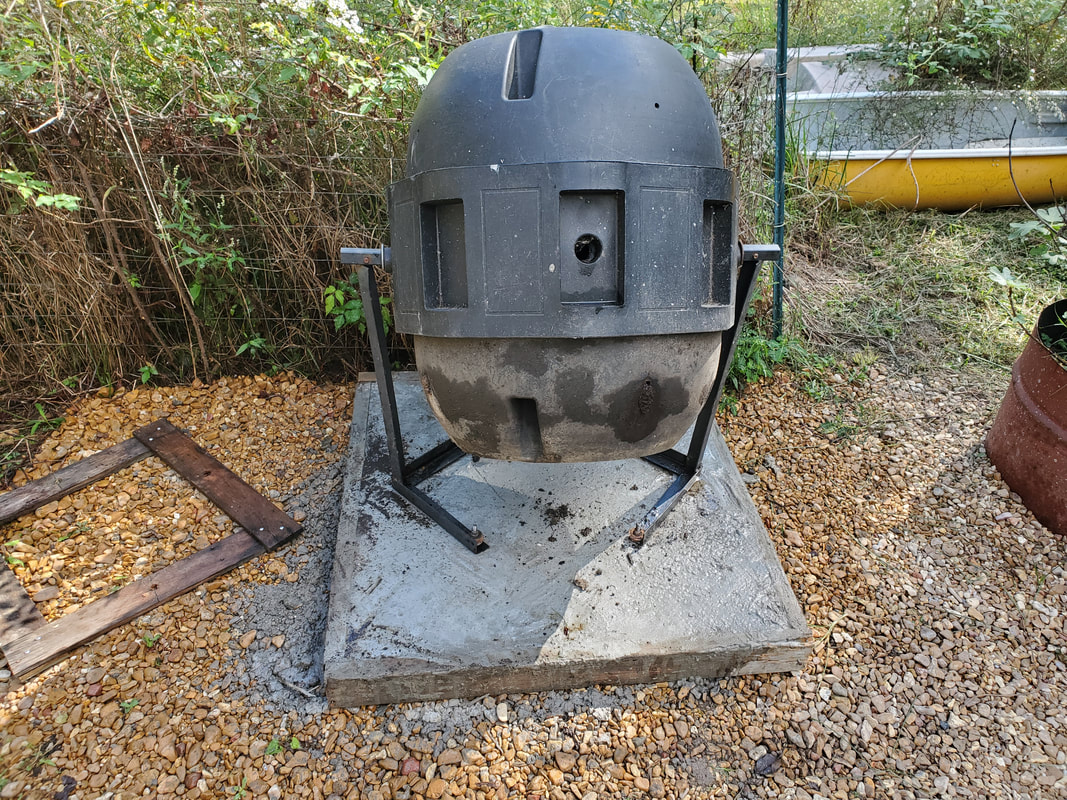
The composter mounted to the slab as intended. The bolts that were sunk upside down in the wet concrete served as anchors to set the legs of the composter onto. Due to the excess length on the bolts, washers had to be used as spacers to cover the excess shaft of the bolts prior to adding the nuts. These types of bolts never have a long thread cut down the bolt shaft. Since these were the only bolts we had on had we had to work with what we had. Things still worked out fine and the composter is secured to the slab and able to be tumbled as intended.
