THE NEW GARDEN MICRO IRRIGATION SYSTEM
With the need for the ability to water the new raised beds I had to think of something. There were a few ideas. A while back I had thought about doing a setup for each raised bed (or set of raised beds) that would utilize some short lengths of drip irrigation hose hooked up to a hopper of some sort that would gravity feed down to the hoses. A water line would have to run to the beds an would've fed to a float valve that would automatically open up when the water level gets too low. This idea was all good but it would require a lot of extra plumbing that I wasn't trying to do. But there was a new thing I saw that was very intriguing.
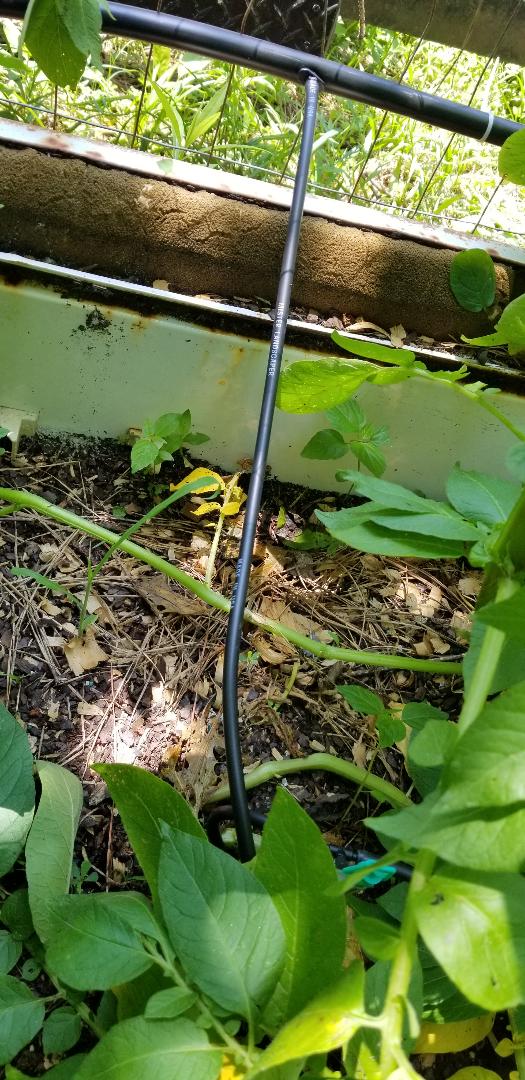
To this day I don't remember where I first saw this idea but there is this new micro irrigation system out there that is completely plug and play. There are kits available that have all the hardware necessary to make the hookups. This system uses a variety of sprayers and drip irrigation nozzles that plug to 1/4" poly hose that attaches to stakes that anchor in the dirt. The 1/4" hose also uses a variety of fittings: tees, couplings, etc, to interconnect the lines feeding sprinklers throughout the garden. For extended range there is 1/2" poly hose that allows a larger volume of water to remote sites in the garden before tapping the 1/4" line to feed the sprinklers. PVC adapters allow for the 1/2" hose to be linked to a PVC water line with ease.
I had to check this shit out. After going to the hardware store, I found that they had the kits and the individual components. The kits really didn't help me, they either didn't have enough of the stuff I need or they had some things that I didn't need. So the obvious route was to piece together a system. After looking at what I would need, stakes, sprinklers, 1/4" hose, 1/2" PVC adapters and even a four way 1/4" adapter, I pieced together my own system for a local area of raised beds I had set up.
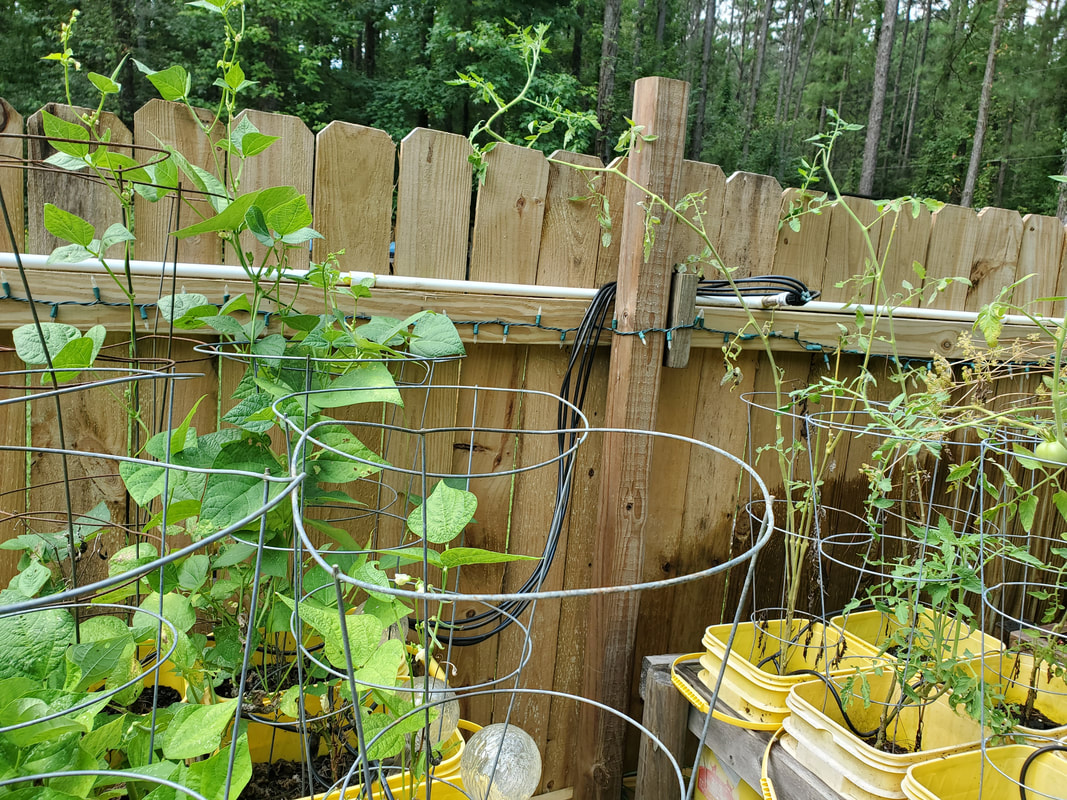
I have two old generation half drum raised beds, two washer drum beds, one shop fan shell bed, two new generation half drum raised beds and a raised bucket bed with eight buckets. I got a four way adapter, some 1/4" hose, several stakes, several tees, full circle sprayers, and some dripper stakes. The dripper stakes are for the bucket bed and the sprayers go for everything else.
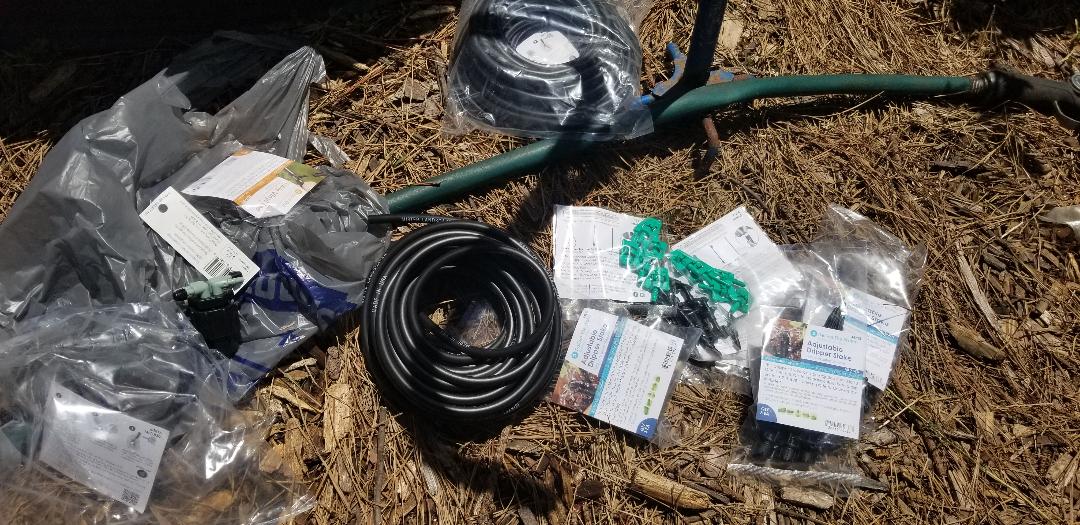
Hardware gathered up for the build
I started with the four way adapter. I routed one of the ports to the bucket bed, another to the two new gen half drum raised beds, the third to the fan shell and two washer drum beds and the last port to the two old gen half drum beds. I routed enough 1/4" poly hose to get to all the points of entry along the corridor of beds. With the hoses in place I put the stakes where needed in the beds, along with the dripper stakes. With the tees I was able to get the connections made pretty fast where all the sprayers and dripper stakes had their hose feeds set up properly. With the hoses set up and sprayers hooked up I moved on to the main water line feed going to the four way adapter.

Four way adapter with hoses being hooked up.

Sprayer nozzle and stake in old gen half drum bed.

Fan shell bed with irrigation apparatus hooked up
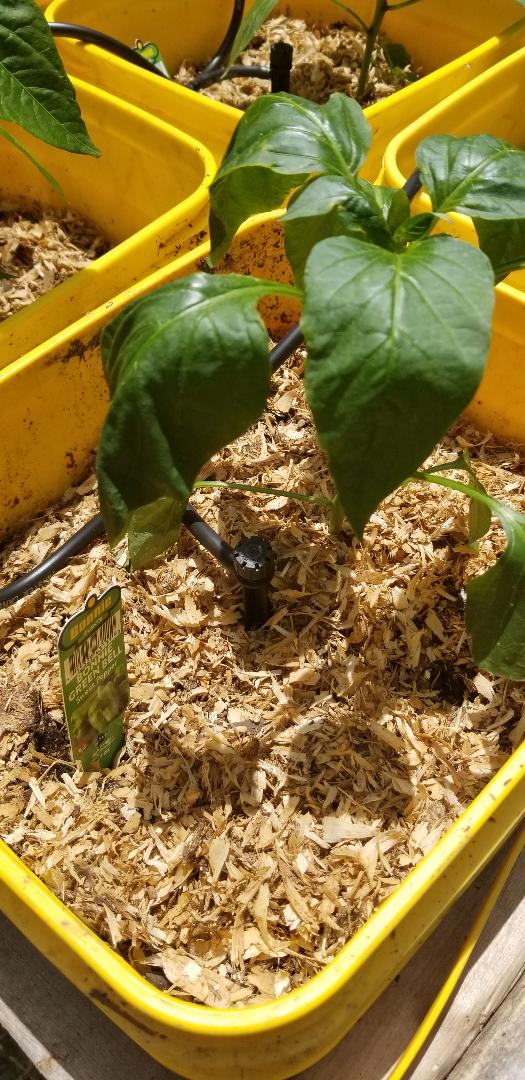
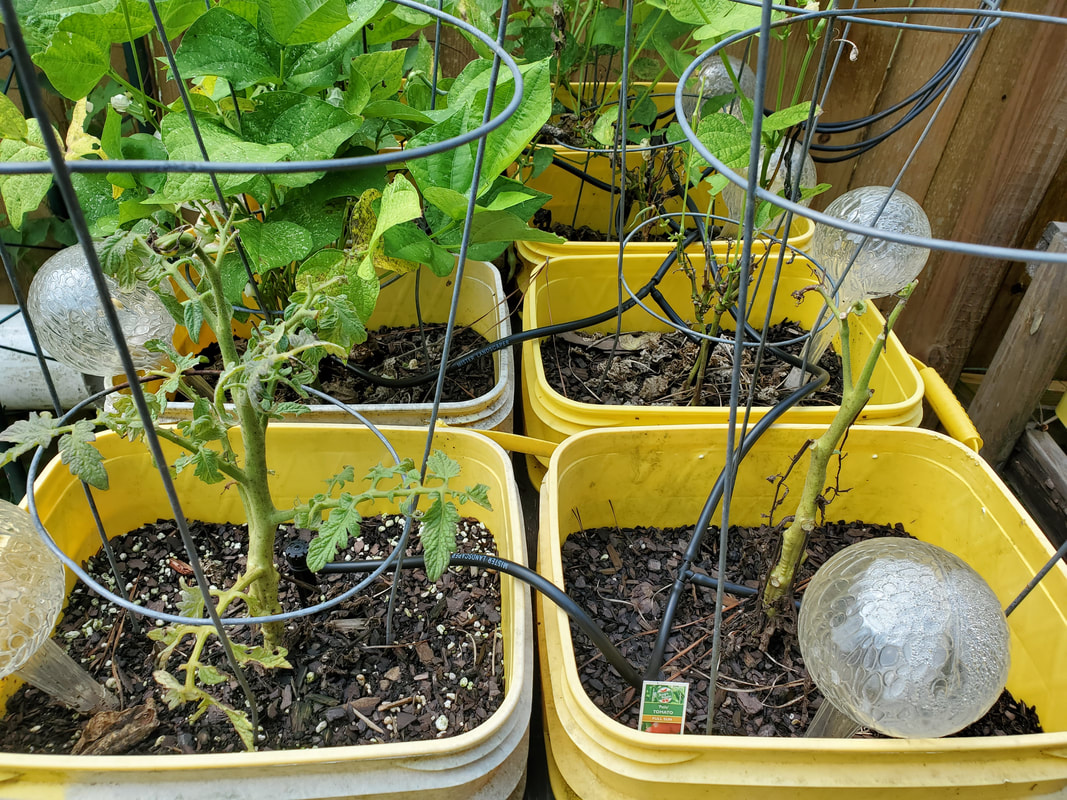
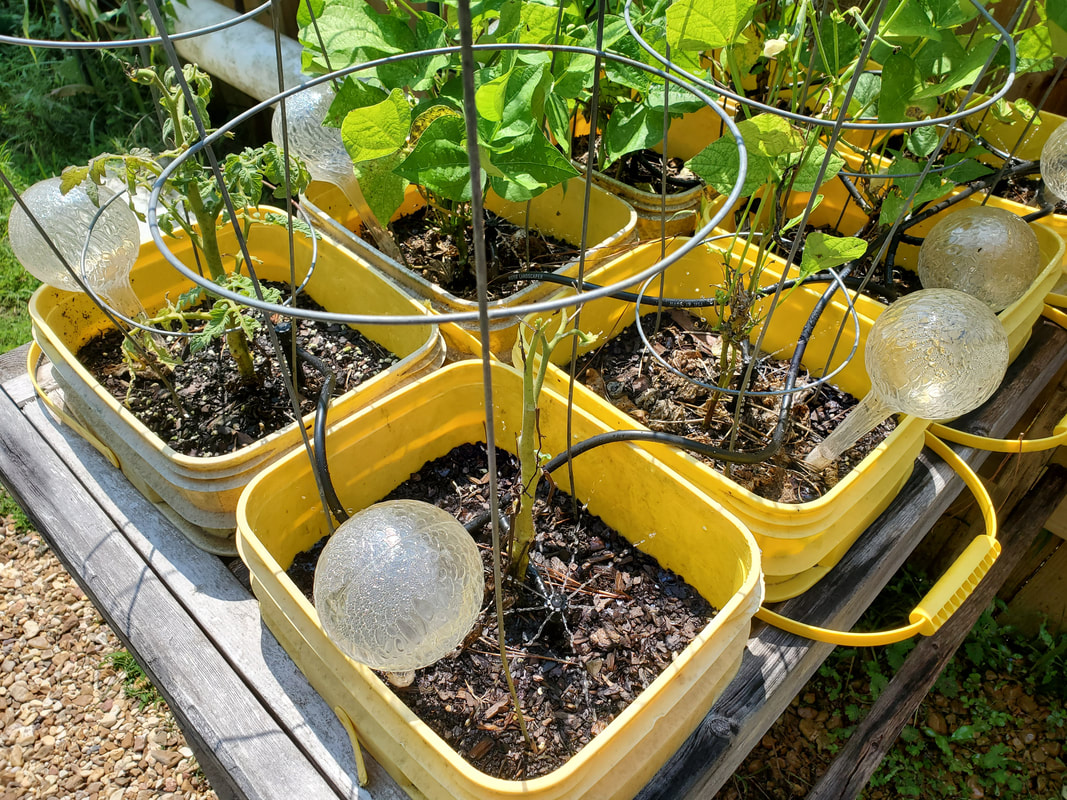
Dripper stake assembly in bucket planter
I had to dig up the ground around the water line running parallel to the garden fence. This water line feeds the water dish in the dog yard and was the obvious choice for feeding the irrigation system here. I cut the line and installed a tee and some pipe going up to the adapter. A standard sprinkler valve was installed in the line and hooked up to the four way adapter. With the complete hookup I was able to test the system with the manual valve on the sprinkler valve. Everything worked perfectly.
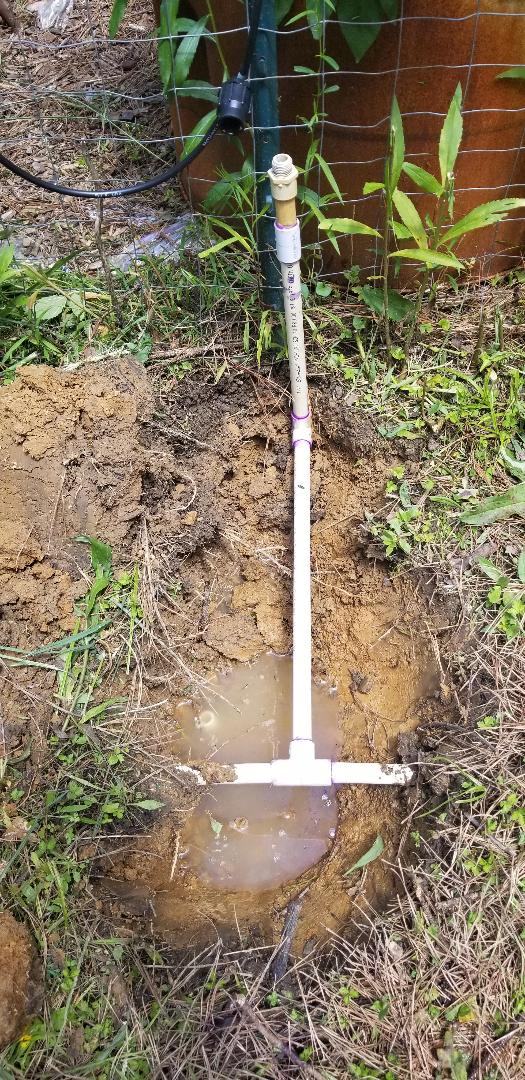
Water line plumbing being hooked up
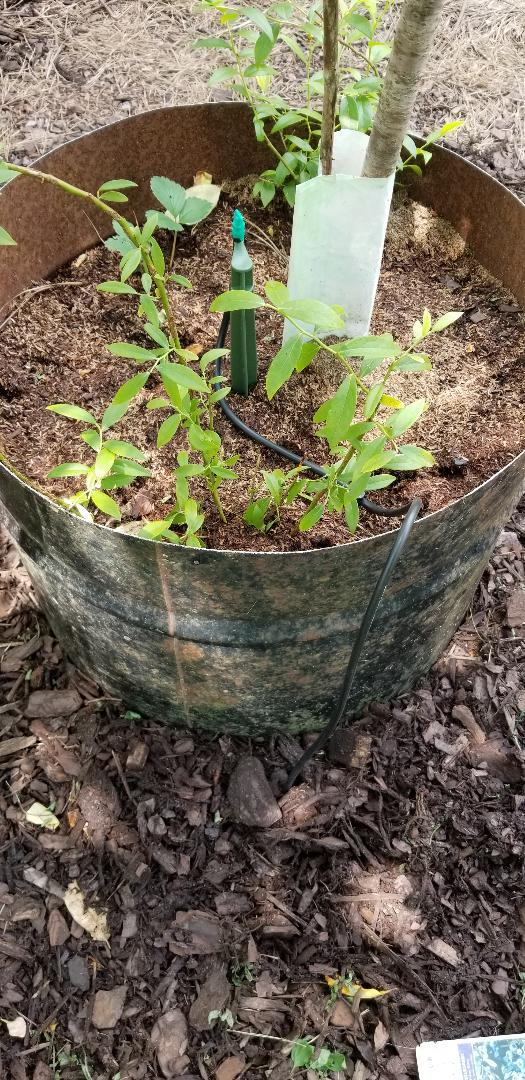
Now I had a whole other area to work on for the next phase of the irrigation system. As with the other one I had to dig up another section of the water line for the hookup. But instead of a four way adapter for routing 1/4" hose, I chose the 1/2" hose. Since the sprayer hookups are going to be farther out I figured that I need to get more water volume out to the target areas. I have an old refrigerator that is serving as a potato bed, four half drum planters with fruit trees planted in them, and an old raised bed with tomatoes planted. To start the hookup I got a 1/2" poly hose tee fitting. This fitting allows one to push the poly hose onto the fittings and screw down caps to fully secure the hoses onto the fitting.

1/2" poly hose tee hooked up with runs of hose and pvc adapter in place.
I made the two hose runs from the tee, one going along the back of the potato bed then the other around to the drum planters. Along with the pvc adapter that pretty much completed that side of the system. On the other end of the poly hoses I had to cap them off. This is where a couple more PVC adapters came in play. I had to make a little fitting assembly that used a thread to smooth coupling and a short piece of PVC pipe and a smooth cap to be threaded to the adapters. With the poly hoses capped off, it was time to start the hookups for the sprinklers.

Poly hose plug assembly hooked up to pvc adapter at end of line going past potato garden.

Drum planter poly hose plug in place.
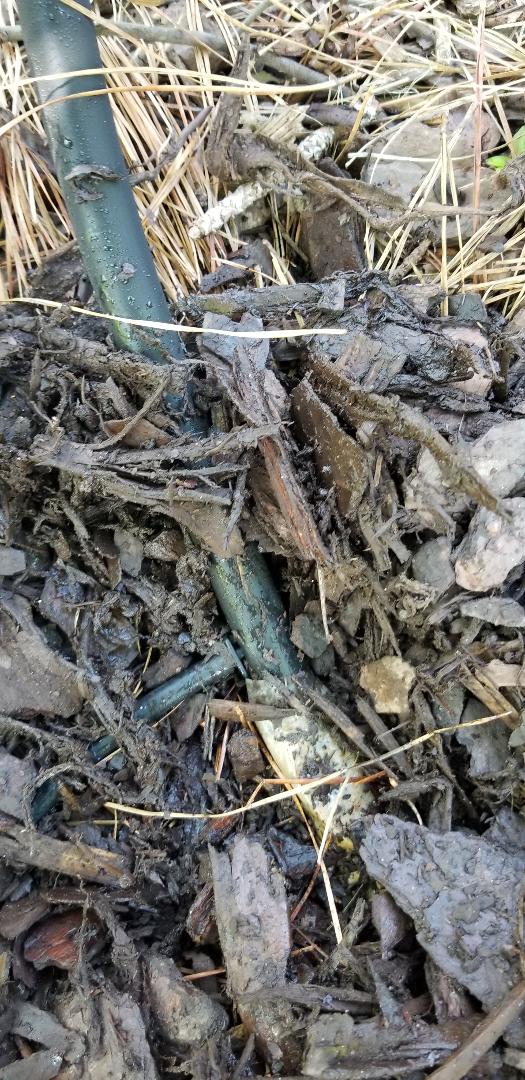
Now here's the cool thing about this micro irrigation shit. On the 1/2" poly hose the hardware offers a tool that is used to prick a hole in the hose for plugging a tee or coupling in place. These fittings have barbed tips that allow for quick insertion and a water tight seal. There are even "goof plugs" for when you don't want to use the hole that you made in the hose. You can plug the hole back up. Well with the tool I started off with a hole prick at the first drum planter. I plugged a 1/4" hose coupling into the hole and ran the first length of 1/4" hose to the first planter, hooking up the sprinkler and tee to the stake then running another length of hose to the next drum and repeating the same until all four drum planters were covered.
Drum planter stake and sprayer in place, note 1/4" hose going down into mulch where it taps into 1/2" hose.
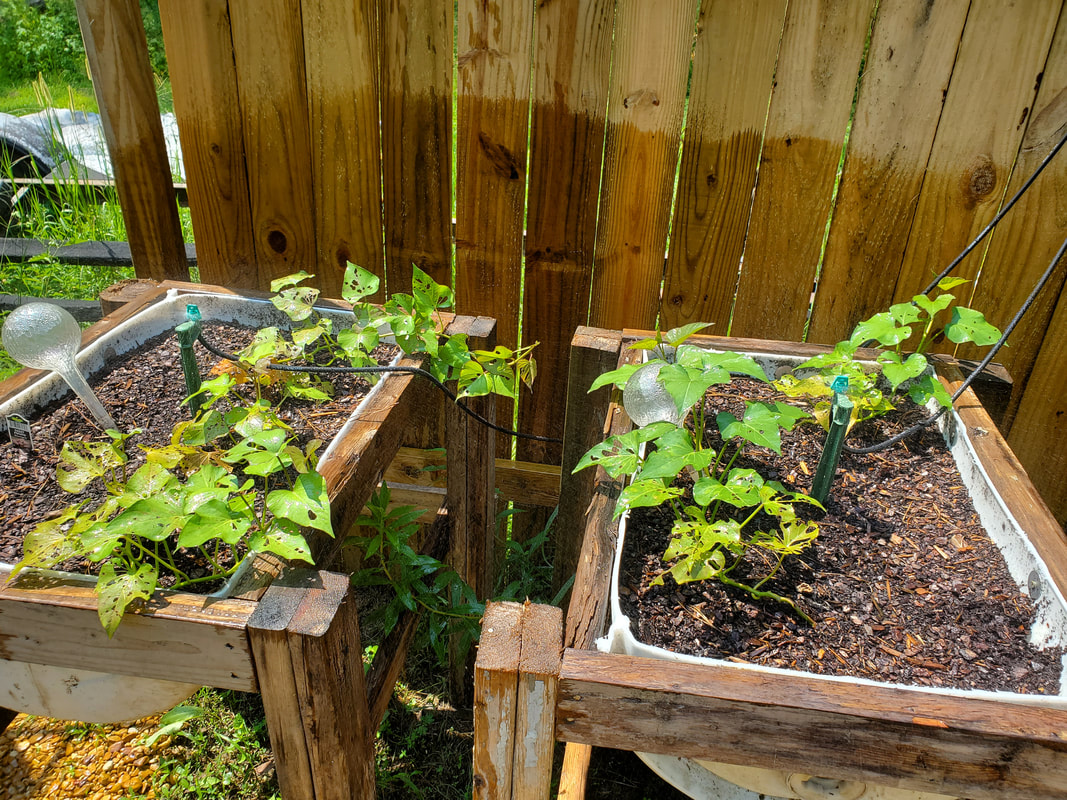
Now for the potato bed. Just like with the drum planters, I poked a hole in the 1/2" hose and ran some 1/4" hose to the tee/stake/sprinkler assemblies in the bed. I used two sprayers for the potato bed.
Hose tap for potato bed sprayers, note green sprayer slightly to the right in the middle of the pic.
With the potato bed covered I moved on to the tomato bed. This time I went to the hose that's feeding the drum planters and tapped it a few feet away from the tee. I ran several feet of 1/4" hose over to the bed and staked two more sprinklers down, hooking them up so they can get fed from the system like the rest.
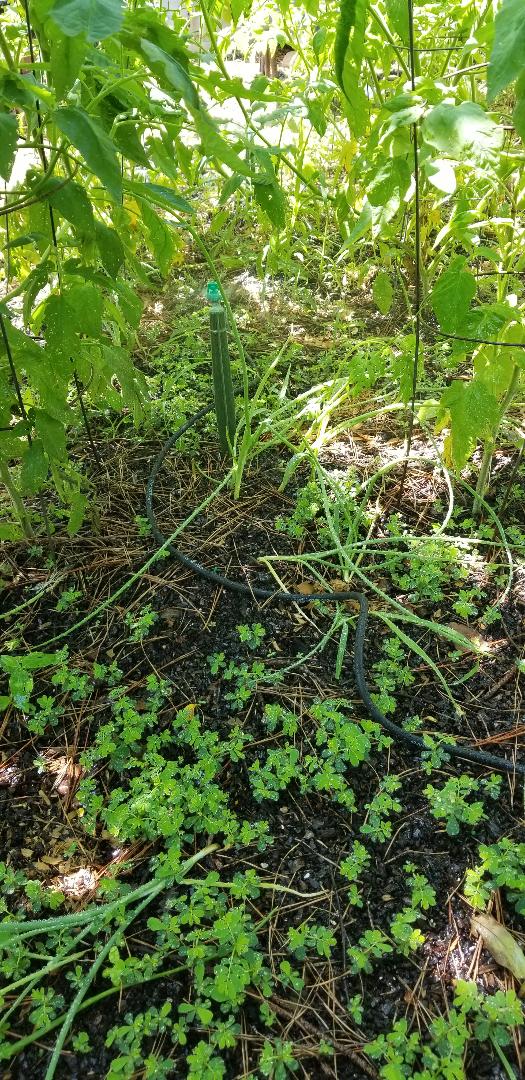
Sprayers staked down in tomato bed, note 1/4" hose running into the foreground to the right.
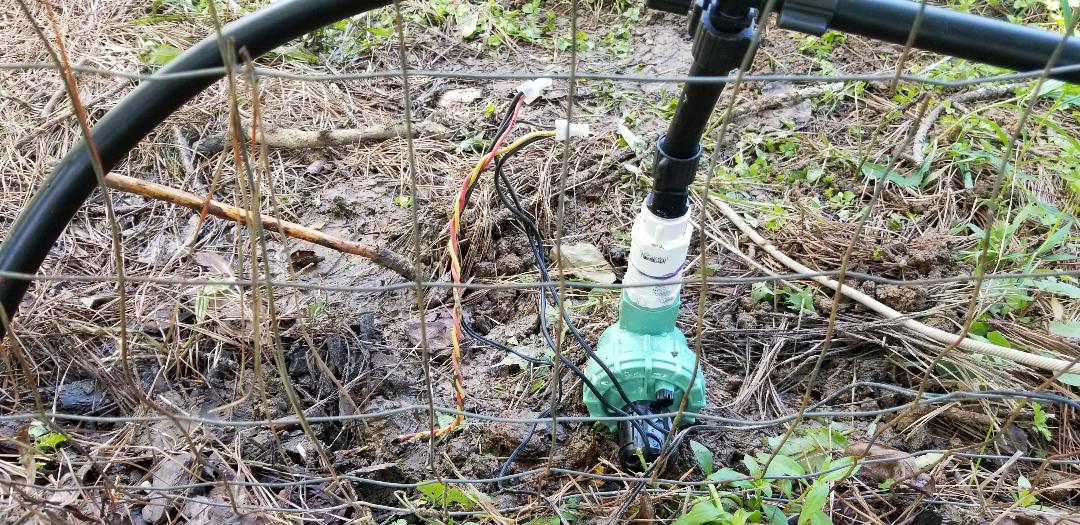
Lastly it was time to hook up the system to the water line. Just like with the first part of the system I used another sprinkler valve. Using my surplus PVC fittings I got another tee and lengths of pipe hooked up with the valve and secured it to the PVC adapter for the system. I cut and trimmed the water line to make the gap that allowed me to glue in the tee in place. With everything glued and secured in place I opened the manual bypass valve to send water into the system, and as with the first half of the system, this part worked perfectly as well.
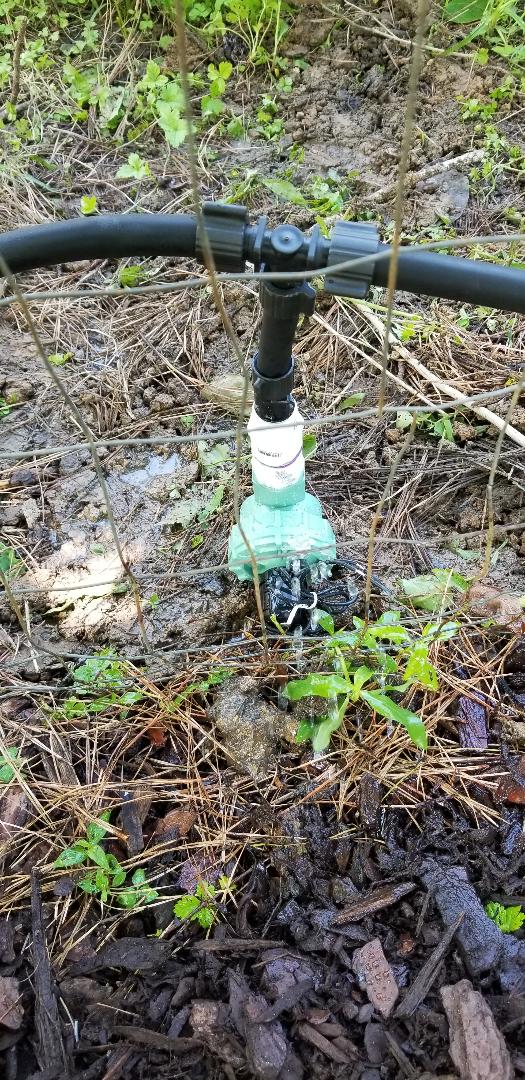
Sprinkler valve assembly hooked up to poly hose adapter/tee.
With everything successfully tested it was time to hook up the wiring for the sprinkler valve solenoids. This involved first hooking up a 2 conductor cable to the first valve. I soldered and heat shrink covered the joints and shallow trenched the cable from the first valve all the way along the garden fence line over to the 2nd sprinkler valve. From here I took the 2 conductor cable, the wires from the 2nd sprinkler valve and the leads to the 24v power supply that powers these sprinkler valves, and crimp capped both sets of connections. With those connections all hooked up it was just about plugging the power supply up.
Conveniently, the hydroponic gardens were right next to where the 2nd sprinkler valve was set up. On one of the garden assemblies I have the power strip and outdoor timer that is used to cycle power on to the pumps for those two hydroponic gardens. Because the power strip still had some open spots, what better way to control the irrigation system than to plug it right up to the same timed system powering the hydroponic gardens? After plugging the power supply up I manually cycled power on the timer and along with the hydroponic pumps coming on, both sprinkler valves kicked on, sending water to all the sprayers and drippers. Everything worked beyond my expectations. Even after checking that night, I found that the raised beds were moist from a recent watering from the evening timing cycle on the timer. The timer kicks on to water everything in the middle morning and in the early evening.

First solenoid power wires going into ground to run over to 2nd solenoid.
Sprinkler valve wiring hooked up to power supply lines and feed to other solenoid, note red/yellow wires going into ground for solenoid feed.
Drum planters getting a test spray down from their irrigation system
|
|
|
|
|
|
|
|
|
|
|
|
|
|
|
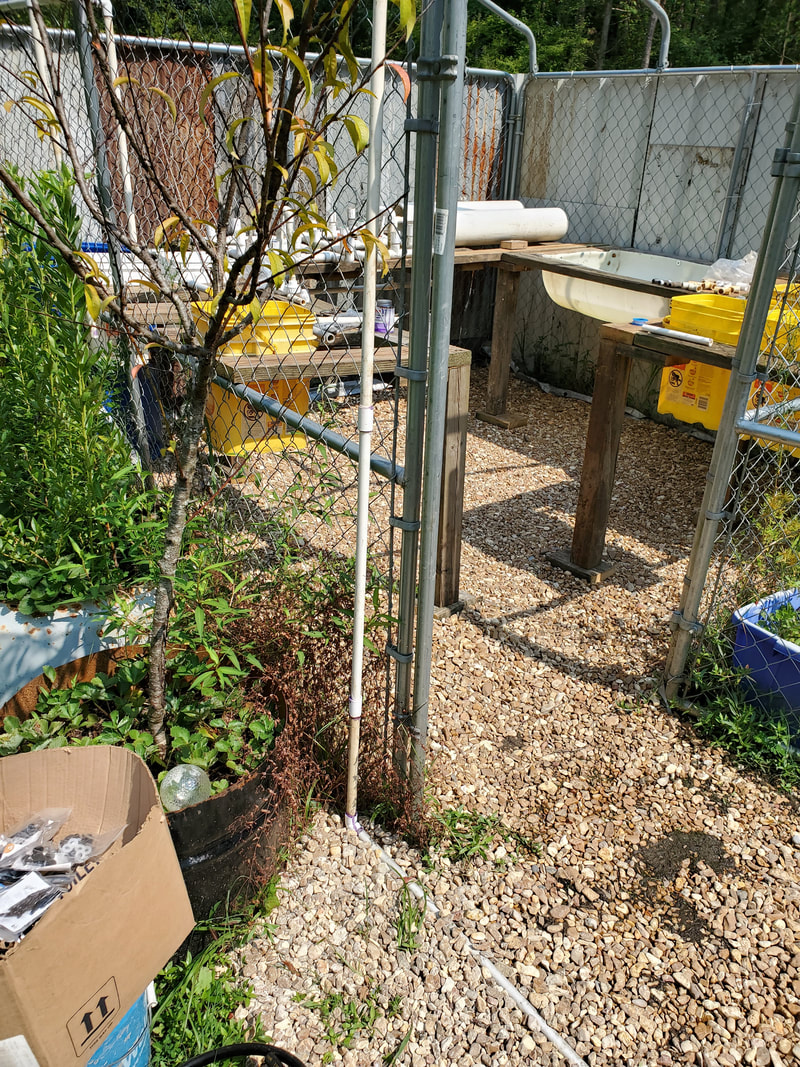
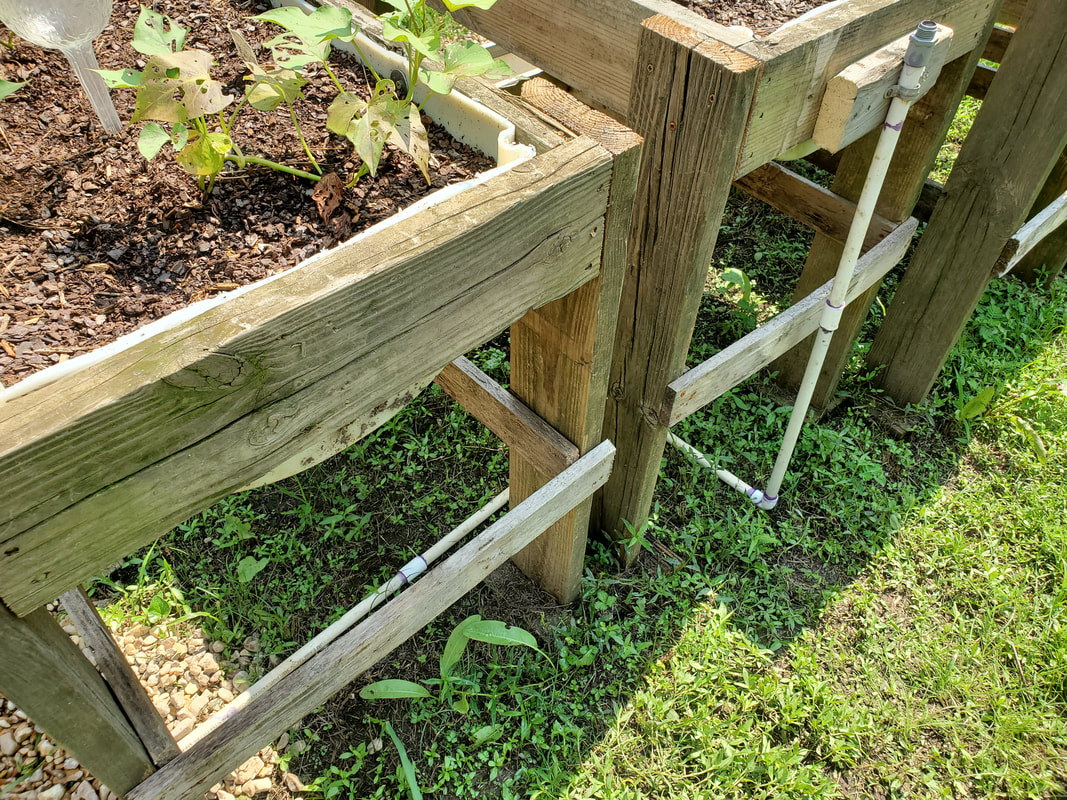
In the second round of work on the garden's micro irrigation system, I started running PVC pipe lines along the fence line of the garden that I had set up to be able to bring water to the farther reaches of the garden, opposite of where the main water line with the sprinkler valve is located. I utilized scrap pipes from the pile of pipes I had on the rack and miscellaneous fittings that I have in my stock to get water lines run. I added four way fittings at different points to be able to get the hoses over to the sprinklers that'll be set up in the added raised beds. At one point after running out of pipe I put off the continued expansion of the water lines but after doing a bunch of work to the Dog Kennel Greenhouse I went ahead and got some more pipe and micro irrigation hardware to run the rest of the water lines I needed to run to get to all the new raised beds and drum planters that I had set up in the recent months. I also accommodated the greenhouse by running spur lines to the inside of the greenhouse to feed those raised beds as well. To accommodate a set of raised beds that are in the middle of the garden, I ran a spur line from the main water line that wraps around the greenhouse that goes to the ground, along the ground in a shallow trench then over to the set of raised beds where it comes up with a junction for the irrigation hoses. Lastly I added some fittings at the sprinkler valve to accommodate the new lines as well as the original four way connector that's feeding the current raised beds at the back of the garden.

Water line routed along the garden fence line which includes going around the greenhouse, which the east wall makes up part of the main fence line.
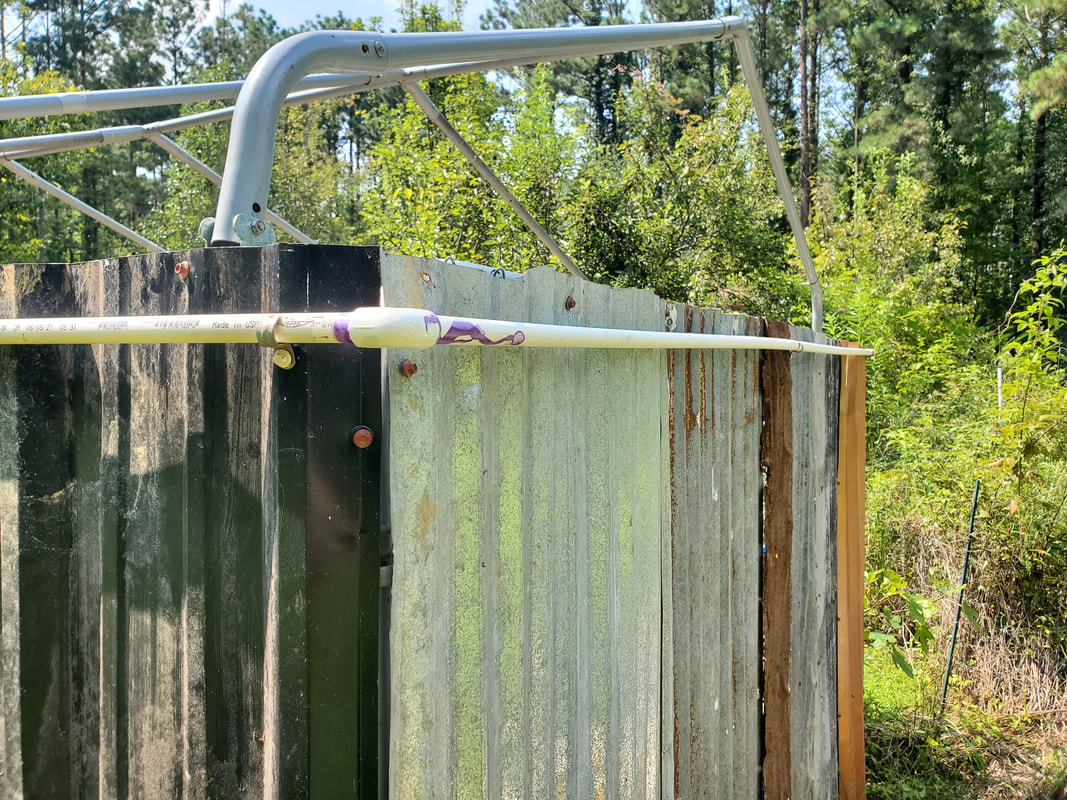
Water line continued around the east wall of the greenhouse, which again is also the main fence line on the east side. Note the use of conduit straps to hold the PVC pipe against the sheet metal walls of the greenhouse.

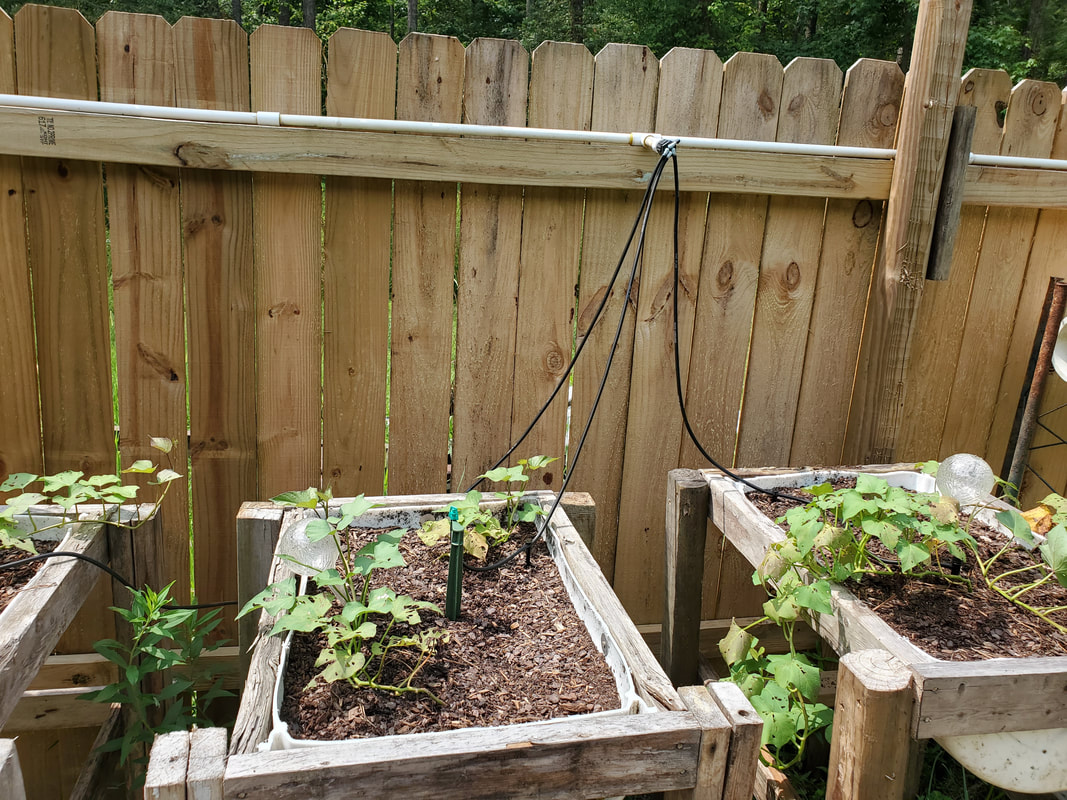
Along water line running along southern garden fence a spur line branches off and down to meet up to the strawberry beds setting along the west wall of the greenhouse. Note the four way junction that caps off the water line.

Spur line that branches off from water line on eastern wall. Water line runs towards set of raised beds in background and drum planters in lower foreground. Main water line will be capped off so it can be opened up in the future for expansion.
Spur line running down side of greenhouse and into shallow trench partially covered with gravel.
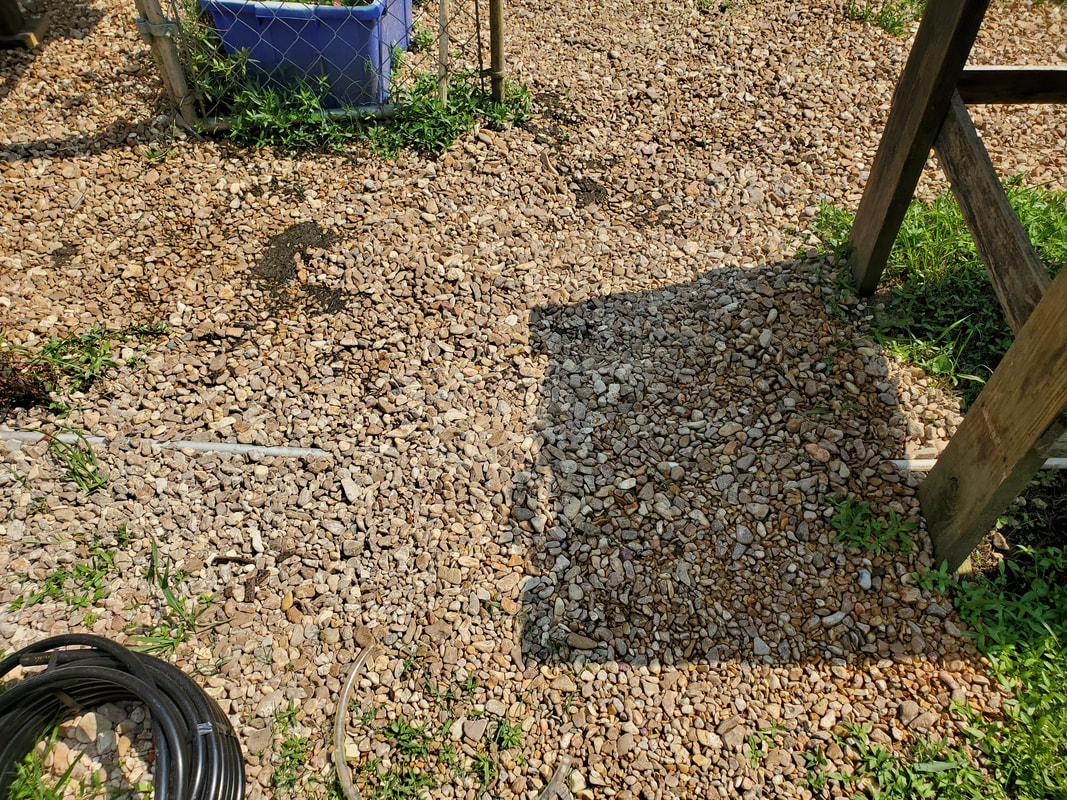
Water line running in shallow trench over to set of drum raised beds.
Water lines routed with elbows over to middle of set of beds, turning up and secured in place with conduit strap.
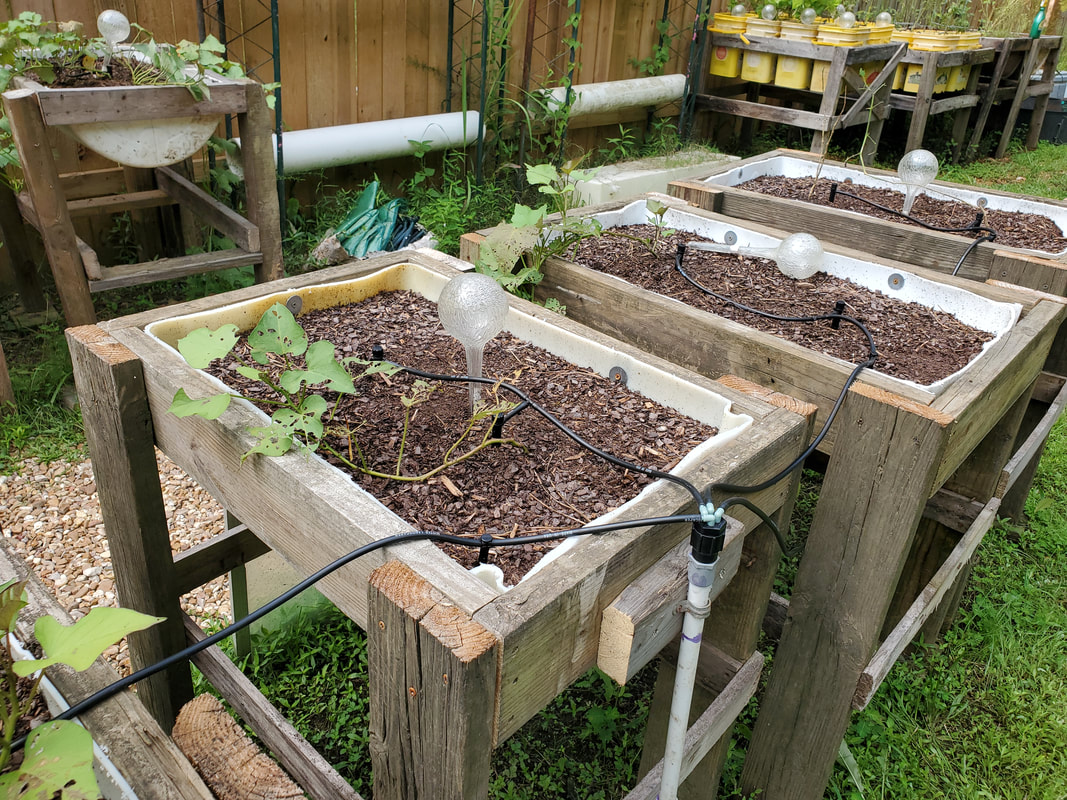
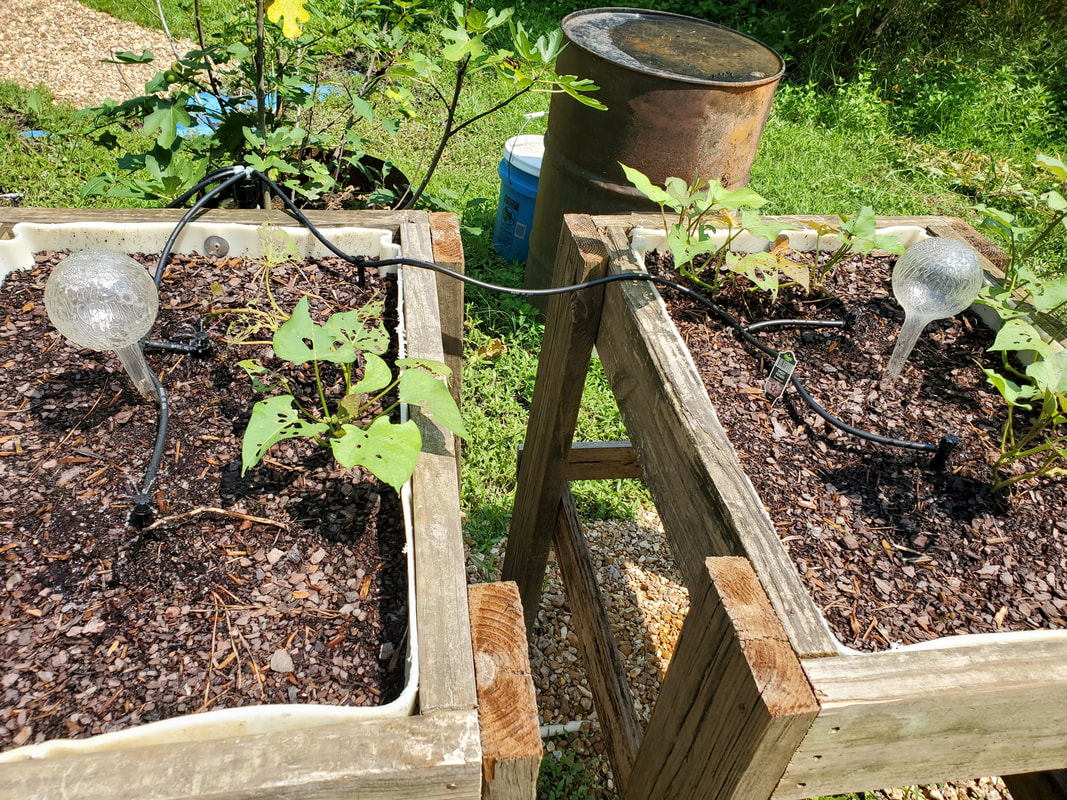
Water line capped with four way junction with hoses routed to sprinklers in beds. Each bed has two smaller sprinklers that each spray a modest 360 degree spray of water to slowly soak the soil.
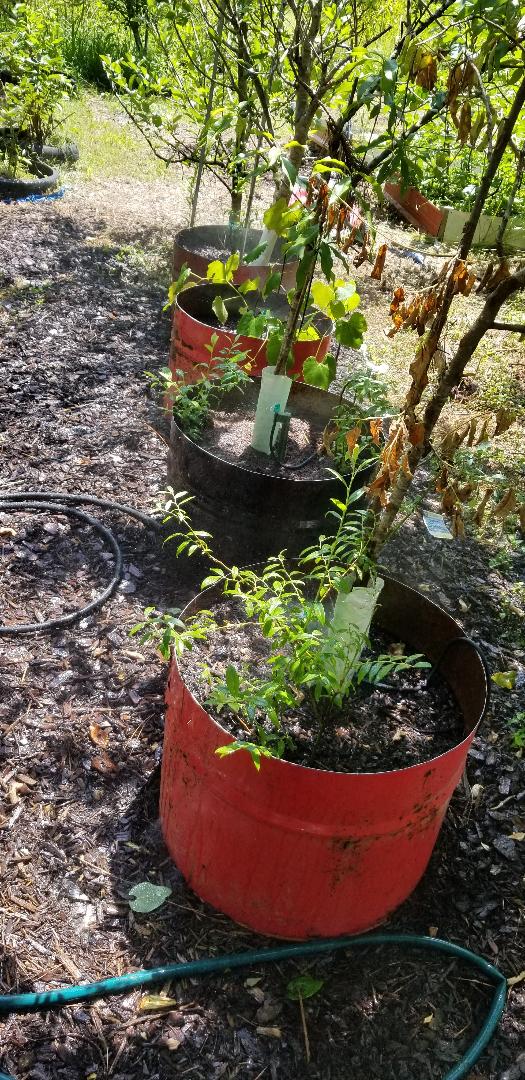
Trio of drum raised beds with hoses going to sprinklers. Two beds on left have larger high output sprayers while right most bed has pair of lower output sprinklers.
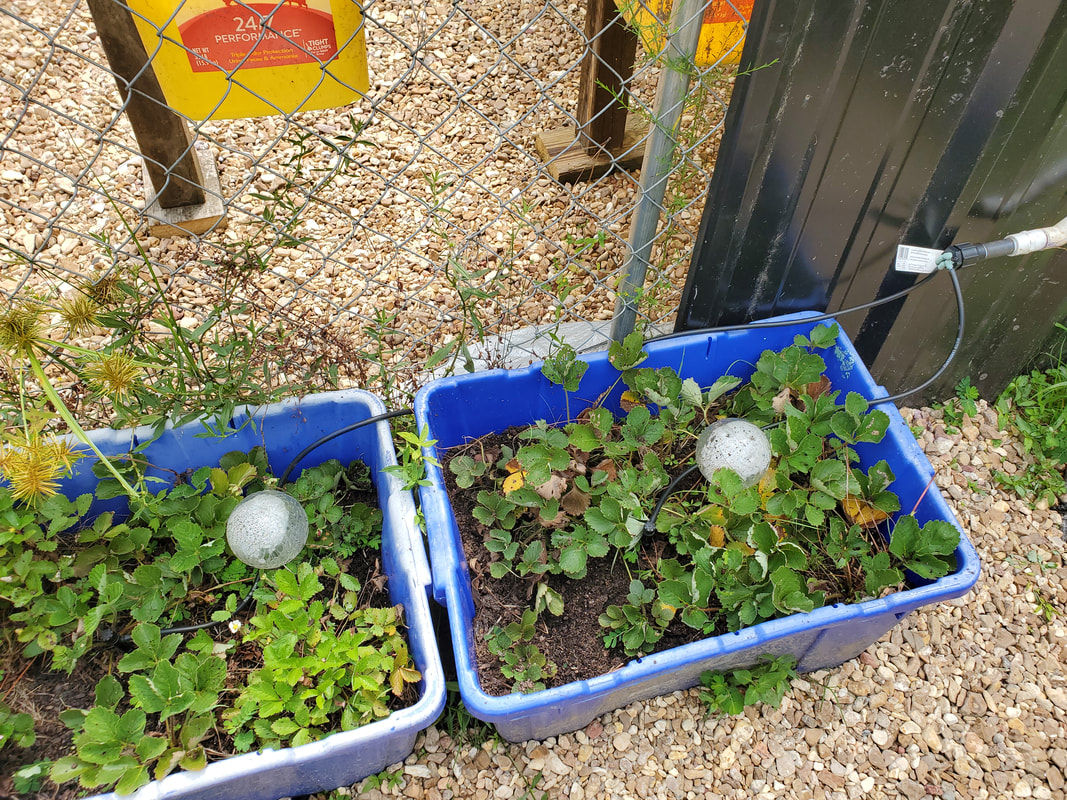
Strawberry beds with hoses going to single low output sprinklers.
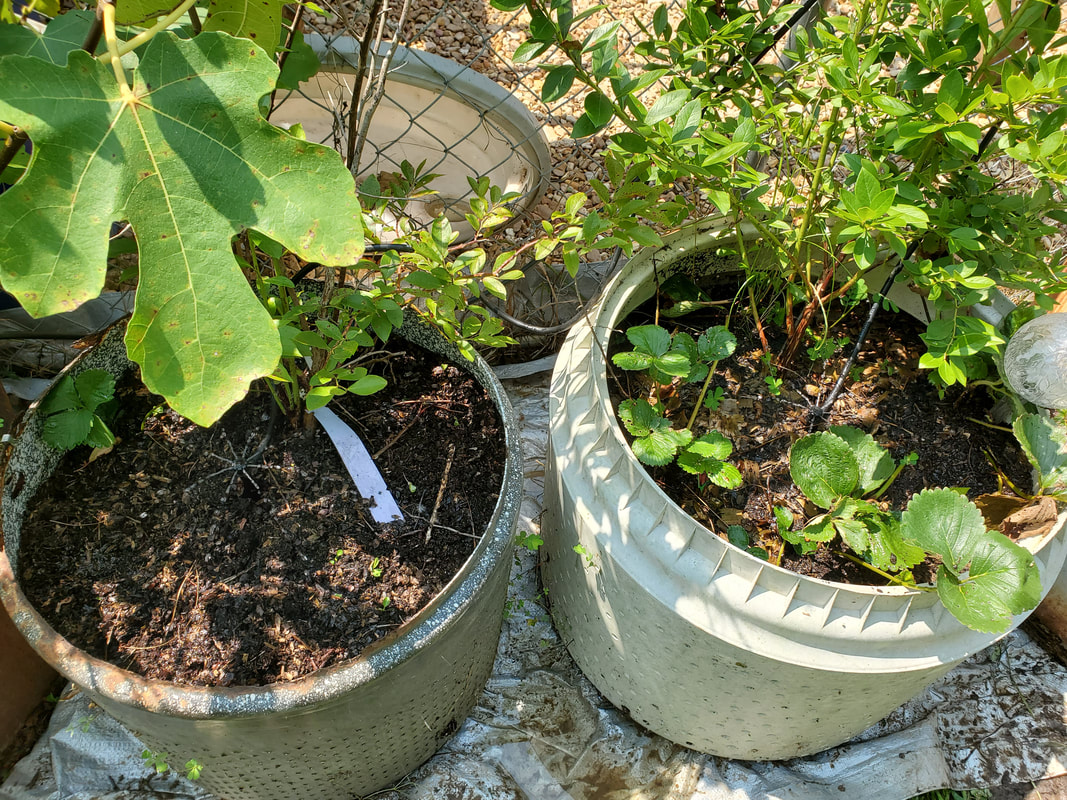
Another little thing I did was set up the drum planters along the greenhouse on some plastic. I cut a piece of an old tarp, the same tarp I used to lay the floor in the greenhouse and after clearing the weeds from along the greenhouse wall, I laid the plastic down and put the five drum planters back on top of the plastic where they originally were. This simple act of weed control will go a long ways when I lay gravel down around the drum planters and set up the wall on this side of the greenhouse as we won't have to worry about having to clear high grass/weeds from around the planters.
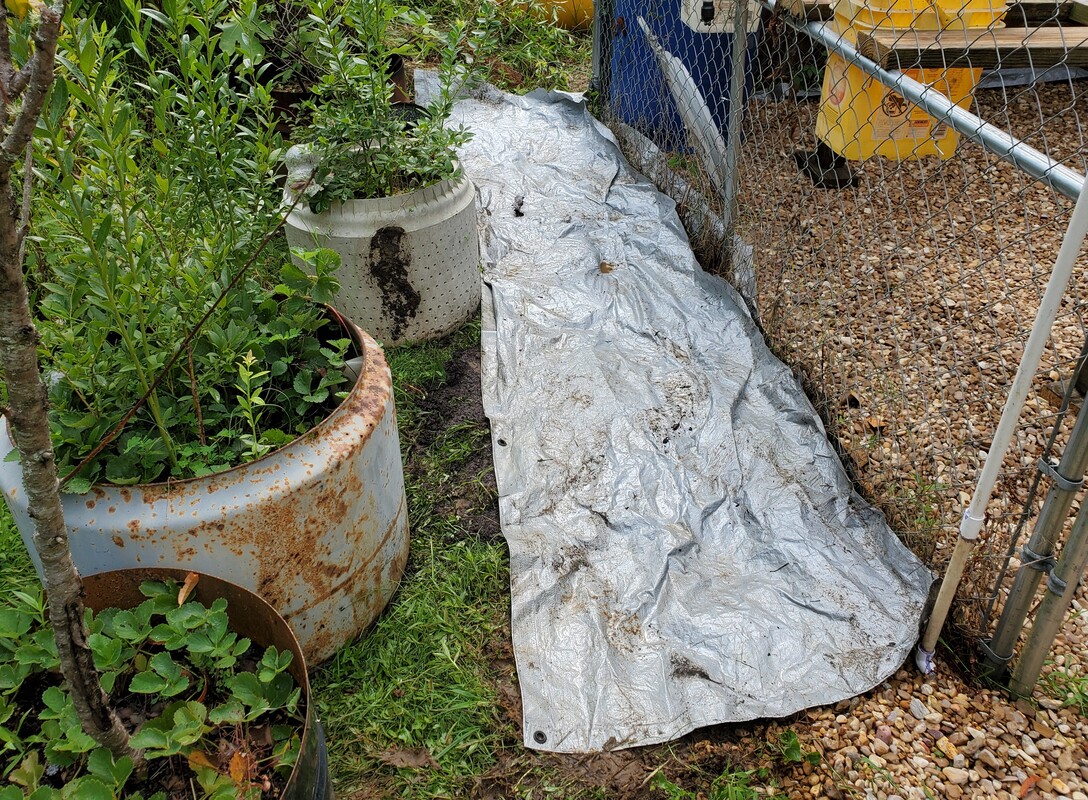
Piece of plastic cut rom old tarp laid down along greenhouse wall for drum planters to be staged over for weed control. After placing gravel around the planters we won't have to worry about trying to pull grass/weeds from between the drums.
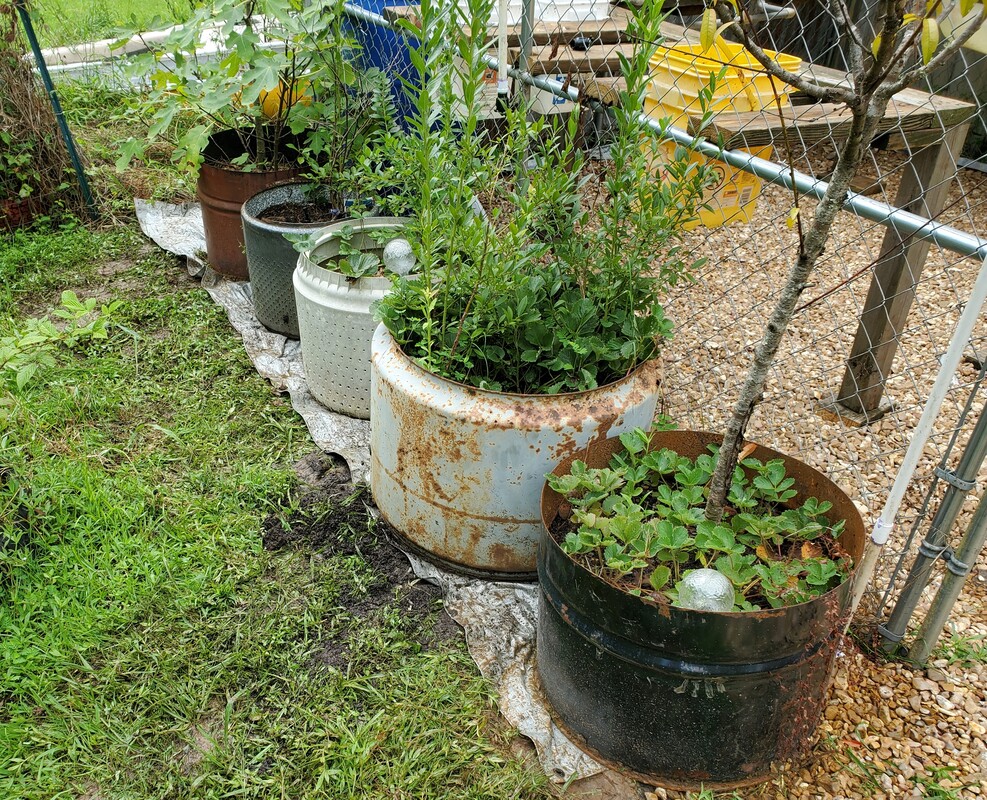
Drum planters staged on top of plastic.
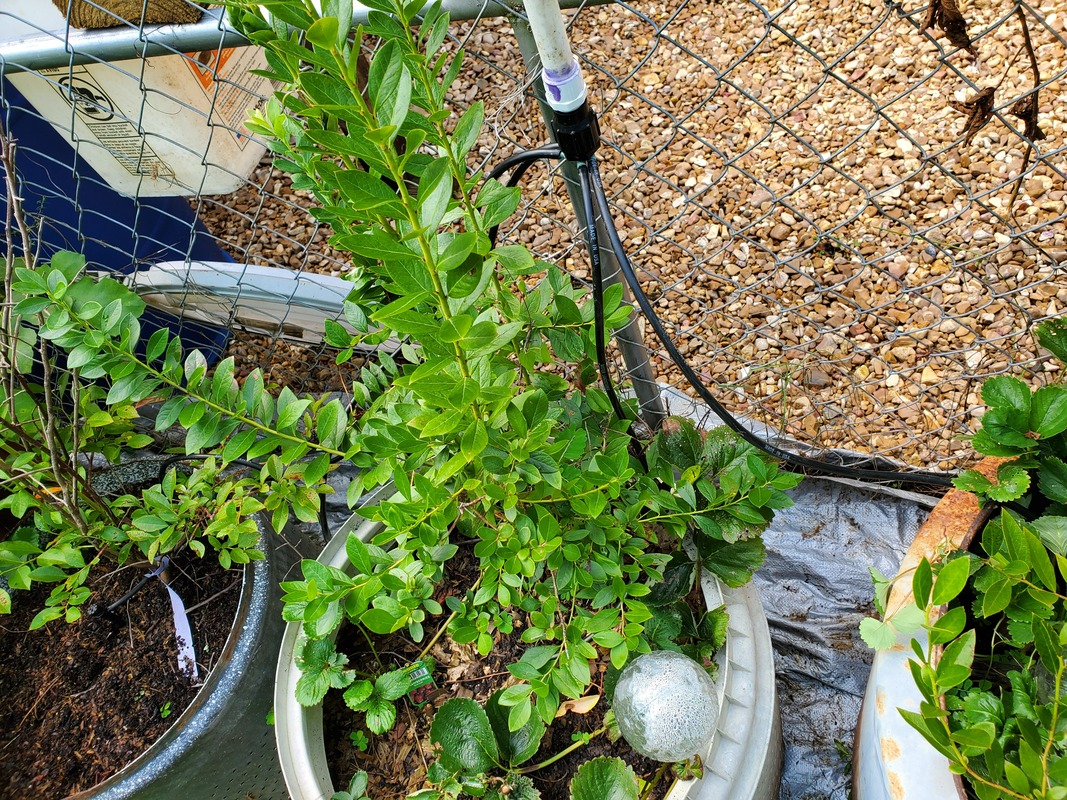
1/4" rubber hose routed from four way junction over to single low output sprinklers in the five drum planters. One sprinkler has a tee splice to feed another sprinkler to accommodate the fifth sprinkler.
Four way junction feeding eight bucket beds along fence line. Each pair utilizes a tee splice to feed two low output sprinklers from one output.
Closeup of tee splices linking two low output sprinklers together to a single output hose.
Low output sprinklers in bucket raised bed assembly spraying.
High output sprayers spraying in drum raised bed along fence line.
Low output sprinklers in set of drum raised beds in middle of garden.
Low output sprinklers in drum planters along fence line spraying.
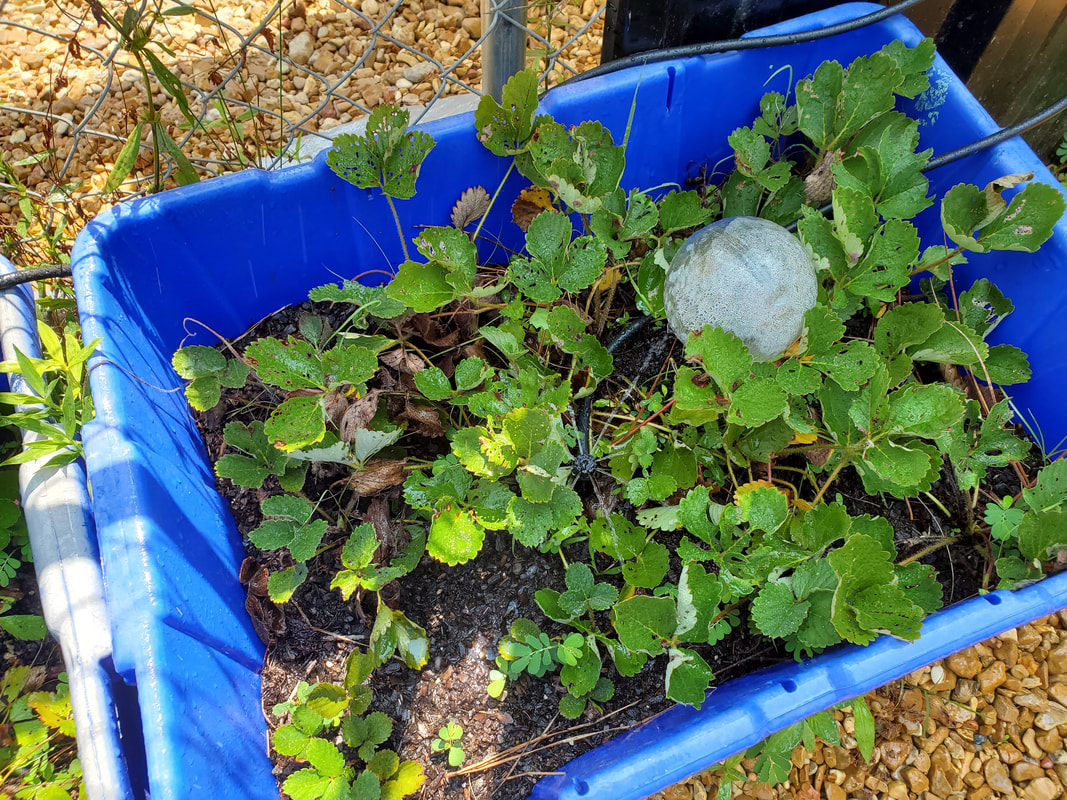
Low output sprinklers in strawberry beds spraying.
