THE MANUAL BATTERY CHARGER REBORN
For anyone who's had to buy a battery charger in the last few years, they will know that most everything out there is heavily regulated with electronic control circuitry, above and beyond the normal voltage regulation electronics that convert the 120 vac from a wall outlet to a regulated 12vdc or slightly higher for charging car batteries. Most of these modern chargers are "smart" and typically require the battery to be charged to still have some power in it, otherwise the charger will not cycle on to even do its job. I feel this is kind of stupid since most batteries that require charging are typically dead as a doornail. It's getting harder and harder to find old school manual chargers that throw out varying levels of amperage regardless what the battery is doing.
Anyway, I came across some salvaged parts from some old battery chargers that were of this modern variety that would not operate the way I need them to operate on the homestead. Needless to say, they eventually fizzled out for whatever reason, leaving me with a dead device. Now, instead of scrapping these dead chargers, I felt I could resurrect them in the full manual form. I gutted the dead electronics from the carcasses, leaving the power cables and output cables with their alligator clamps. What I would need is an aftermarket 12v power supply of whatever voltage I choose to use to make the chargers capable of. Our first charger here, will be getting a 6 amp power supply. This power is reasonable enough to be able to charge a battery without hitting it too hard, while being able to be left on overnight without risk of damaging the battery.
Because everything was gutted from the charger body, this reconstruction would be rather simple and as a result, fast in building. The first thing I had to do was open the body up to get to the wires in question. All we have to deal with is the trio of wires for the AC voltage in, a pair for the DC voltage out and another smaller pair going to the cooling fan on the charger body. The power supply has screw down terminals for all these connections. After hooking up the AC lines to their three terminals, I parallel connected the fan and DC out lines and hooked them up to the output terminals on the power supply. From there zip ties neatened up the wires within the charger body. Hot glue secured the power supply to the inside of the charger body so the thing won't rattle around and just because I love using hot glue to assemble things, its a wonderful invention.
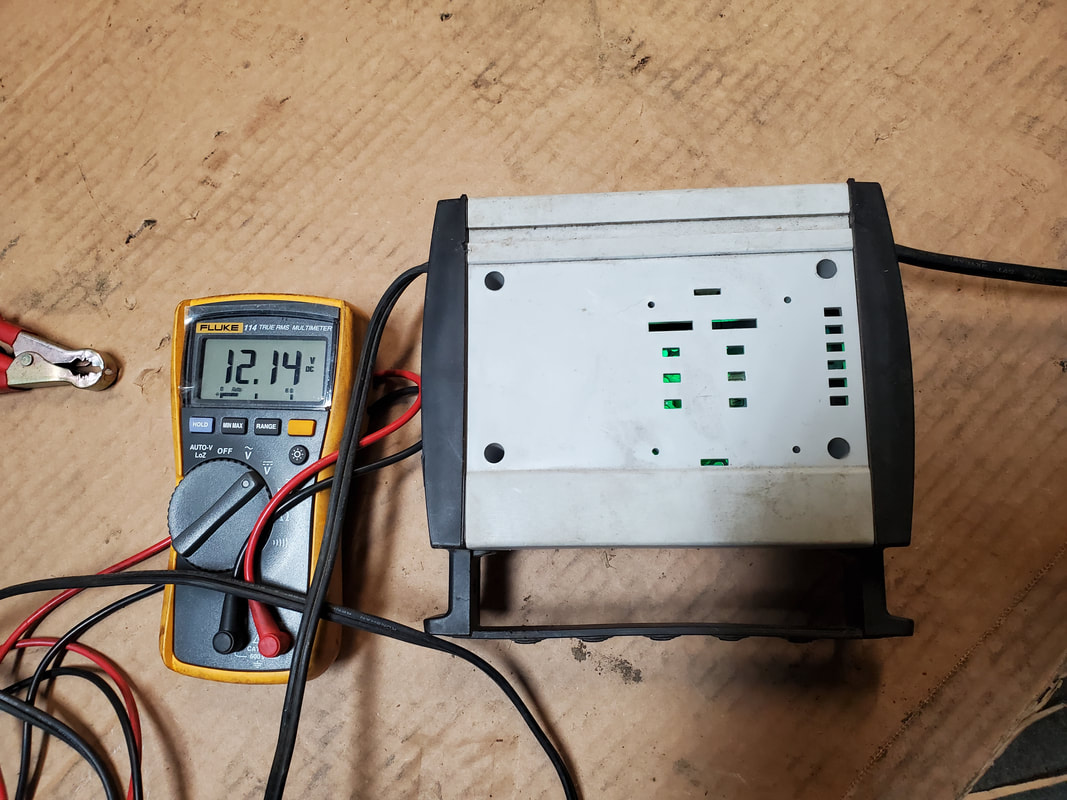
With the power supply assembled, I plugged the charger up and hooked the alligator clamps to the leads of a meter to see what we were working with. The power supply put out 12.14vdc, reasonable enough to get a battery up to a point where it should be able to perform some work. The power supply also has a bright green LED that illuminated the power supply's body, enough so that when I put the cover of the charger on, the green light was emitted from the openings in the body, enough to show anyone using the charger that the device was operational. Of course the fan would indicate this, but a bright green light is always a color that indicates that all is good to go. Even with the fan drawing off the power supply, it should still put out more than 5 amps to charge a battery. With this charger reborn, I can now pick up some more of these power supplies, probably a 10 or 15 amp unit next, to reconstruct my next battery charger. I do see a future with these little power supplies, in the powering of many devices around the homestead so expect to see more of these things as we continue to work on more smaller projects around here and showcase them on TIC.

The old charger body along with the aftermarket 12v power supply.
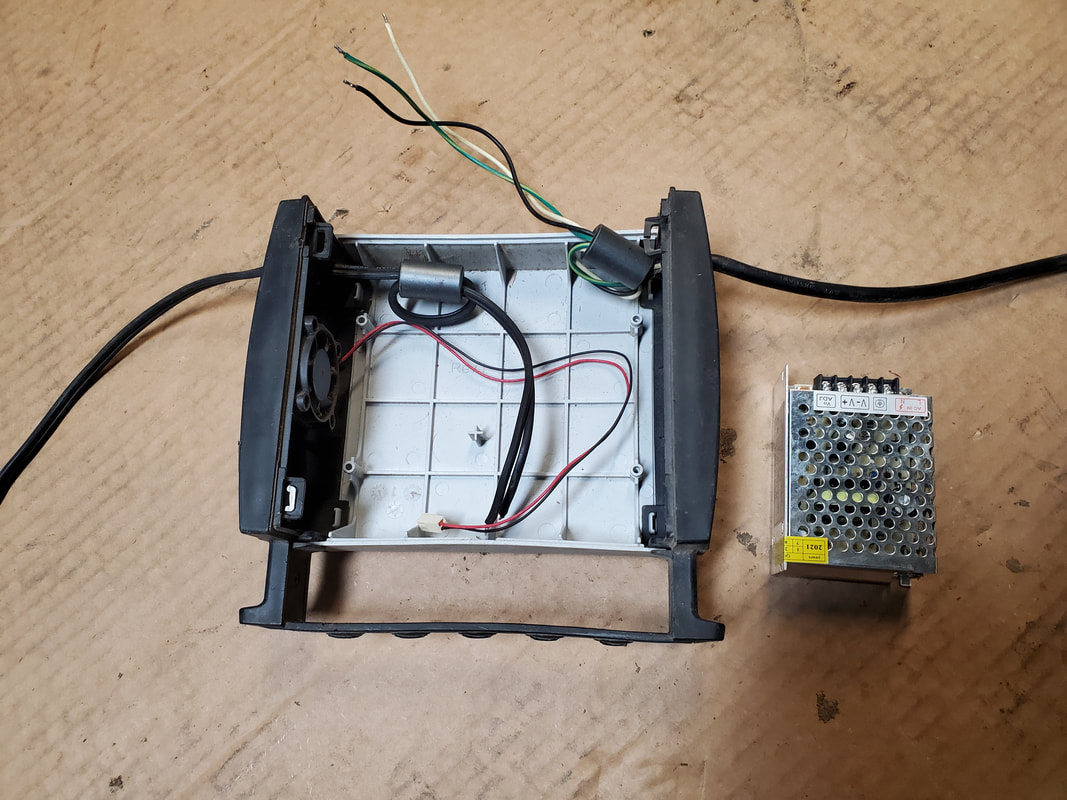
The inside of the charger case showing the three sets of wires to be hooked up.
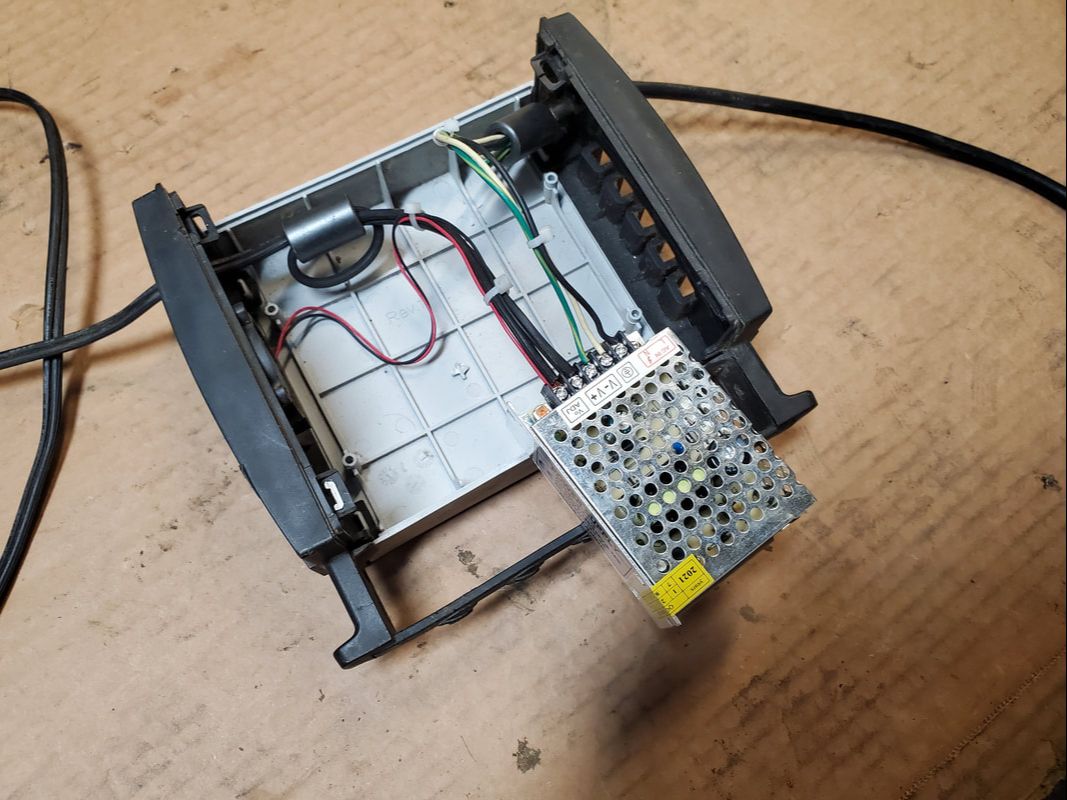
The 12v power supply wired up to the wires in the charger body. Note the zip tied wires.
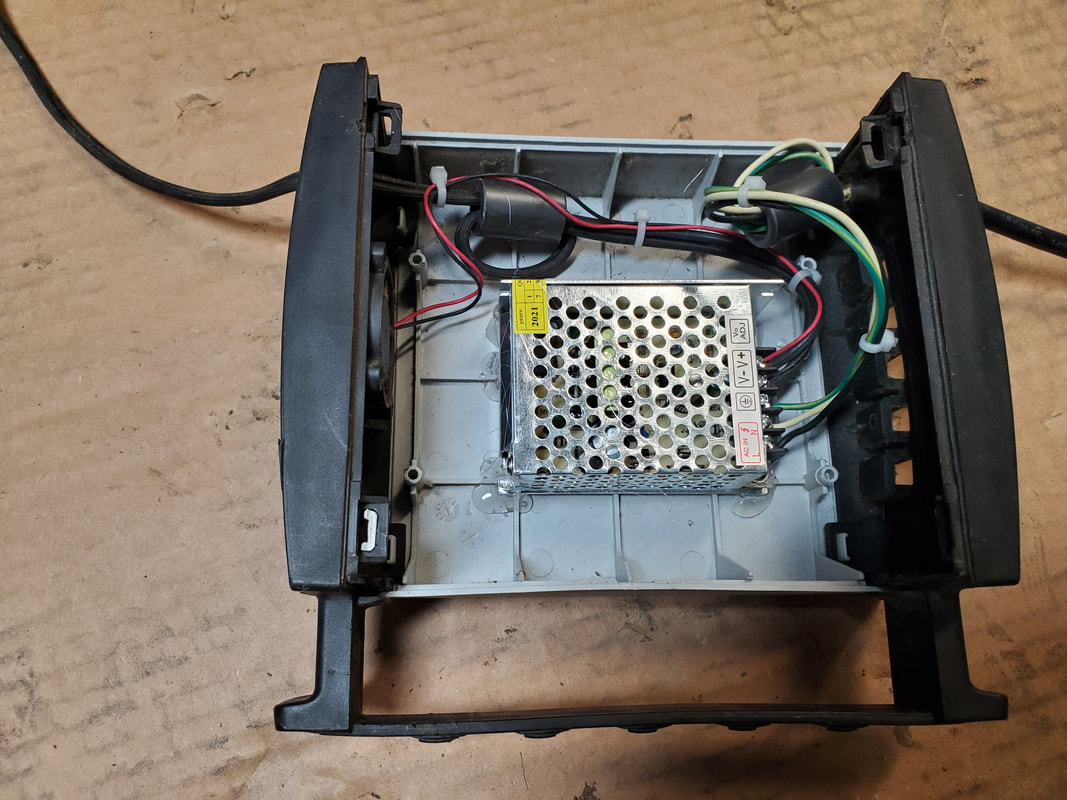
The power supply hot glued in place along with the zip tied wires.
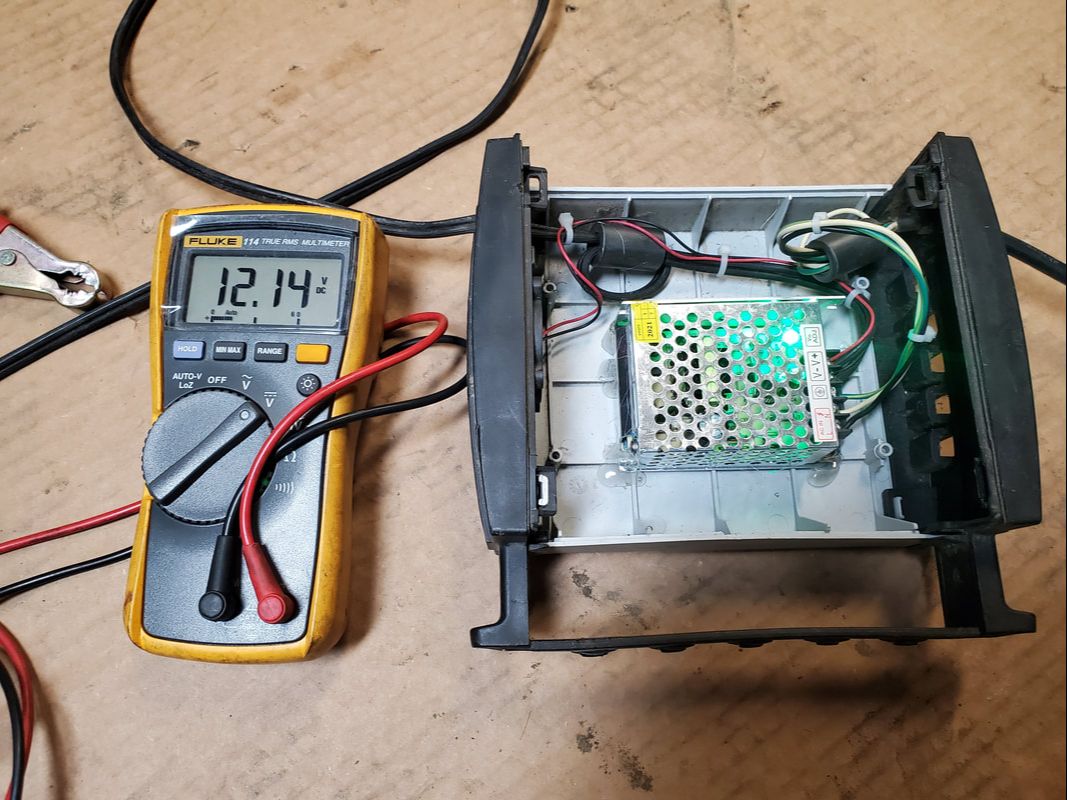
The 12v power supply in operation putting out 12.14vdc to the meter. Also note the green LED lighting up the power supply body.
Even with the charger's cover on, the green LED still shines bright through the cracks to let the user know the charger is in operation.
|
|
|
|
|
|
|
|
|
|
|
|
