THE BATTERY CHARGER REBORN 2.0
After the success of the first reconstructed battery charger, I decided to go ahead and pick up another 12v power supply so I could resurrect another dead charger I had. The charger had sizzled due to a bad transformer, causing some of the electronics to also cook. After removing these components, minus a few smaller components, I decided to install a 10 amp power supply, which will allow this charger to deliver a nice knockout punch to bring a dead battery up to a level to allow it to crank an engine inside a couple hours. With the charger body and our 10 amp power supply I got to work. I removed the remaining electronics, which consisted of a bridge rectifier and the selector switch, both of which I'll be keeping, and a burnt out circuit board. I sat the power supply on the charger body, hooking up the AC wires to the power supply's terminals. To be able to place the power supply flush against the back of the charger body, I had to address the 12v output cable that was mounted opposite of the AC cable, at a lower level where it was in the way of our power supply.
I went ahead and removed the cable, drilled a new hole just above the AC cable and secured the output cable in this new hole. With the 12v output cable relocated to this point, it allowed me to connect the ends to the terminals on the power supply with ease. With that, I was able to place the power supply flush against the back of the charger body, hot gluing the whole unit in place by running a bead of hot glue around the base of the power supply, taking care to get glue past the bundle of wires and along the edges of the power supply body. I even put some glue around the top of the power supply body where it met against the back of the charger body.
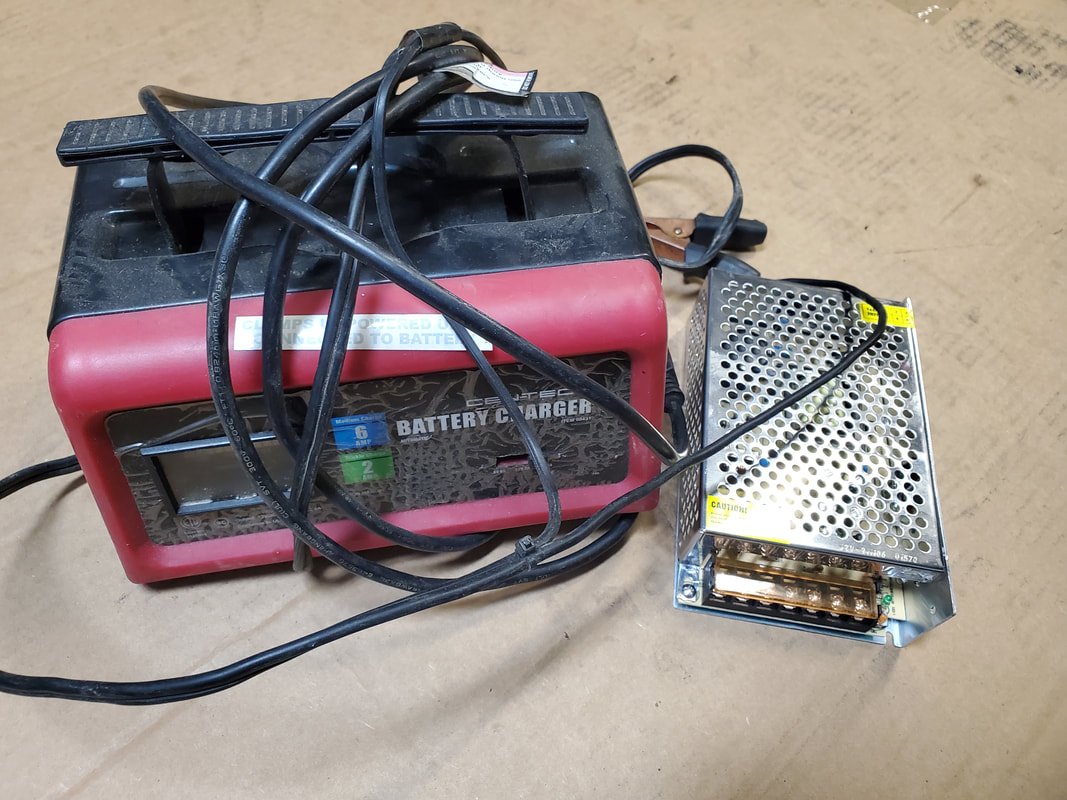
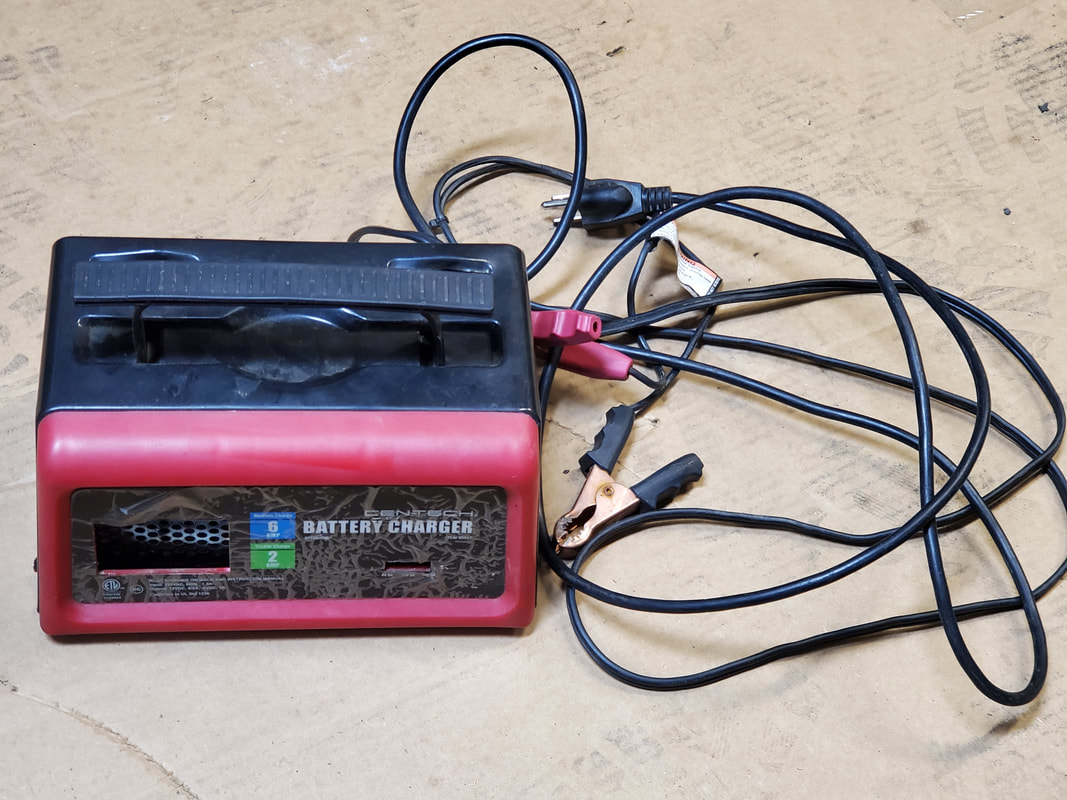
The old dead charger body along with the new 12v/10a power supply.
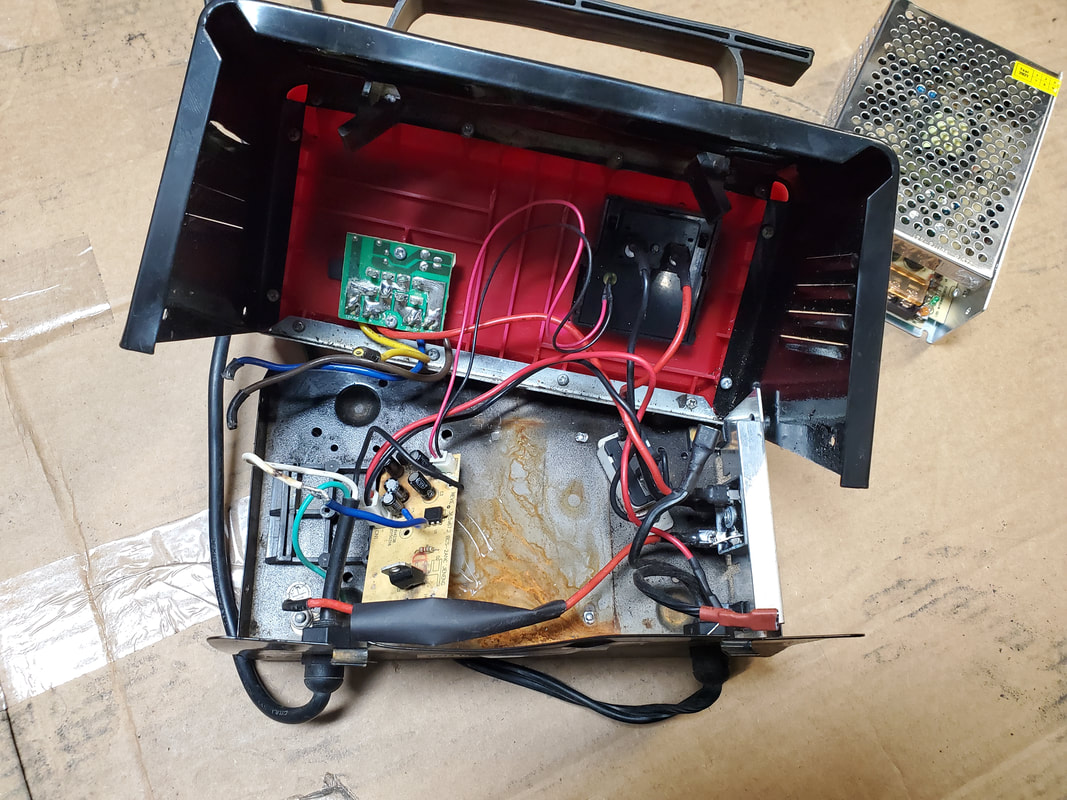
The remaining electronics and other components that needed to be removed prior to installing the power supply.
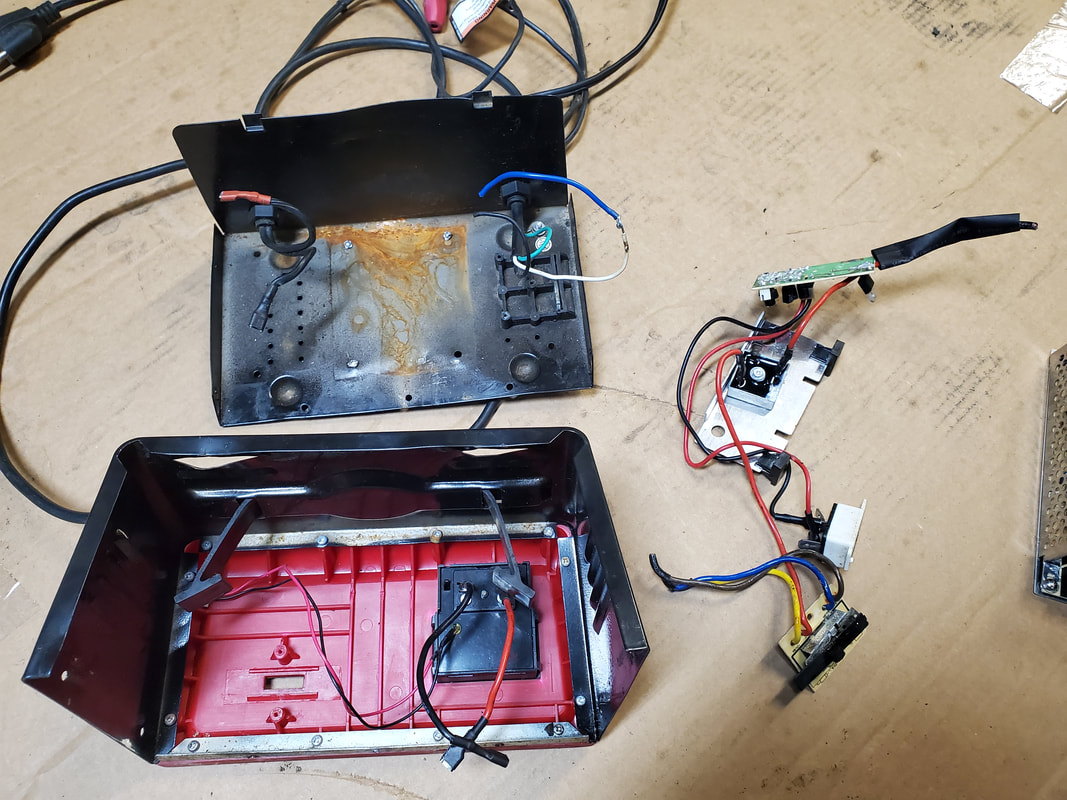
The electronics are now removed, leaving the charger body open and ready to accept the power supply.
Power supply set in charger body, note the 12v output cable on the left of the body and how it's in the way.
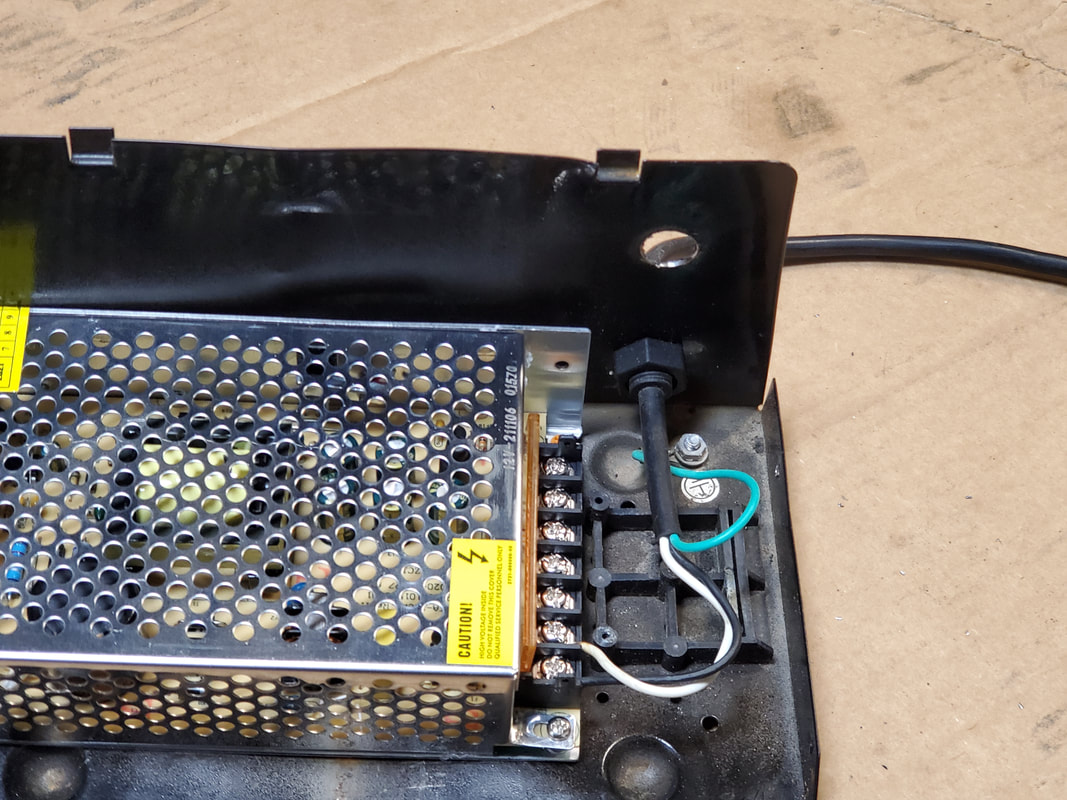
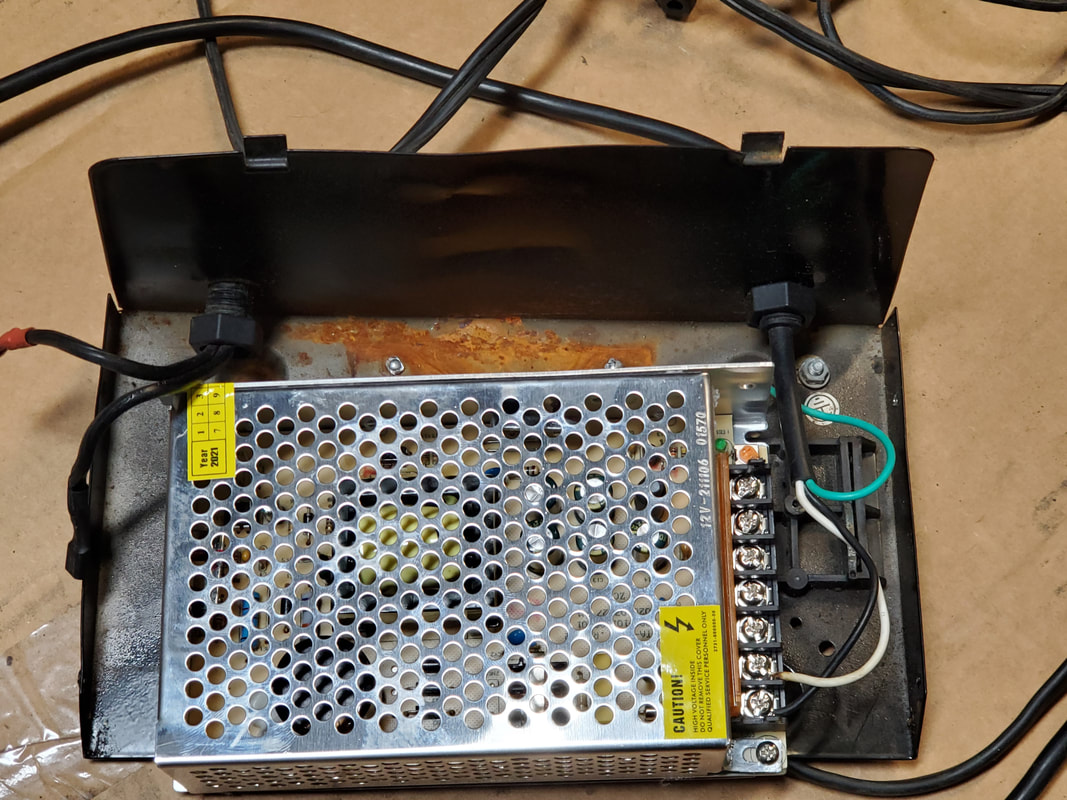
New hole drilled above the AC cable to remount the 12v output cable. Note how the power supply is able to be mounted flush against the back of the charger body.
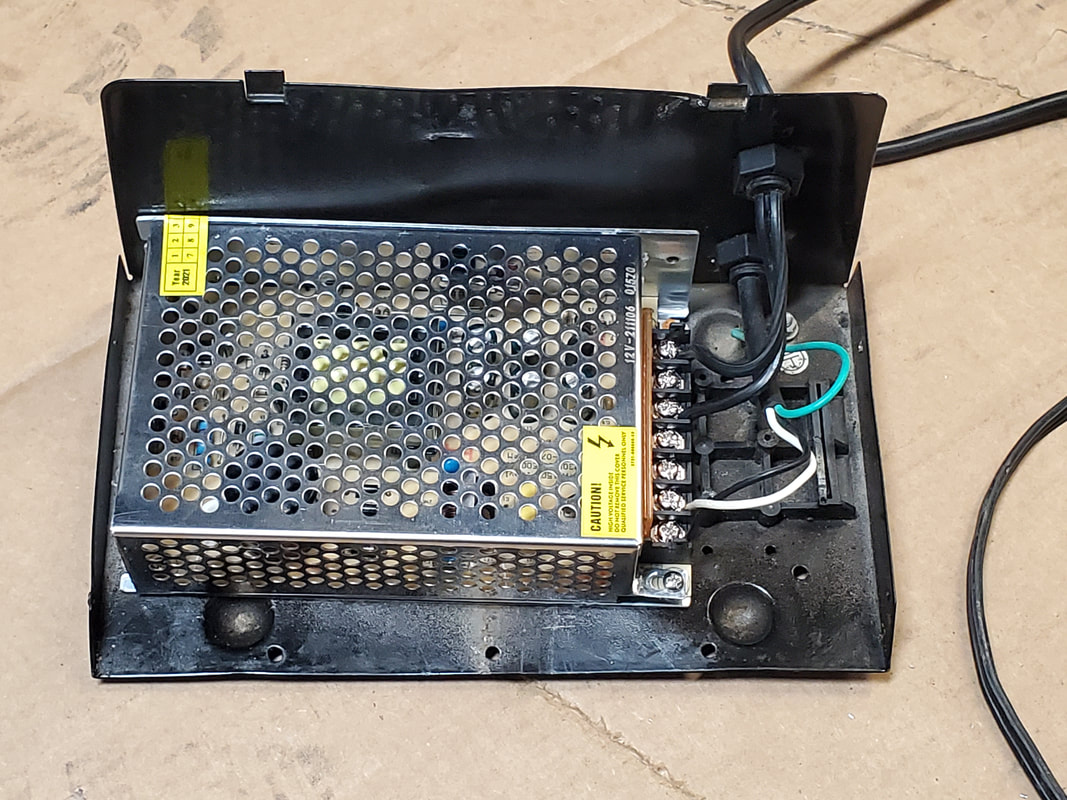
12v output cable remounted in new hole above AC cable and wired into power supply, along with power supply being mounted flush against back of charger body.
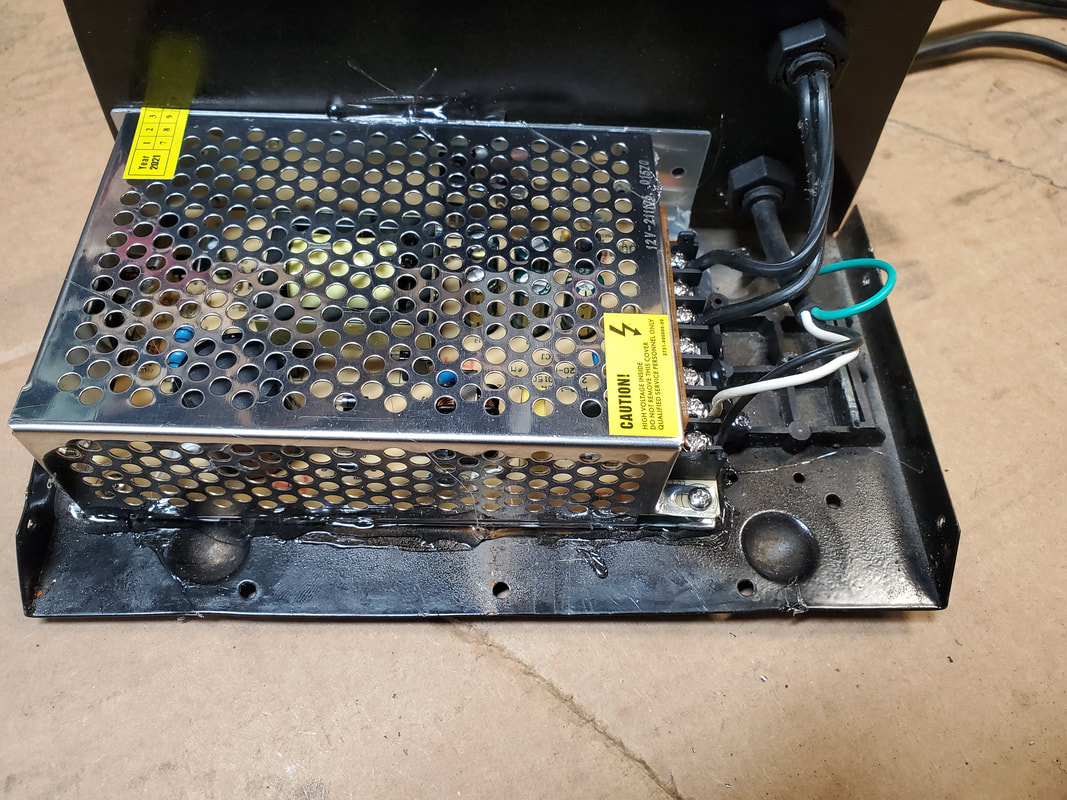
Power supply is secured to charger body with hot glue as seen by the bead around the base of the power supply.
With the power supply mounted, I wanted to try and see if the charge indicator worked. After wiring it to the power supply and plugging the unit up, I found that it shorted out, causing the power supply to not even output any power. After disconnecting the charge indicator, which was just as shorted and shot as the other old electronics, the power supply put out 12.08 v to the meter. I removed the charge indicator since it's of no use to me at this point. I reassembled the charger body as it's able to be used, even without the charge indicator. I will try and source a charge indicator that will fit in the hole or at least be able to fit with minor modification so I can put the charger to full use being able to read the state of charge on the battery that's hooked up. Because this is a manual charger, it will put out 10a all the time, even after the battery is topped off.
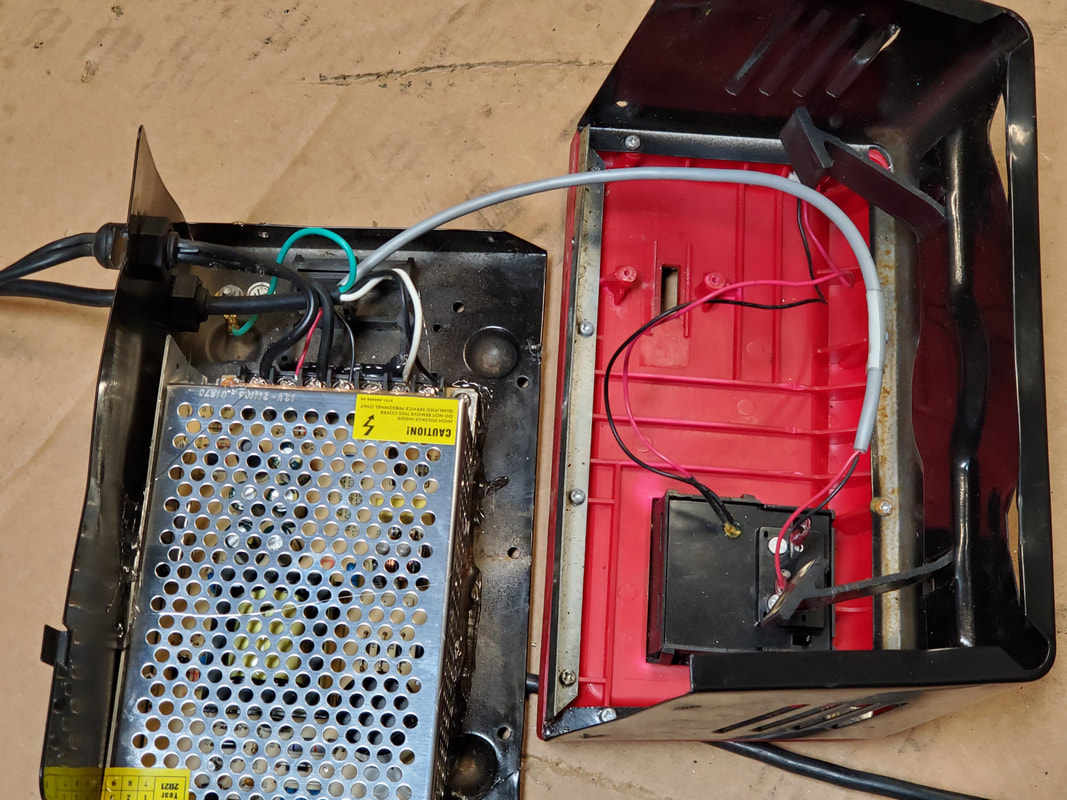
Wire pair hooked from charge meter to power supply in a vain attempt to try and see if the charger would have a viable charge meter.
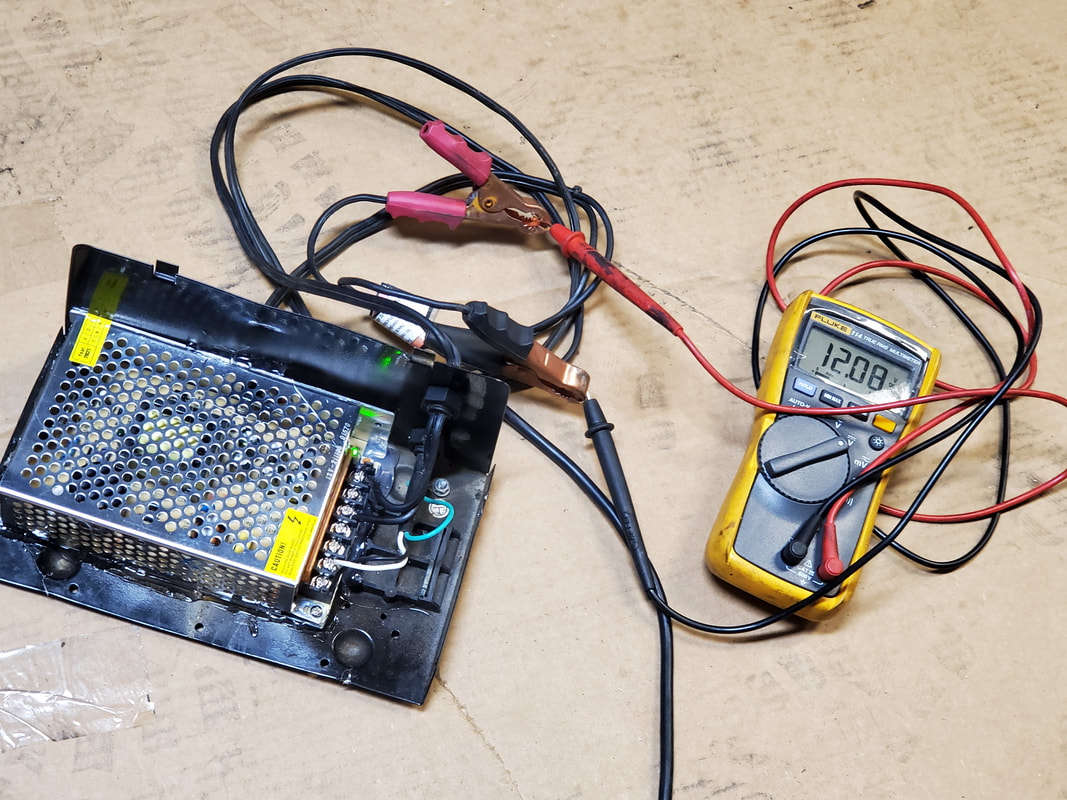
The battery charger in operation putting out 12.08v.
The battery charger body buttoned up and ready for operation, sans charge meter, as noted by the large hole in the face of the charger body.
