THE RECHARGEABLE LED LANTERN
This is a little pet project I took on after doing some cleanup in the garage. In the process I was digging through some large storage containers containing miscellaneous crap and ran across this old fluorescent lantern from the 80's that my old man had. This lantern at its time was like some new age tech. It was fluorescent versus the typical incandescent flashlights and lanterns that dominated the scene back then, plus it was rechargeable. Fluorescent lamps and lanterns were more efficient than incandescent lights and with a rechargeable battery, made them more desirable to those who may frequently use battery powered lights for work or recreation.
Well this light obviously had long since gave up the ghost and a long time ago I removed the battery pack from the unit and rewired it to accept D batteries in two 6 volt cradles, making for an 8 battery package to power this thing. This was a "just because" project long before I even started making this website. Well fast forward to the present and this light ended up never being used, mainly due to the easy access of fluorescent lanterns from Walmart and other venues that used lesser batteries and were more efficient. This unit ended up getting stuck in a box with some other junk, mainly because I couldn't bring myself to just throw the thing away as it had some memories tied to it from my way back younger years. But since I am trying to get rid of stuff, the only other way to hang on to something like this is to actually use it.
The problem today is, light technology has advanced leaps and bounds. Fluorescent lighting is fading away in lieu of LED light technology. Even the curly cue CFL bulbs that were all the rage in the early 2000's are fading away to be replaced by LEDs. LED's are replacing damn near every thing that involves lighting, whether its automotive lighting, home lighting, emergency and recreational lighting and industrial lighting. LED lighting really is the shit!. So with that I did a quick thought process while looking at this light and thought about the idea that I had a couple of LED COB (chip on board) assemblies that are 12v, for use in automotive applications as accent lights. These LEDs are super efficient, only using a few watts and are bright as hell. The LED's are long narrow boards that actually made them perfect for this project due to the fact that the fluorescent light bulb in this old lantern is also long and narrow. So now we have the light part solved, but what about the power source?
Since these LED's are 12v, I would obviously have to use a 12v power supply. Now just like the lighting technology, battery technology has also jumped leaps and bounds. Lithium battery tech has advanced enough and has become affordable enough that you can get batteries in all shapes and sizes for just about any application. You can get small lithium batteries that can be used in devices in the same way the old school AA batteries were used. These same batteries are typically used in a number of rechargeable applications where the device is small but needs some power. OR you can have lithium batteries scaled up to sizes and power ratings that are enough to power today's new aged electric vehicles (TESLA). So with this battery tech, that is where I turned for my power supply. I ended up ordering a battery pack online that was rated at 12v, at almost 10AH (amp/hours). It comes with its own charger and cables. An equivalent lead acid battery of this power rating would be four times the size of this unit that I'm going to use in the LED lantern.
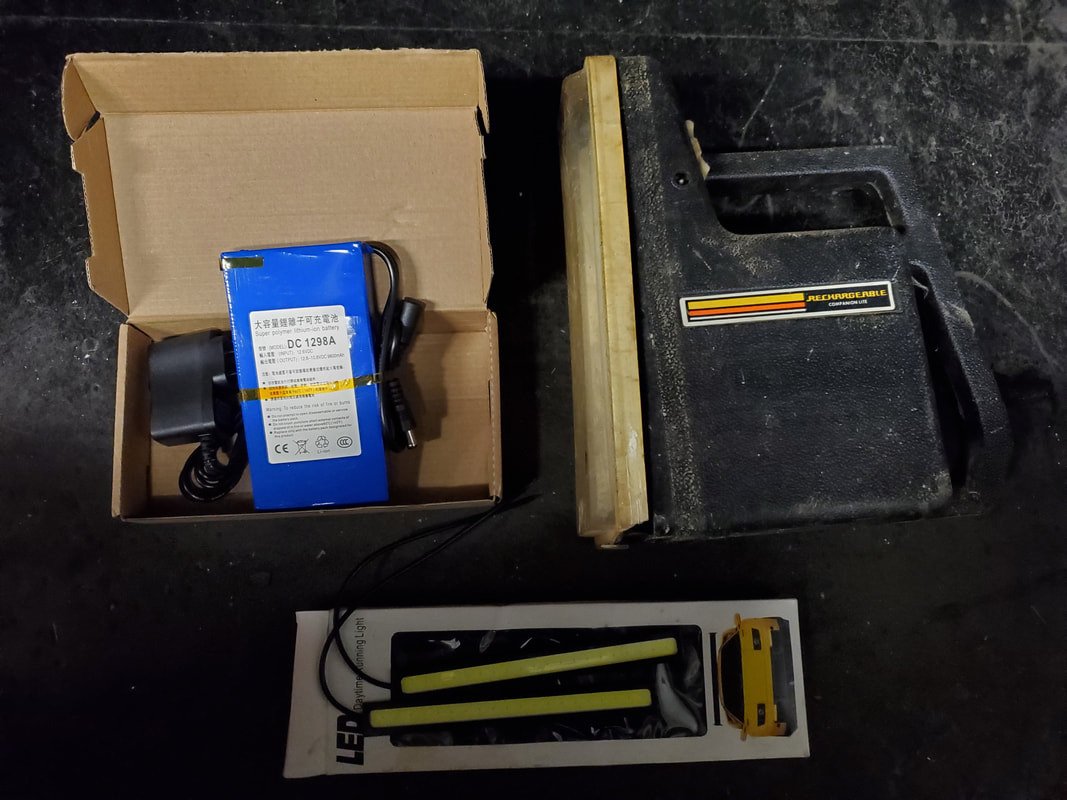
The lithium battery, old lantern and the LED cards.
At rhis point the first step is to disassemble the old lantern. Since this thing was already cut on in order to open it the thing was loosely held together with old tape which long since disentigrated. I was able to just pull the reflector free so I could pull the battery holders free. The small circuit board that serves as a ballast for the fluorescent bulb had to be snapped free of the integrated power switch in order to remove the whole works from the case.
With the innards free I still needed to separate the reflector as I would need this for the LED's. I ended up drilling out the rivets that held the bulb sockets to the reflector plastic so they could be pulled free and the old circuitry can be saved for possibly using in something in the future. I didn't want to just cut all that stuff up so its all in one piece, set aside.
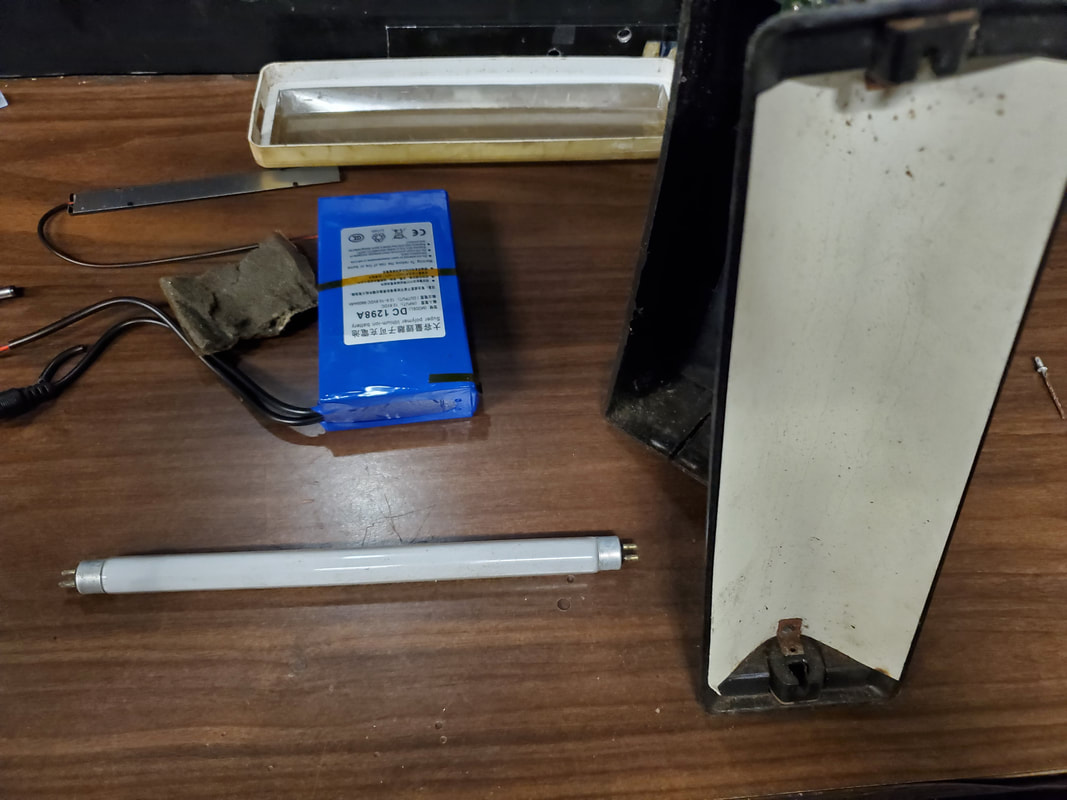
Reflector and cover pulled free for further disassembly of the lantern.
Reflector freed of its fluorescent bulb sockets.
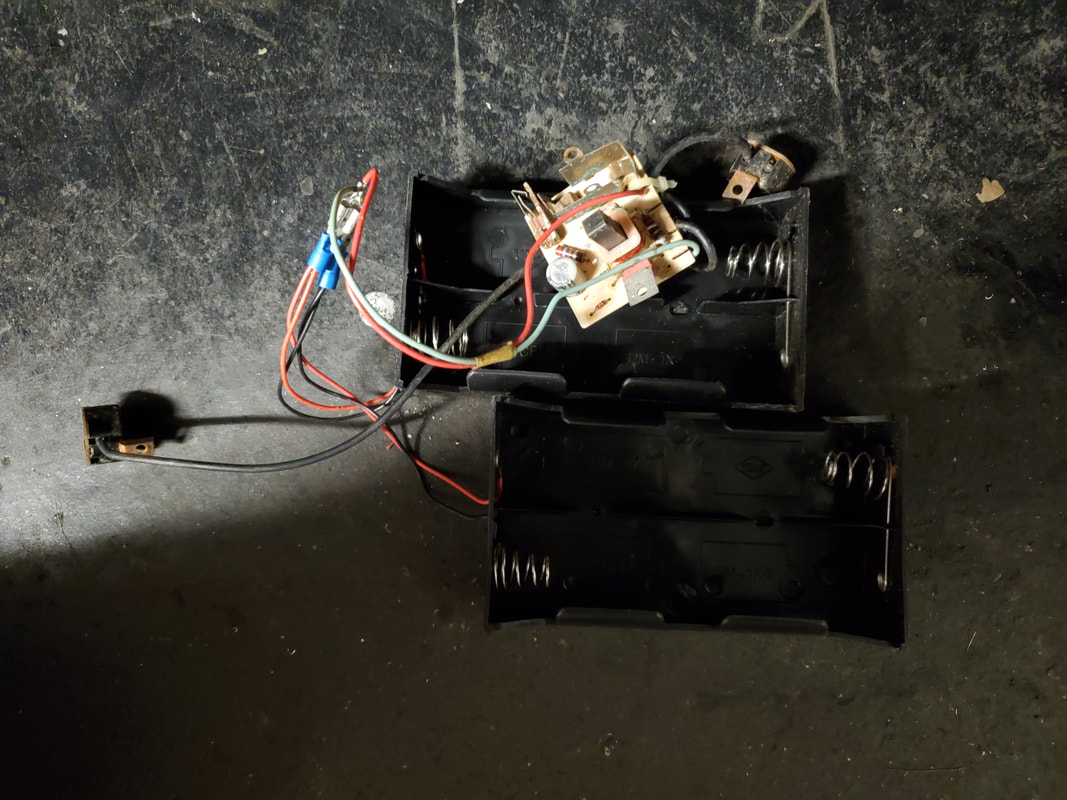
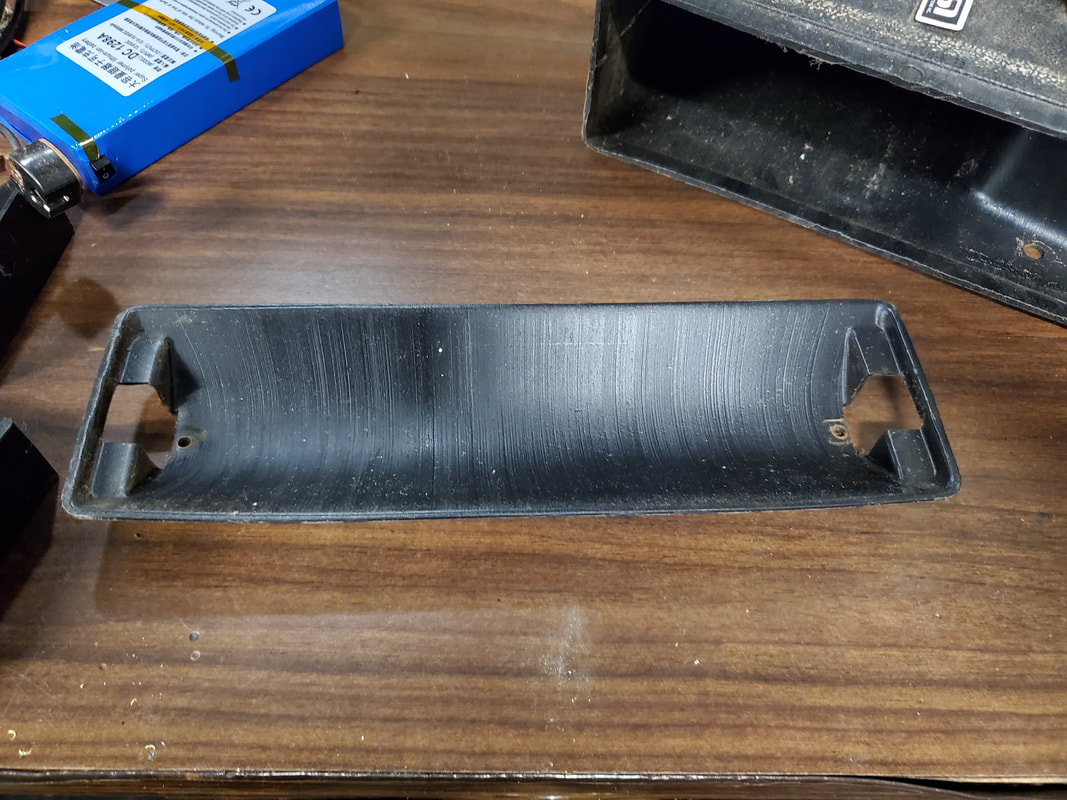
Electronics and battery holders from old lantern removed from body.
Now I was given a good idea by a buddy on what to do with the reflector. Originally the reflector was a white piece of plastic, to give a warm reflection of fluorescent light. The idea was to take a piece of foil and cover the reflector base with it then put the LED's on the foil surface. Of course I had to try and smooth out the foil so it didn't have that ripply wrinkly surface that will refract the light some.
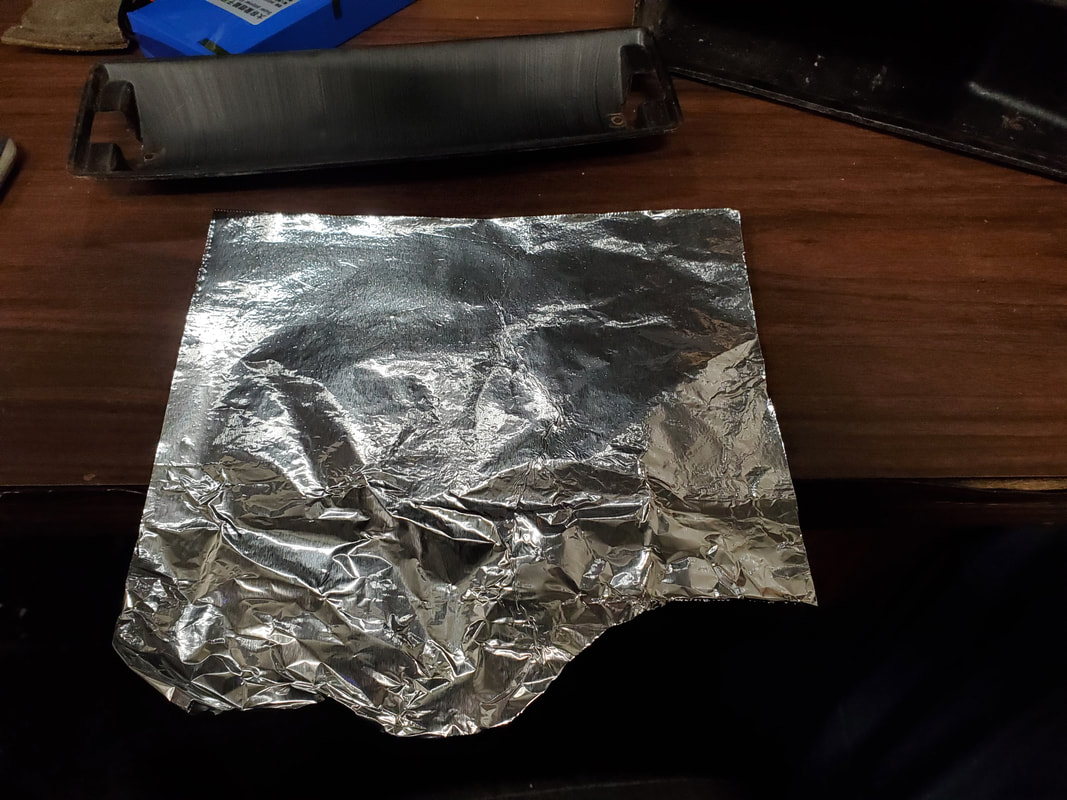
Piece of foil cut and being run over the edge of a table to help smooth it out.
After getting an initial smoothing of the piece of foil I trimmed the foil to get a basic shape that I could put over the reflector base where I could smooth it out and further trim it to fit. With the piece of foil cut I was ready to glue it down to the reflector base.
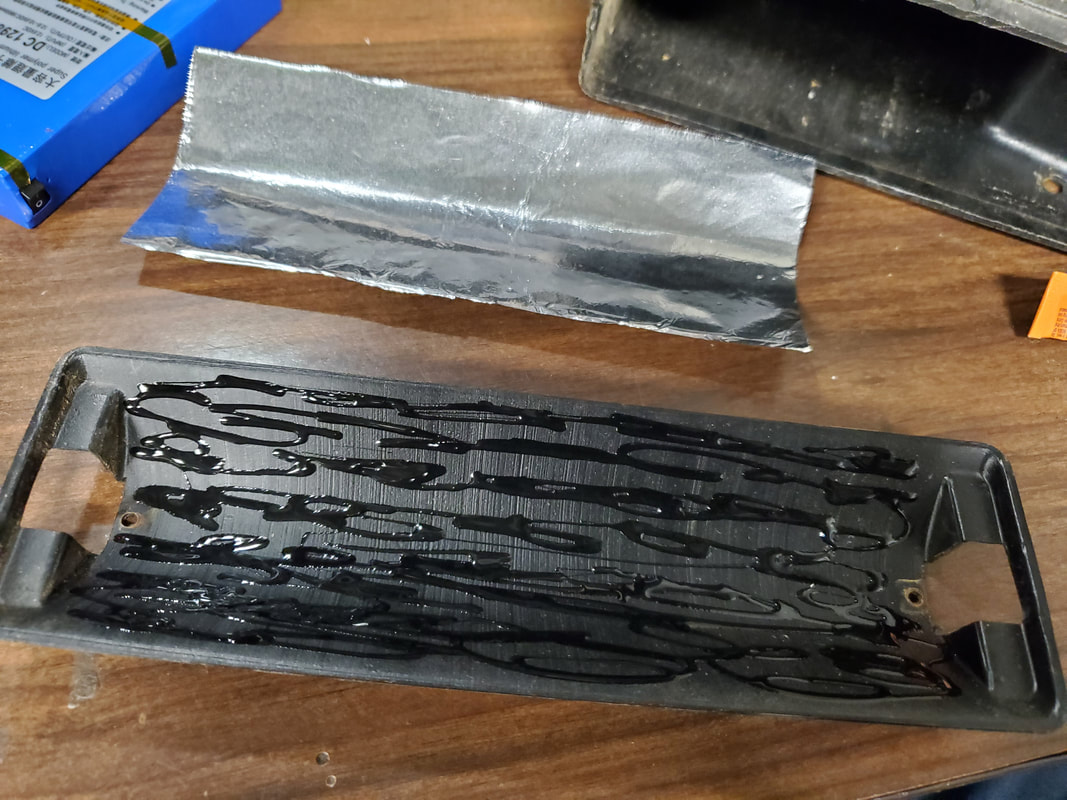
Piece of foil cut and reflector base covered in glue ready to accept foil
Using some super glue, I covered the reflector base liberally with the quick drying crap so I could get the piece of foil glued down. Rubbing from the middle out to rub the ripples and bubbles out, I got the foil down flat and solid on the base. After letting the glue dry I used the hot glue gun to lay a bead to glue down the two LED boards dead center on the reflector base.

Foil down on reflector base with marks to mark where LED boards will go.
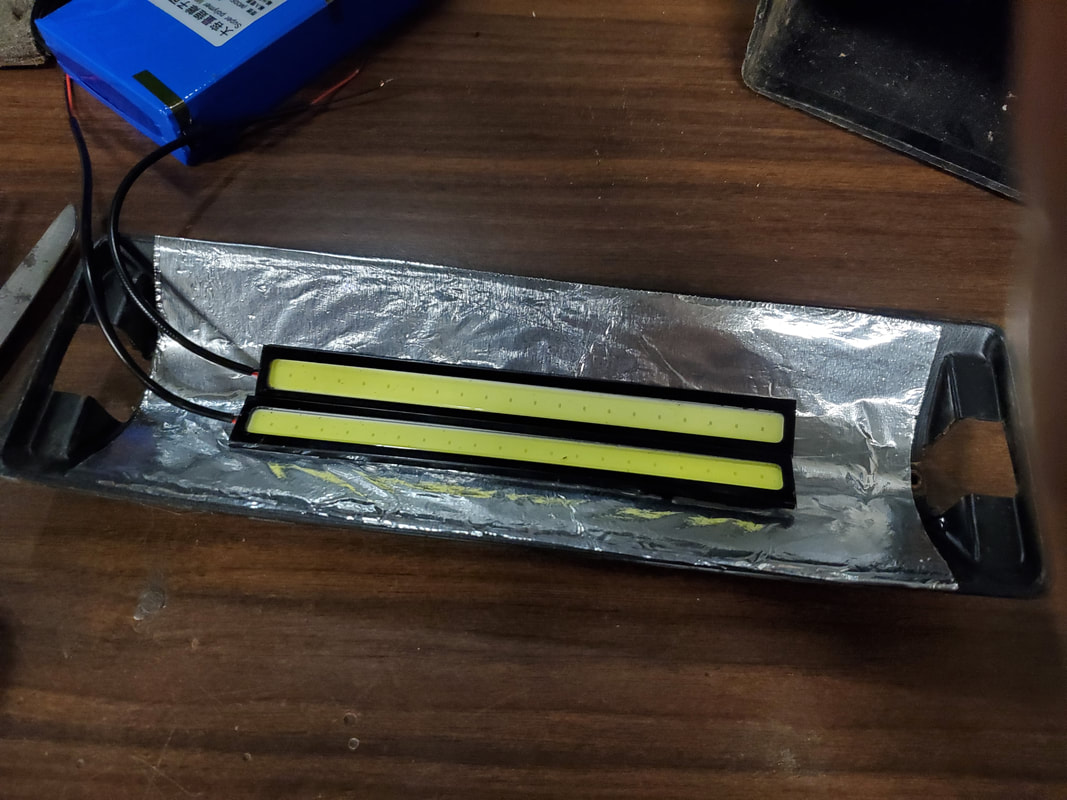
LED boards glued down to reflector over foil

Wires from LED 's hot glued to end of reflector base.
With the LED's taken care of the next move is to get the battery in place. The battery comes with two pigtails, one for the charger and one for whatever the load is, with a male end that's like the charger cord. The load plug will need to be cut to get to the wires so the LED's can be hooked up. The charging end will need to be placed at a spit where the charging cable can be plugged up easily.
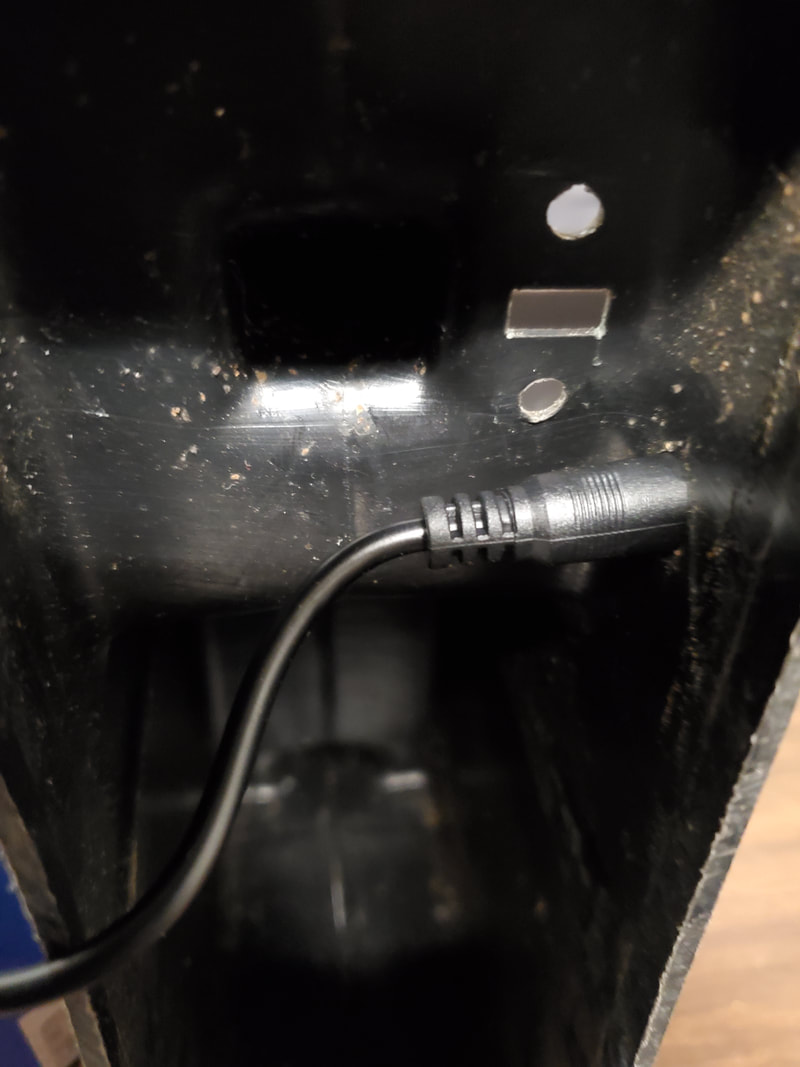
The best way for me to do this is do open up the hole where the old charging port was to accommodate the new charging plug on the battery. With a little drilling I got the hole opened up enough to push the plug through with a little snugness. I glued the base of the plug from the inside so the plug is secured with the end sticking out slightly.
Battery charging plug test fitted in hole in side of lantern housing.
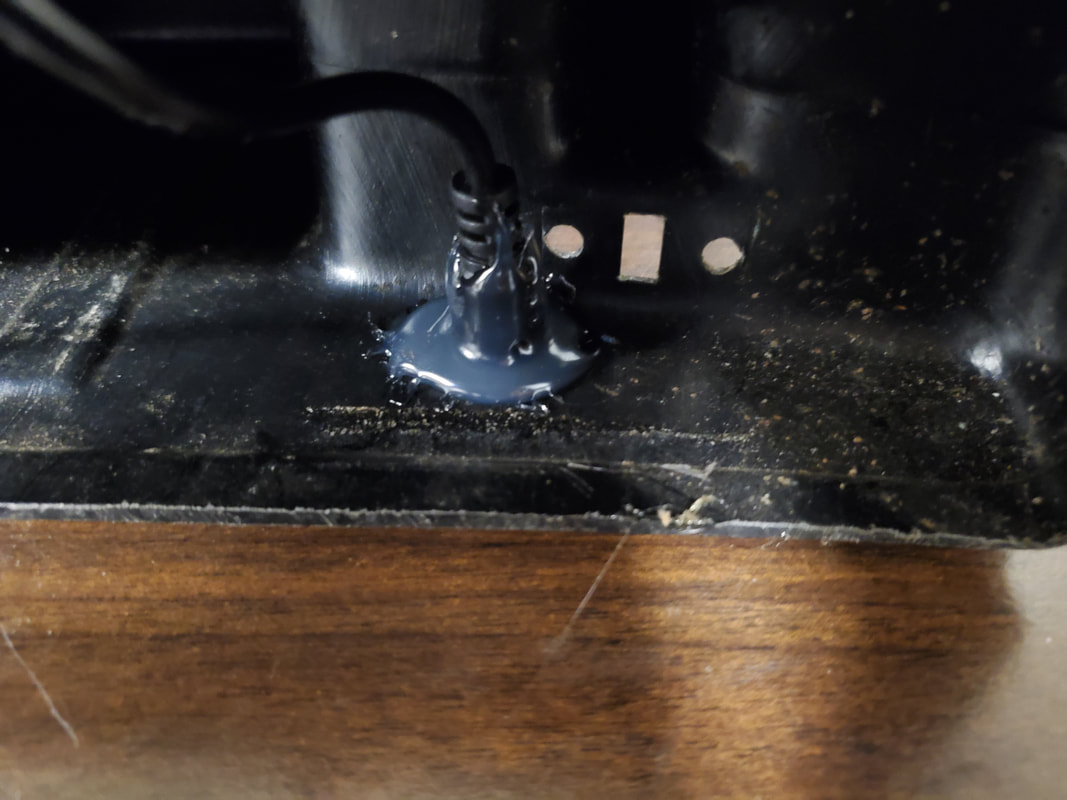
Plug glued in place on inside of lantern body.
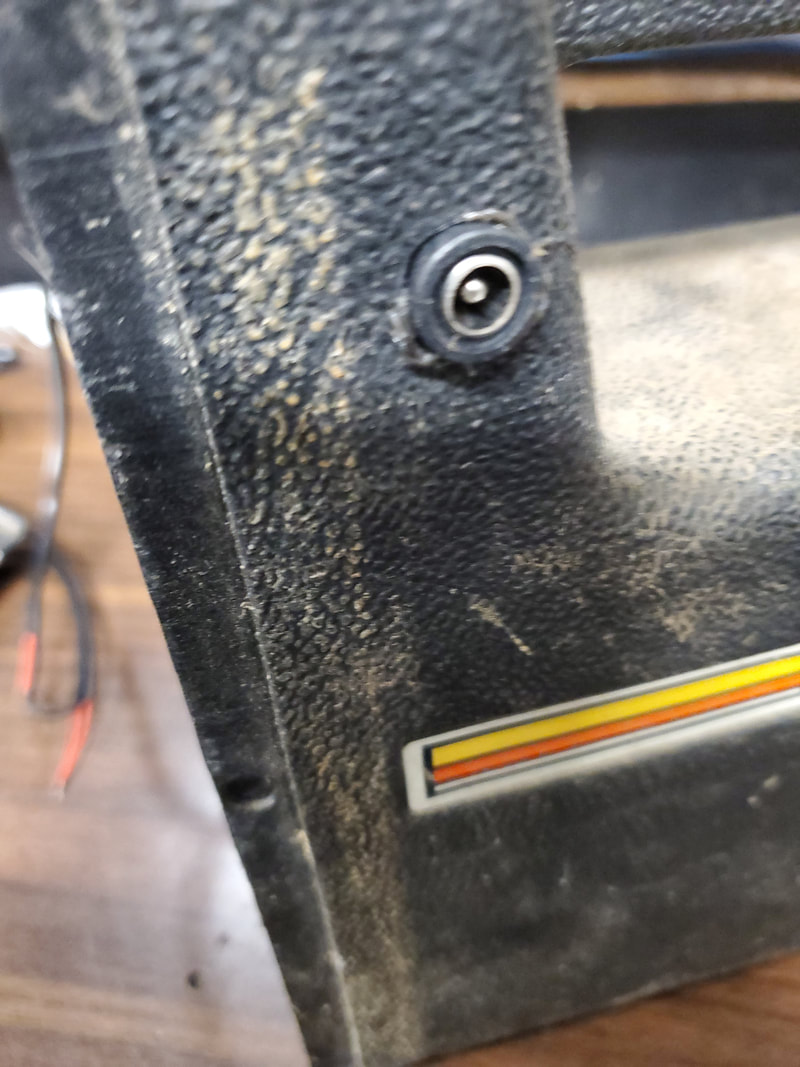
Charging plug secured in place, outside view.
Now for the battery itself. Before I glue it down I do have to accommodate the little power switch built onto the battery. I cant leave it in the on position because the small LED in the switch will eventually drain the battery. To do this I had to determine where the battery will be secured then seeing where the switch is then cut a hole in the body to open up the switch to the outside world. With that I was able to hot glue the battery in place inside the lantern body with the switch where I wanted it to be.
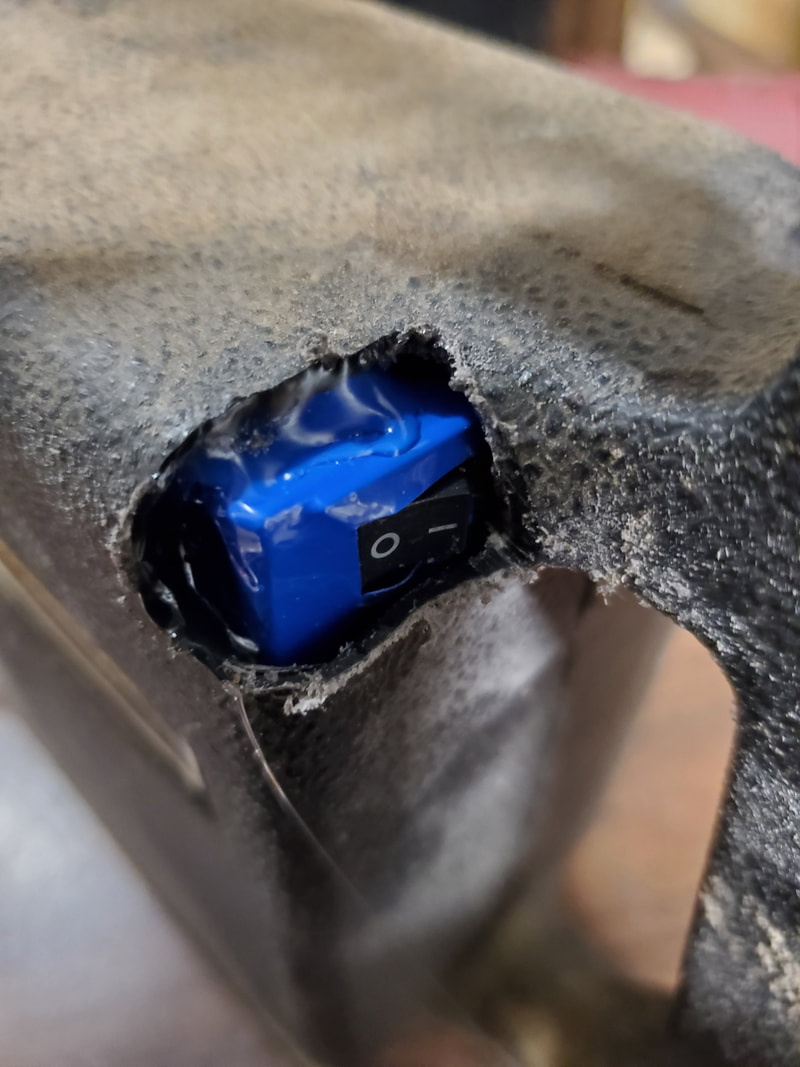
Opening in case with switch protruding, note glue around battery.
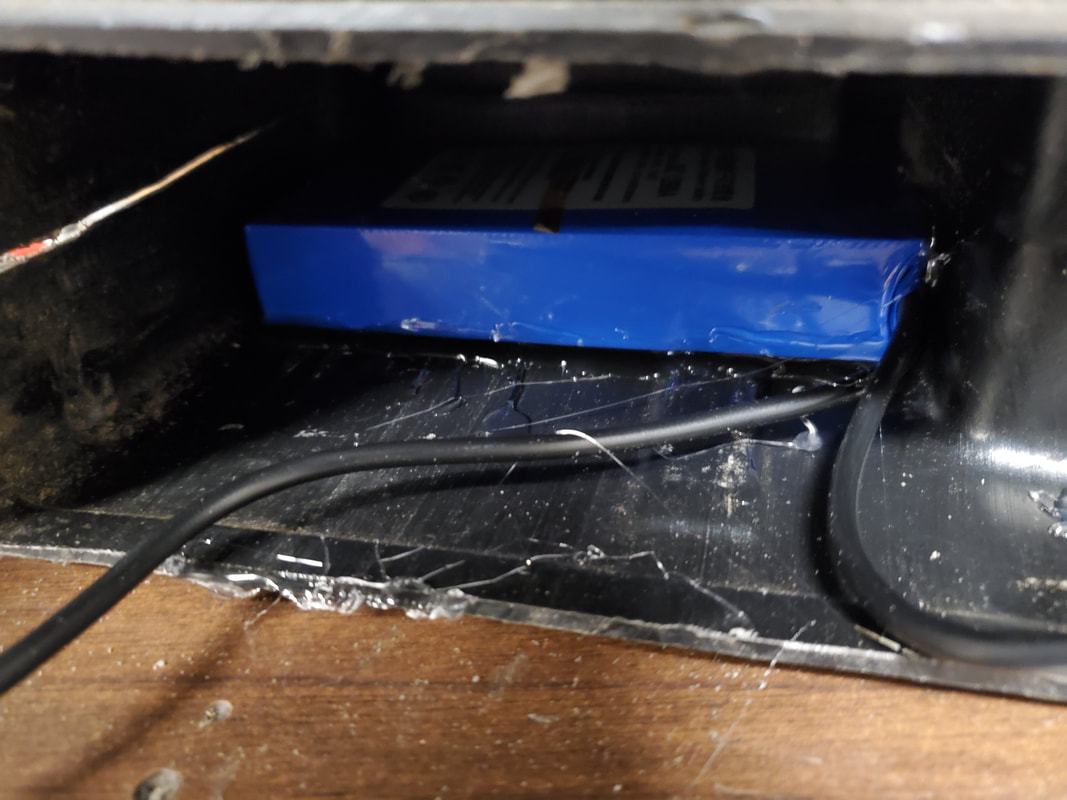
Battery glued in place inside lantern body.
Next is getting the wires from the LED's hooked up to the wires from the battery. Since there was plenty of wire coming from the LED's, I hot glued the pair of wires to the back of the reflector base after hooking up the battery wires to the LED's. I had to wire the LED's in parallel with the battery wires then heat shrink tubing over the solder joints for further protection.
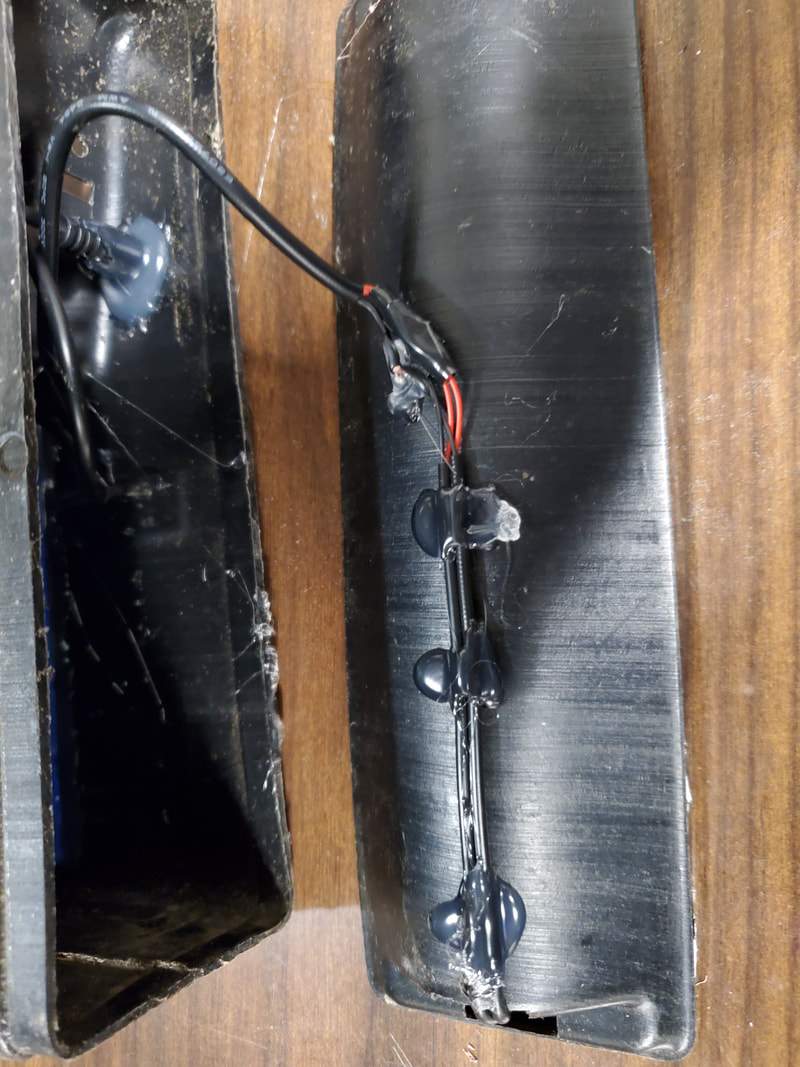
Now comes an interesting problem. After testing the light with the charger, I found that the LED's came on when the charger was plugged even though the switch was off. Both plugs on that battery were hooked in parallel so power from the charger went through to the battery and the LED's. Weird wiring. The only solution to this was to tap into the wiring going to the LED's and hook up another switch that will be used to break the circuit to the LED's during charging. This wasn't so hard, it just took am extra bit of soldering and covering of the solder joints as well as cut another hole near the bottom of the lantern body to accommodate the 2nd switch.
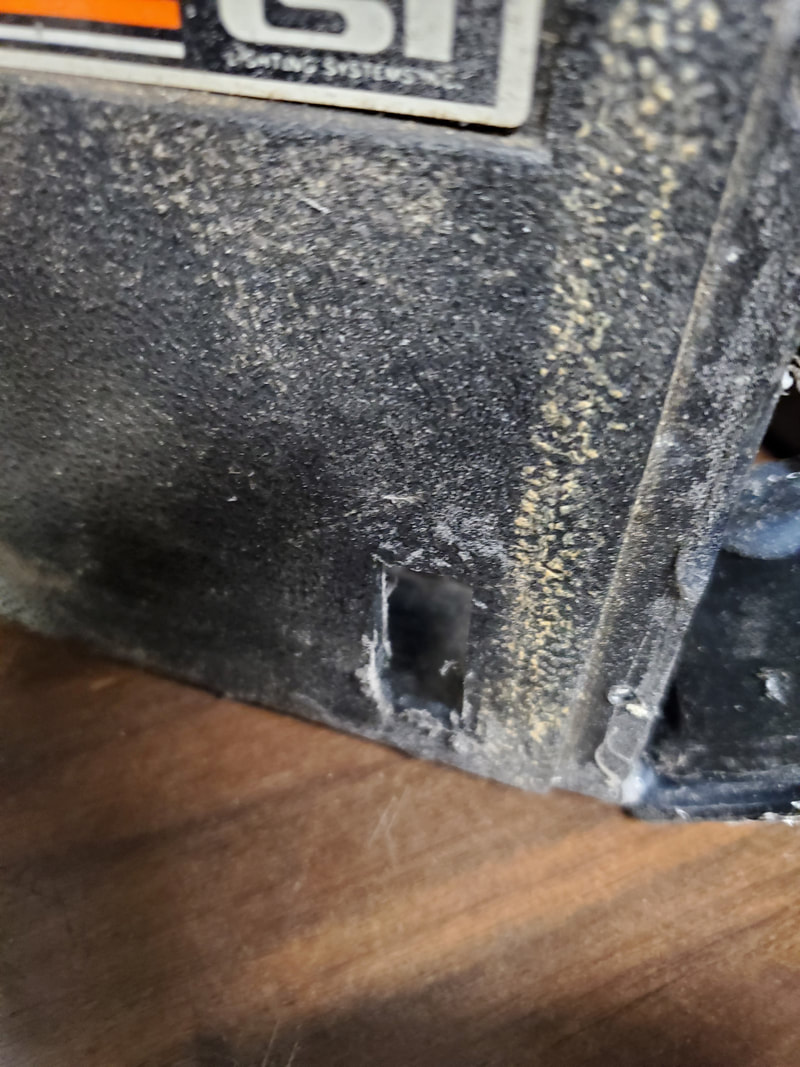
Hole cut in lantern body to accommodate extra switch.
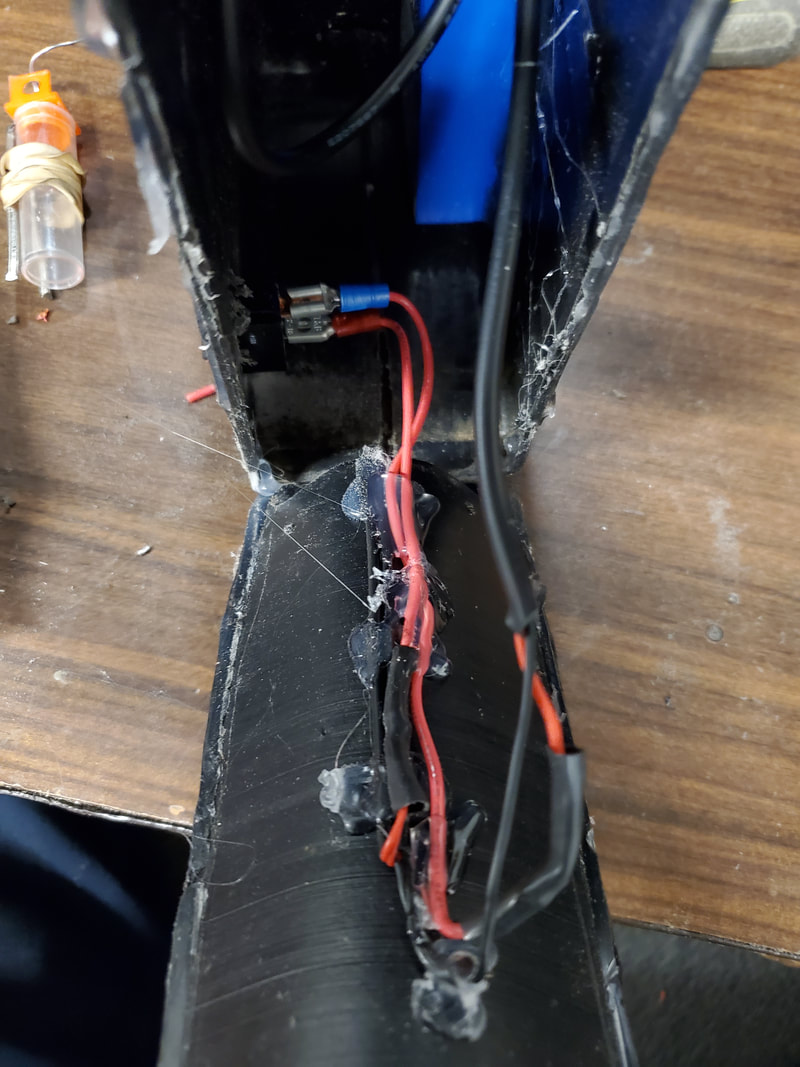
Extra wiring for the switch in place.
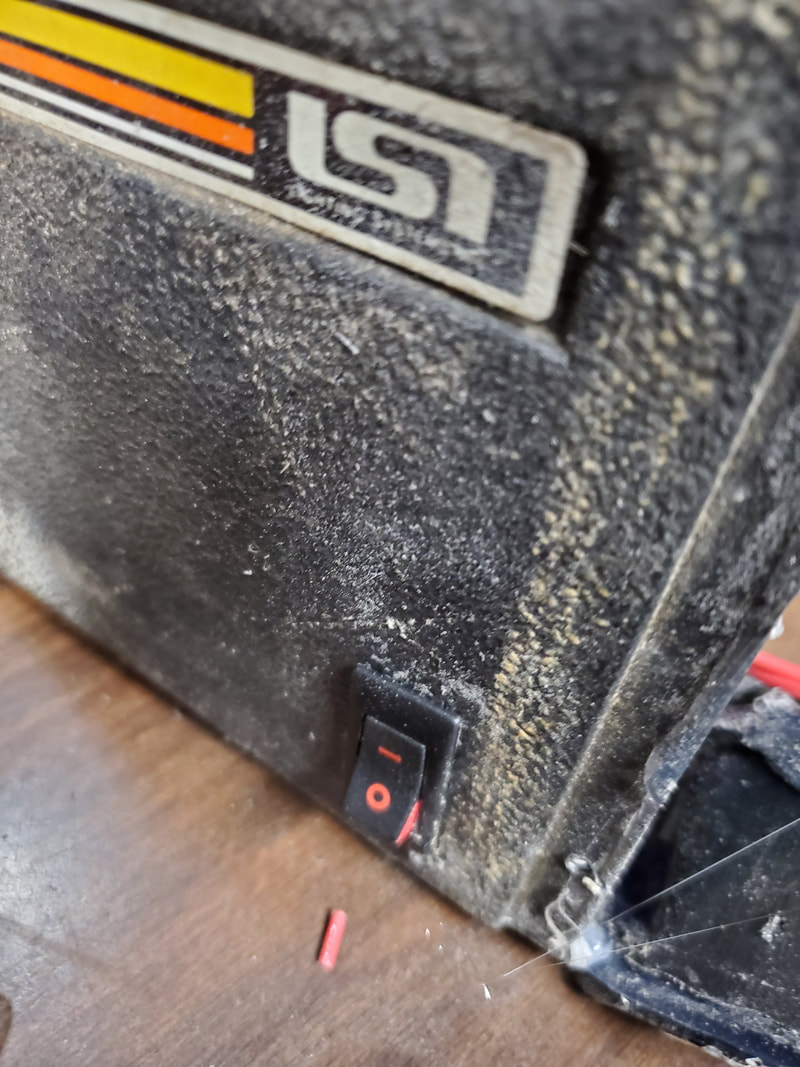
Extra switch snapped in place.
With the extra switch in place I was able to finish things up by gluing the reflector base in place and topping it off with the lens. Since the lantern body has been distorted over the years the reflector base did not sit perfectly flush. I had to partially glue it in spots amd hold pressure on the body against the reflector base until the glue dried the glue some more until I had the reflector base completely glued down. Even with this method I didn't get things perfect.
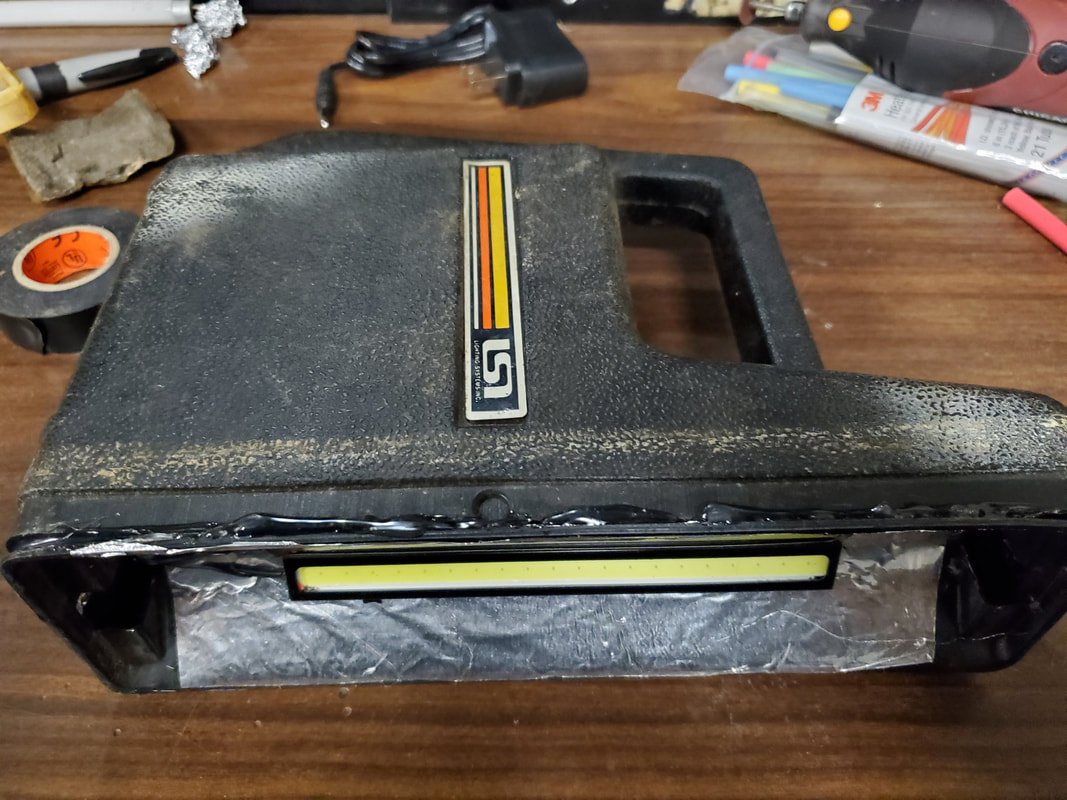
Reflector base glued down in lantern body.
I took some time to clean up the faded clear plastic reflector so it would look better. Using some glass cleaner I managed to get the lens pretty clean, given the fact the plastic is almost 40 years old. From there I finished thimgs up by gluing the lens down over the reflector base.
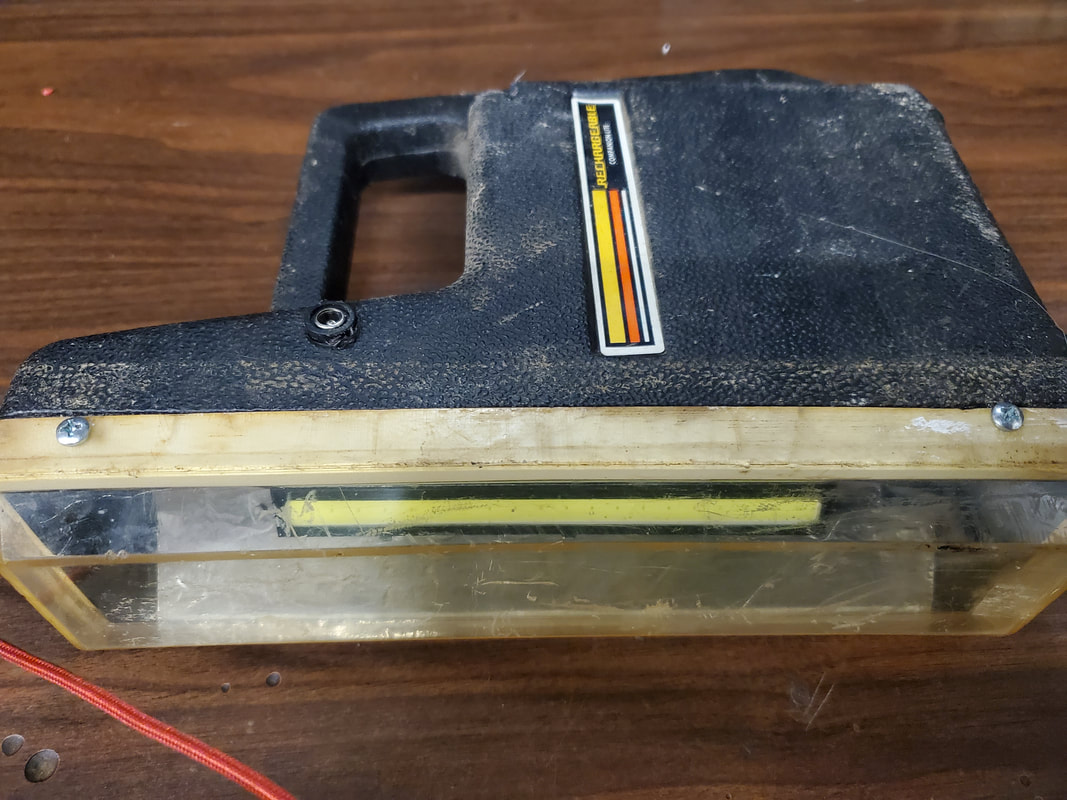
Lens glued to lantern covering reflector base, note how clear plastic is.
With that the rechargeable LED lantern was complete. The LED boards were rather bright given the low wattage of the units. This thing is able to light up a good sized area amd with the 10AH battery it should run a long time.
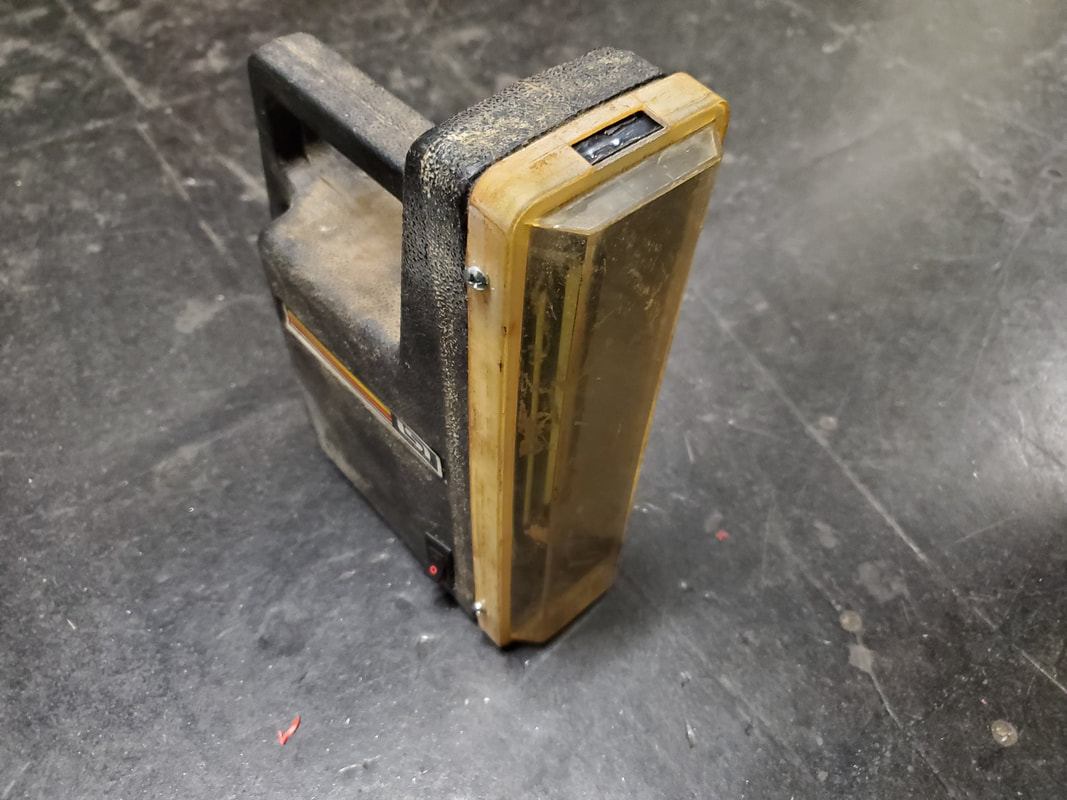
The completed rechargeable LED lantern.

Lighting up the driveway with the LED lantern.
|
|
|
|
|
|
|
|
|
