PERIMETER FENCE ENTRY GATE
After getting the main gate done for the perimeter fence, effectively closing in the entire compound, we were able to rest easy with the idea that everything is pretty much secured, from intrusion, whether 2 or 4 legged kind. While this is awesome and was a highly desired goal for a long time, it does create a whole other batch of problems, however minor they may be. Besides having to manually open the gates to allow for vehicular ingress/egress, there is the issue of just being able to pass through on foot for any given reason, one of the more common being to retrieve packages at the gate. Even this would require working one of the gates open to go out. The solution to this problem: build an entry gate. Just like with the main gate, there are many ways of going about doing this, all of them expensive. The solution, in the Improvisation Center way is to build one from what we currently have available. In this case what we have available is the fence itself. The plan here is to cut a section of fence out, where the fence panel meets an end post, and make all the modifications to turn that small cut out section of fence into a working door that can be latched and locked from either side to allow for convenient use.
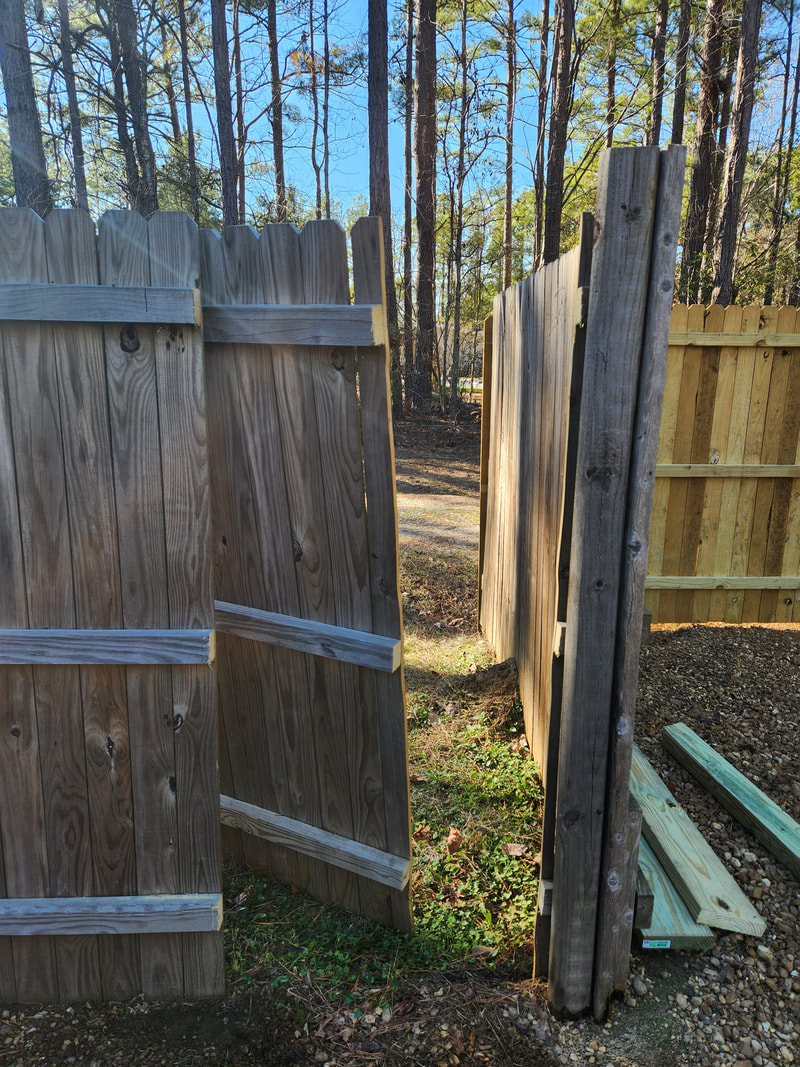
I started off by cutting out a section of fence panel that was a little better than 34" wide. This was done at the corner of the older section of fence, allowing me to use the existing post as an anchor point for what would be the door frame.
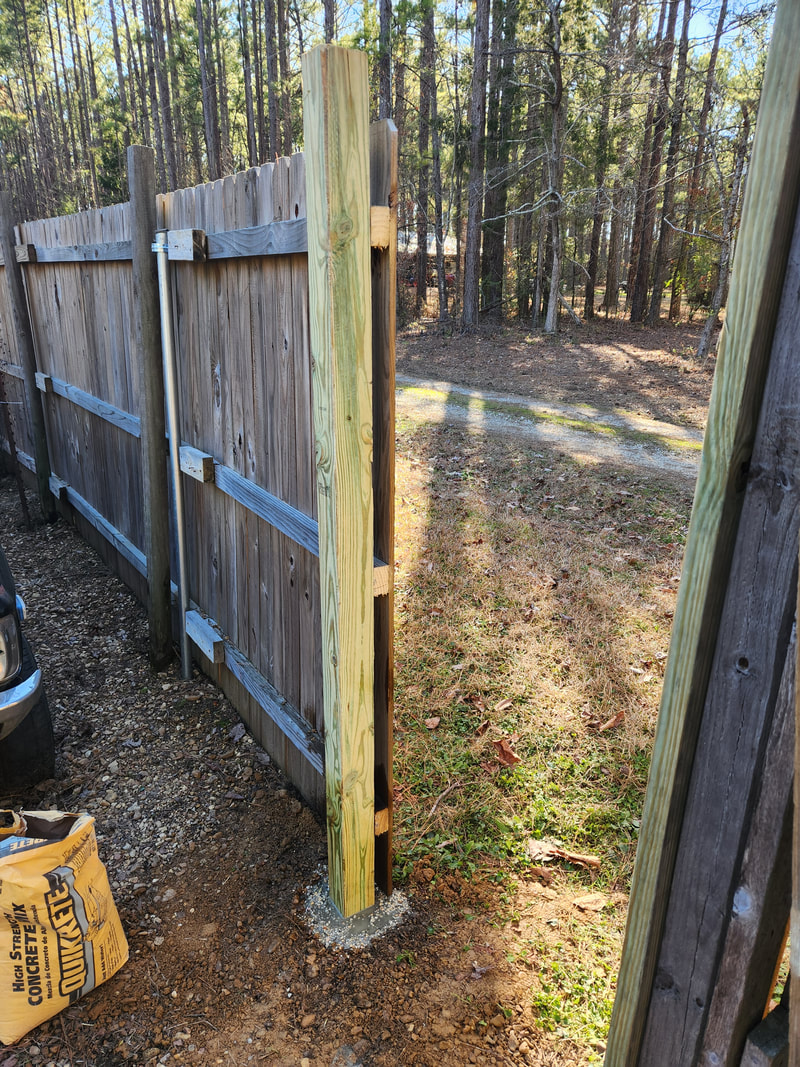
After cutting out the section of panel the next move was to drill out a post hole with the auger and sink a fence post. The concrete was dry poured into the hole and soaked with water, which is easier than premixing the concrete and trying to pour the soup into the narrow spaces between the post and the walls of the hole. The end of the fence is secured to the post with deck screws afterward.
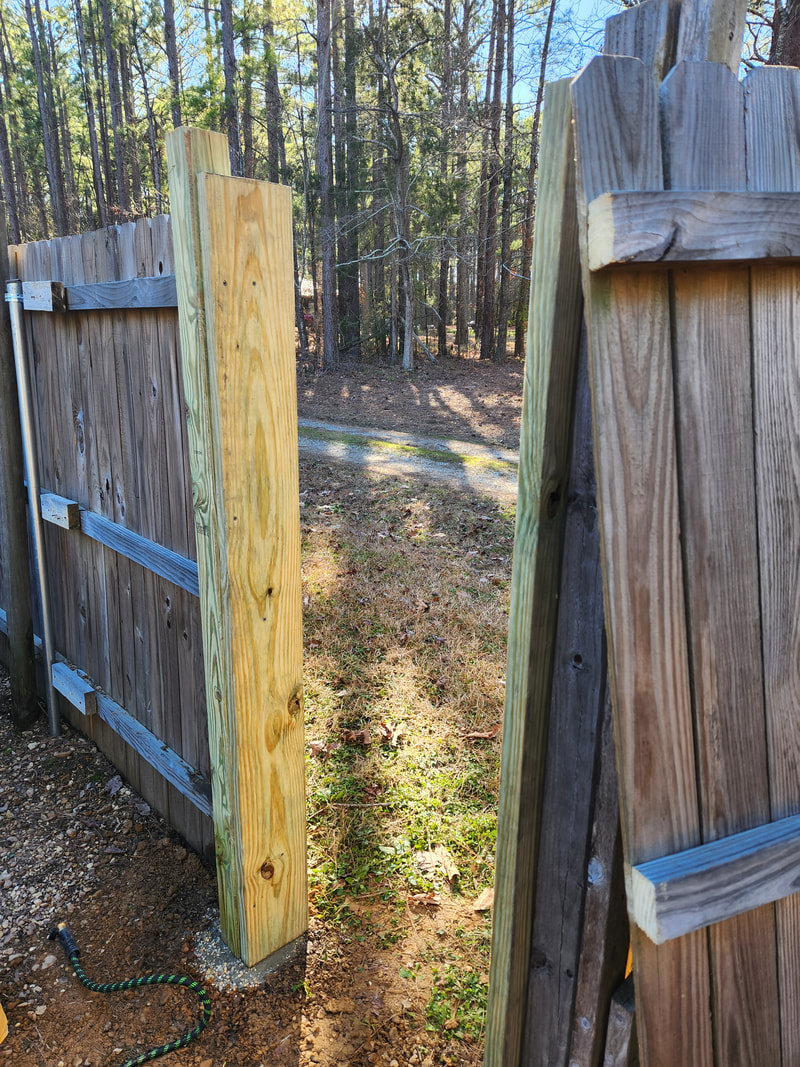
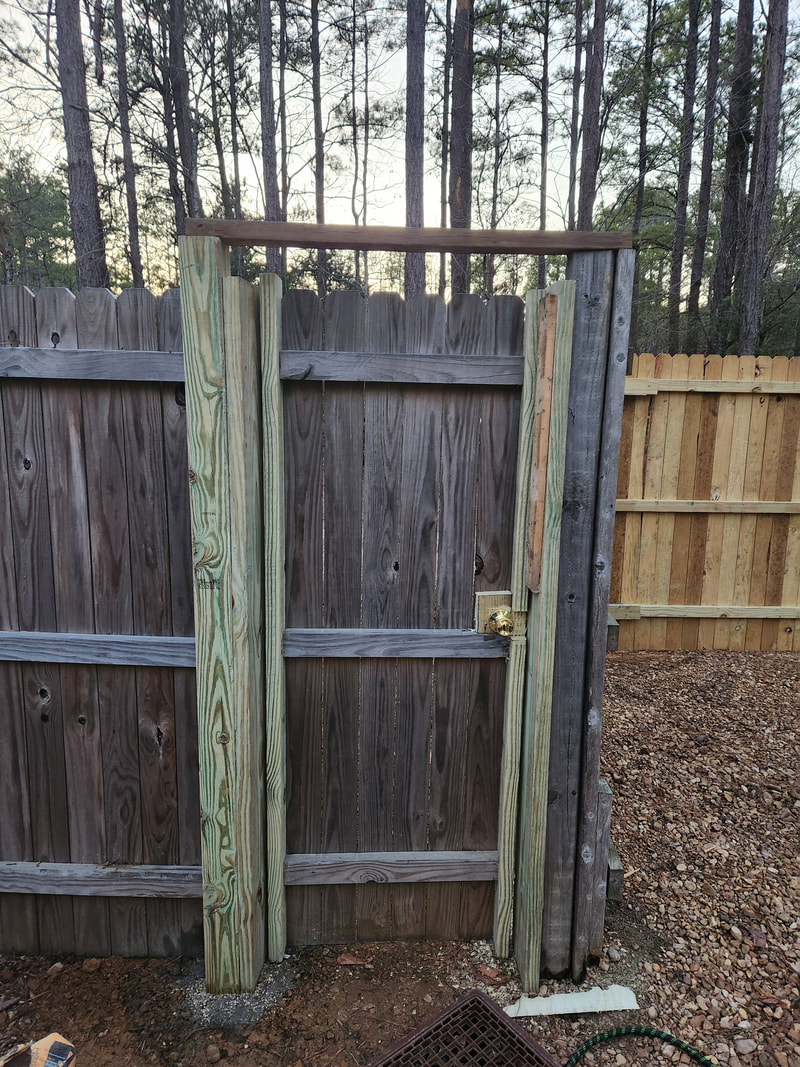
With the new post in place the next move was fabricating what amounts to the door frame. This was done by taking two 6ft lengths of 2x8 board and securing them to the posts and the ends of the fence panels using more deck screws. The side seen in the picture will serve as the anchor point for the hinges while the other side will serve as the latch point for the latch in the door knob that will be used later on.
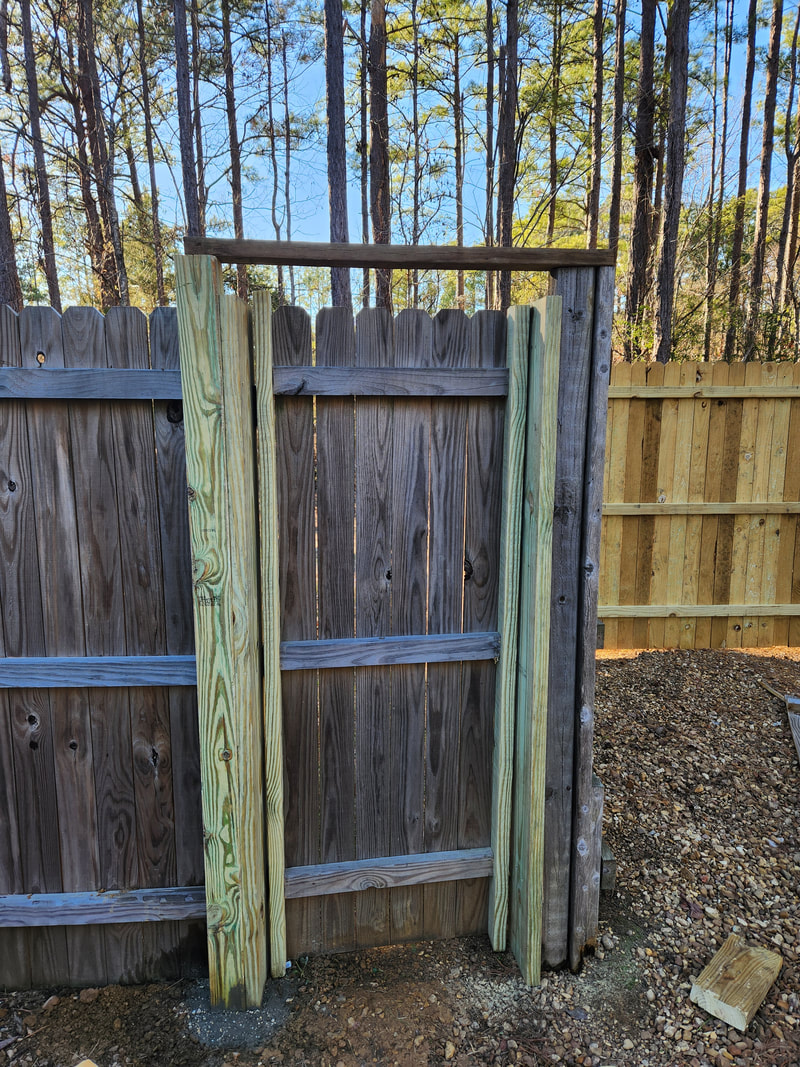
With the door frame done I took the section of fence panel and on one side attached a 6ft piece of 2x4 to the ends of the 2x4's in the panel using deck screws. I then attached three large hinges to the 2x4, allowing me to hang the door to the 2x8 board. Afterward I had to measure and trim the other side of the panel so I could attach another 6ft 2x4 to the other end and be able to close the fledgling door within the frame with minimum gapping on the latch side. As an added bonus I attached a 2x4 across the top of the posts to add rigidity to the corner post as it was weak at the base due to the inevitable rot that befalls landscape timbers that I used when I first started building the fence.
With the door hung the next move is adding the door knob and its hardware. I started off with the latch assembly as without this, the door would not be able to do its job of securing the area by being firmly latched. I first added the latch mechanism and the associated latch plate, then started cutting into the wood around where the door knob will go, taking a moment to add more wood with which to hold the door knob firmly. After a lot of trial and error fitting and trimming I managed to finally get everything situated the way I needed it to be so the door knob, latch and lock all functioned as intended and designed.
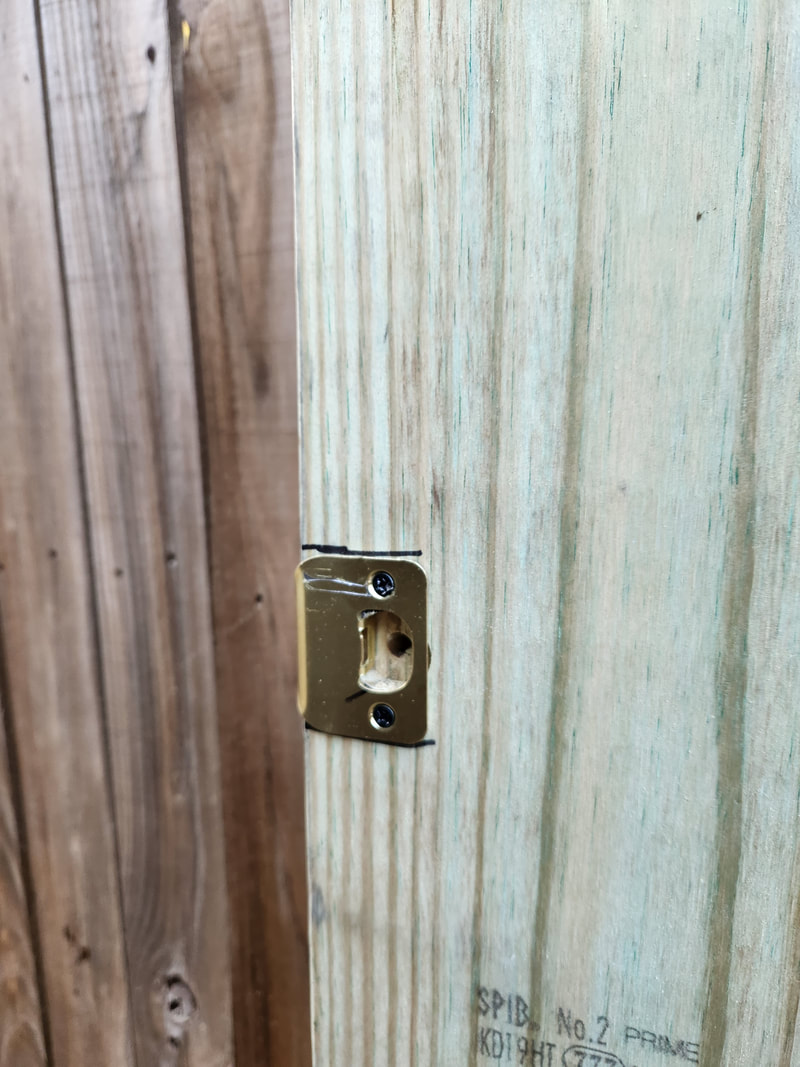
A shallow hole is drilled into the 2x8 after lining things up to allow for the latch plate to be attached with its included screws
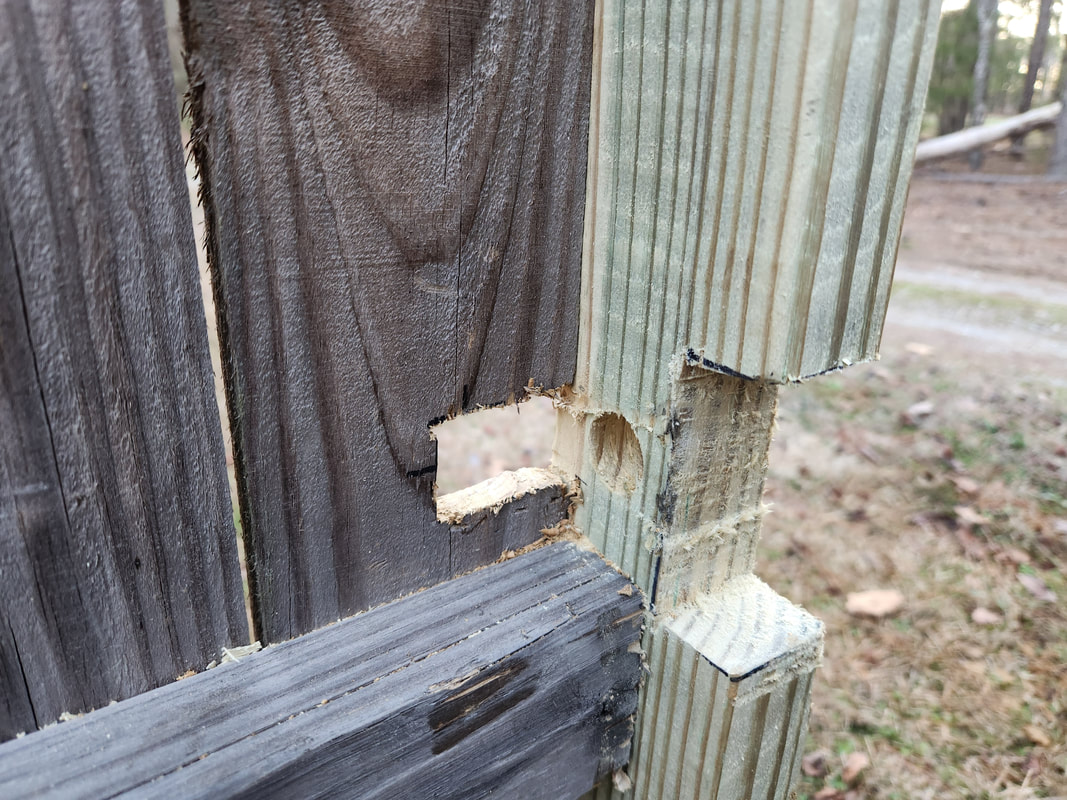
Using a spade drill bit, I drilled a hole for the latch mechanism while also cutting a notch out of the 2x4 to help the door knob better clear. I also started cutting the hole in the picket on the panel to allow for clearance of the door knob when its installed.
The latch mechanism is fitted into the hole and secured with its included screws. Looking at the inner part of the mechanism, one can see how it lines up with the boards, showing the approximate location of the door knob when its installed.
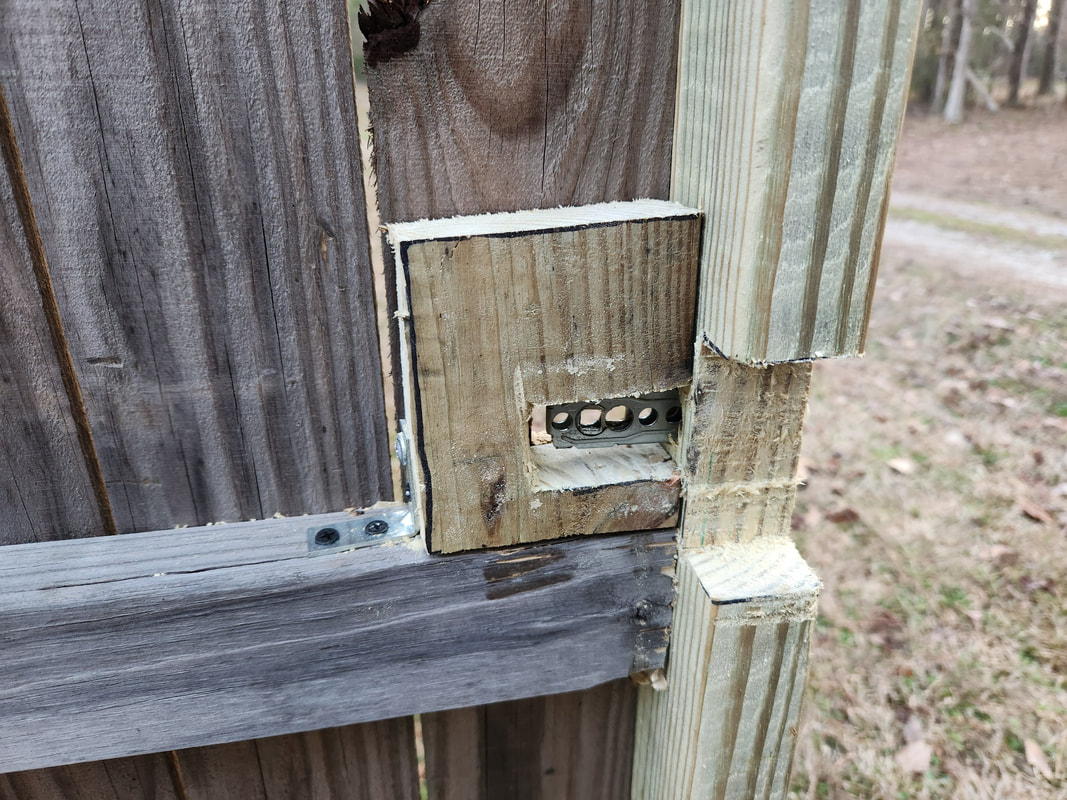
In the process of fitting the door knob, I ended up cutting piece of board from a salvaged 2x6. From here I cut a notch out to allow the inner part of the latch mechanism as well as the door knob internals to clear. This board will also serve as an anchor point for the inner half of the door knob. Note the angle brace to the left that is securing the board on the left side. On the other side a couple wood screws applied through the outside of the 2x4 hold the board in place.
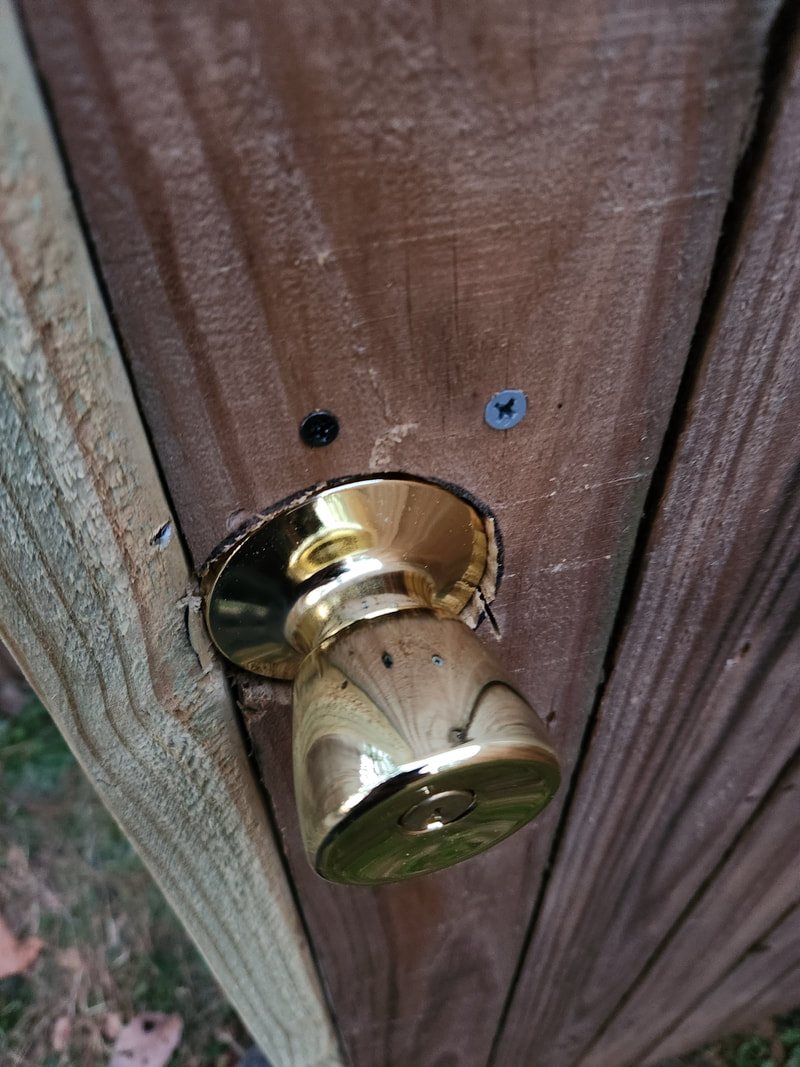
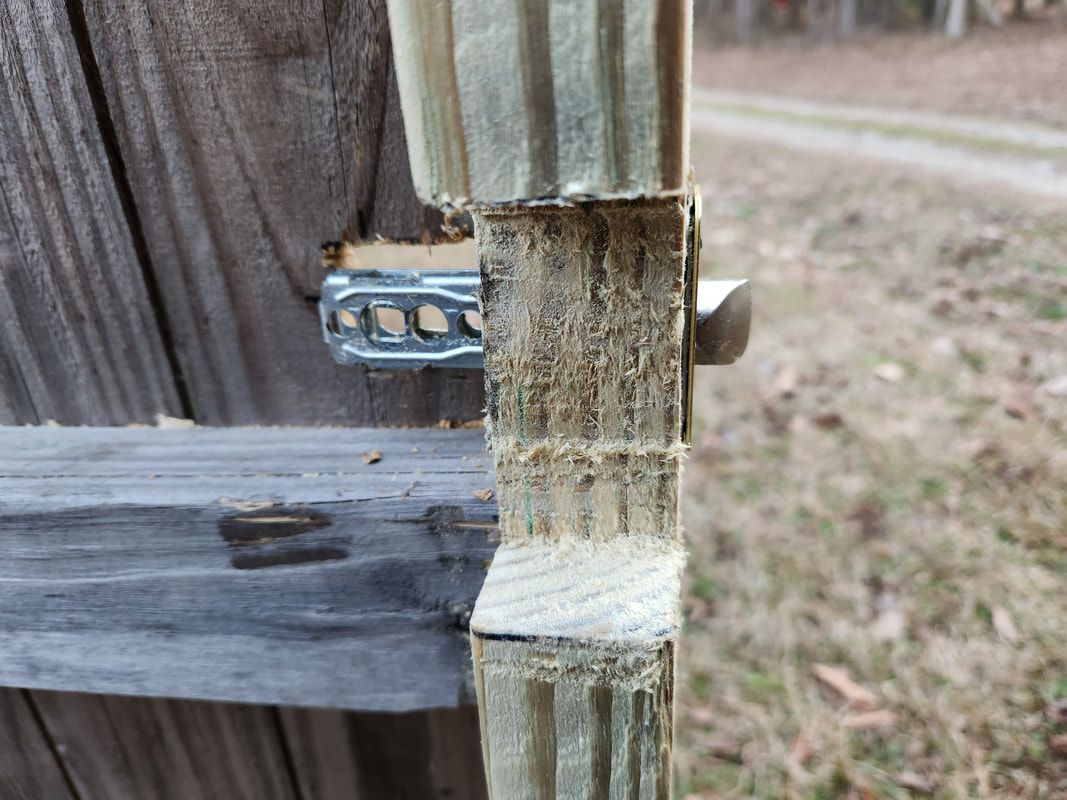
In order to fit the outer half of the door knob, I had to cut the hole in the picket to the circumference of the base plate on the door knob. This allowed the outer half to sit partially recessed in the hole, bringing it closer to where the inner half of the door knob sits so they can connect properly. Note the two wood screws above the door knob that are used to hold the block in place on the inside of the door.
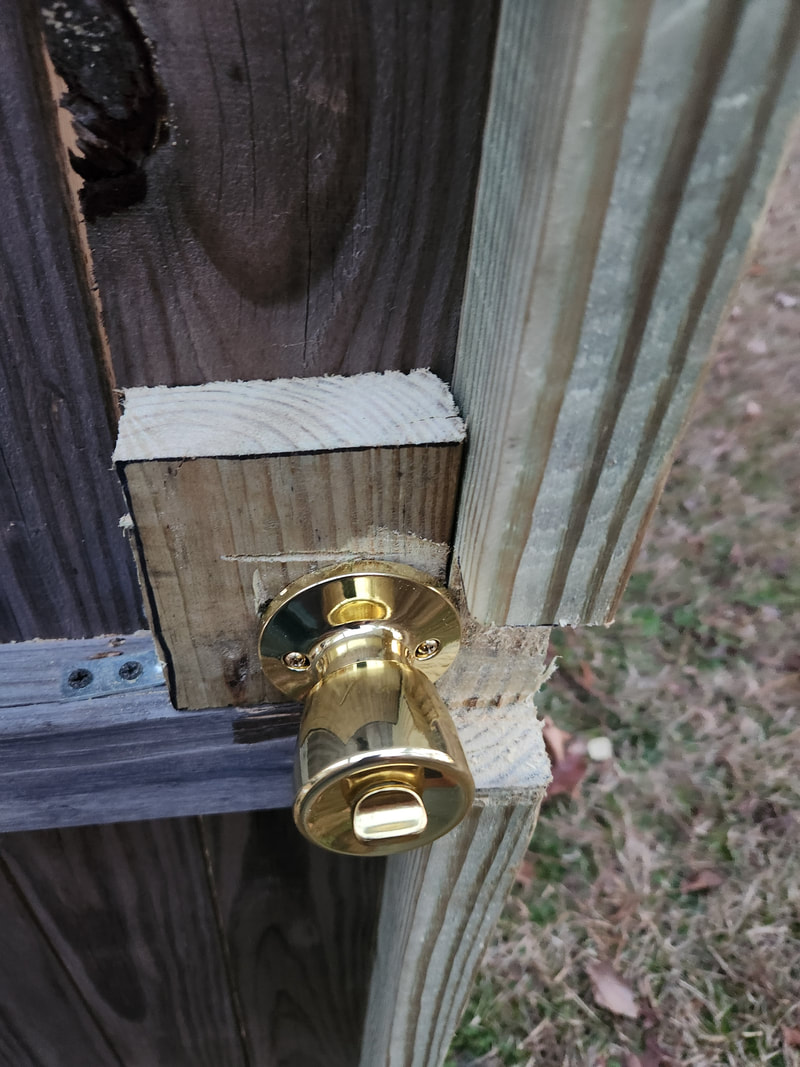
The inner half of the door knob sits flush against the board, secured with the long screws to the outer half of the door knob. As noted, the notch cut out of the 2x4 helps in allowing the door knob to fit and be rotated without hands scuffing the wood. The process of getting everything to fit where it all worked properly took a lot of in and out attempts with the door knob and the wood before finding that Goldilocks point where everything was just right.
The completed Perimeter Fence Entry Gate
With the new gate door in place and fully functional, we can now go down the rabbit hole that one does when they set up or otherwise create something new. One of the first things I will end up doing is laying a gravel path from the door to the road, taking time to make an embankment where the side of the driveway dips down so there's a straight path to the driveway. Along with that I can set up a "porch light" that will help illuminate the area around the gate so we don't have to fumble in the dark trying to unlock the gate. The next thing would be the addition of a doorbell camera so for one we can monitor the area in front of the door as well as be able to receive visitor. At the same time I can relocate the package crate from the other side of the gate to the open area next to the door. This area is more hidden from the main road due to the way the fence angles out from the door and to the driveway so it's only appropriate to tuck the package crate out of the way of view from the road. Even the door knob as room for improvement, whether with a smart lock or some type of lock that can be activated with a code so we don't have to use keys and that way one can be granted access by just giving them the code. Like I said, rabbit hole.
