Kratky Hydroponics Systems
After doing some research when I saw different growers online having astounding yields with hydroponics gardening, I just had to give the method they used a try. The method used is known as the Kratky method, named after Dr. Kratky, who came up with the idea. It is simple and basic, with the simple idea that plants' roots are partially submerged in a plant food solution and the water levels are monitored to make sure the roots stay somewhat submerged as they grow so they can continue to draw off the water solution while also getting oxygen from the exposed sections of roots. This system uses no pumps or timers and is almost completely maintenance free, as a properly set up system could go for weeks on end without having to be refilled. Other growers used all manner of materials to build growing apparatus to employ this method, using everything from buckets to pipes and gutters or storage containers. The plants were contained in either commercially produced net pots or even simple pool noodles to hold the plants in place. The arrangement that appealed to me the most was a bucket tower setup using pool noodles, as this setup is almost free for me to build. I had several buckets and some pool noodles on hand. All I had to do was get some more plants and some water soluble plant food and nutrients to use for our growing solution and get started.

We started off by cutting some short pieces of pool noodles. Since we started with tomato seedlings, with long stalks, the noodle pieces were cut around 3 inches long. The 2" hole saw is used to drill three holes in the cat litter buckets we will use for the bucket towers that we're building.
Since the bucket towers are going on a table that is staged against the fence line, only three of the sides need holes for plants. The fourth is the back side. The hole saw is used to cut the holes in the three sides. The plant food used is a water soluble powder optimized for vegetables, along with a little Epsom salt for added nutrients. The mix is then diluted in the water, filled up to just below the holes in the bucket.
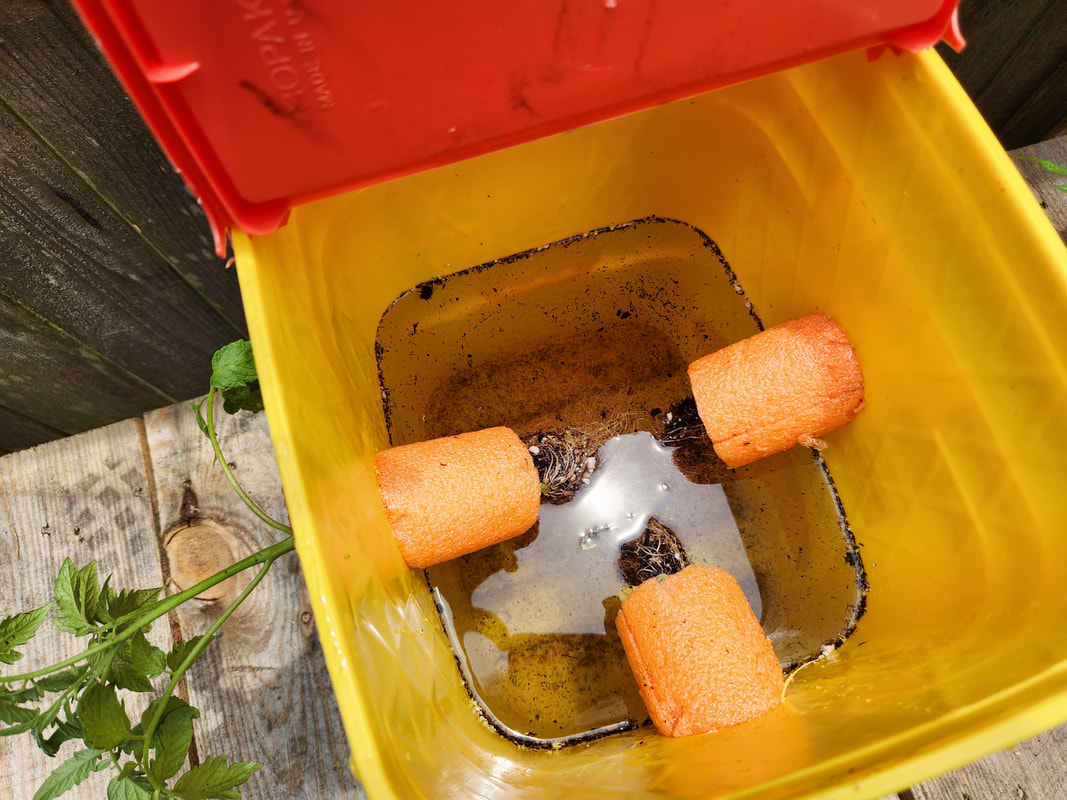
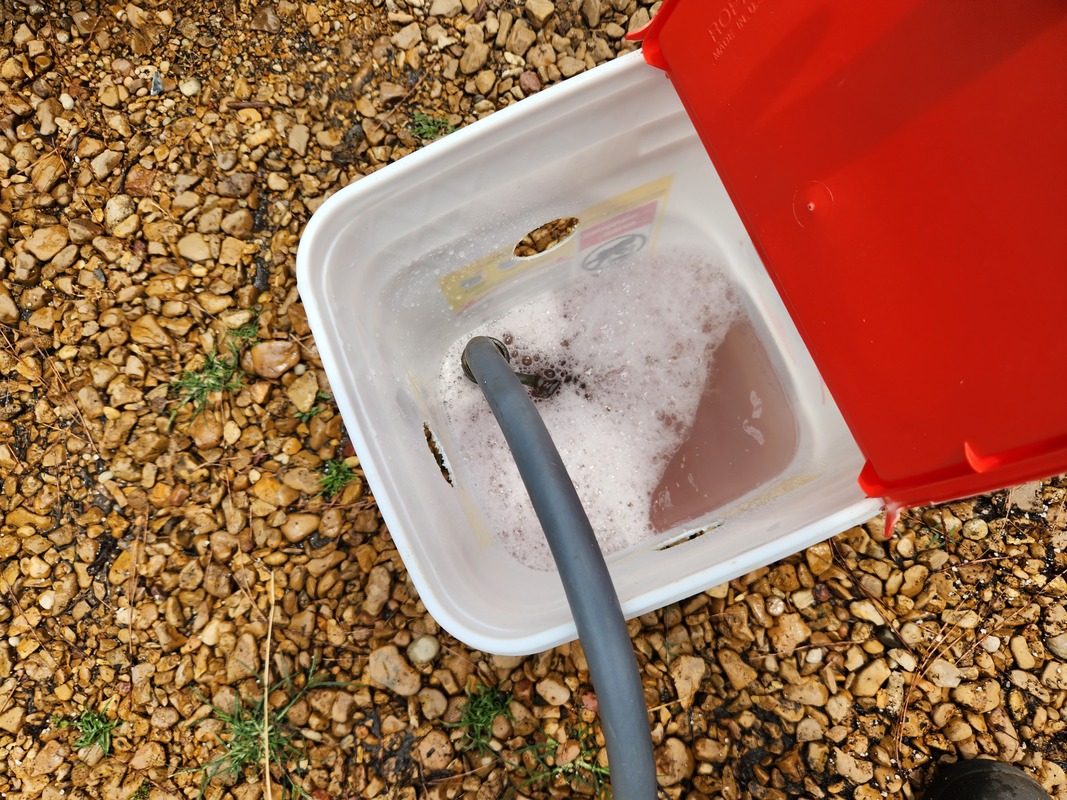
The seedlings are removed from their flat and hosed down at the roots to remove the dirt from around the roots. A small slit is placed inside the pool noodles to help aid in grabbing the stalks when the noodles are placed in the 2" holes in the bucket. The noodles are placed at a slight upward angle to ensure the roots are aimed downward and partially submerged in the plant food solution. As the roots grow, the water level is allowed to get a little lower so the roots can have exposure to air as well as the water solution.
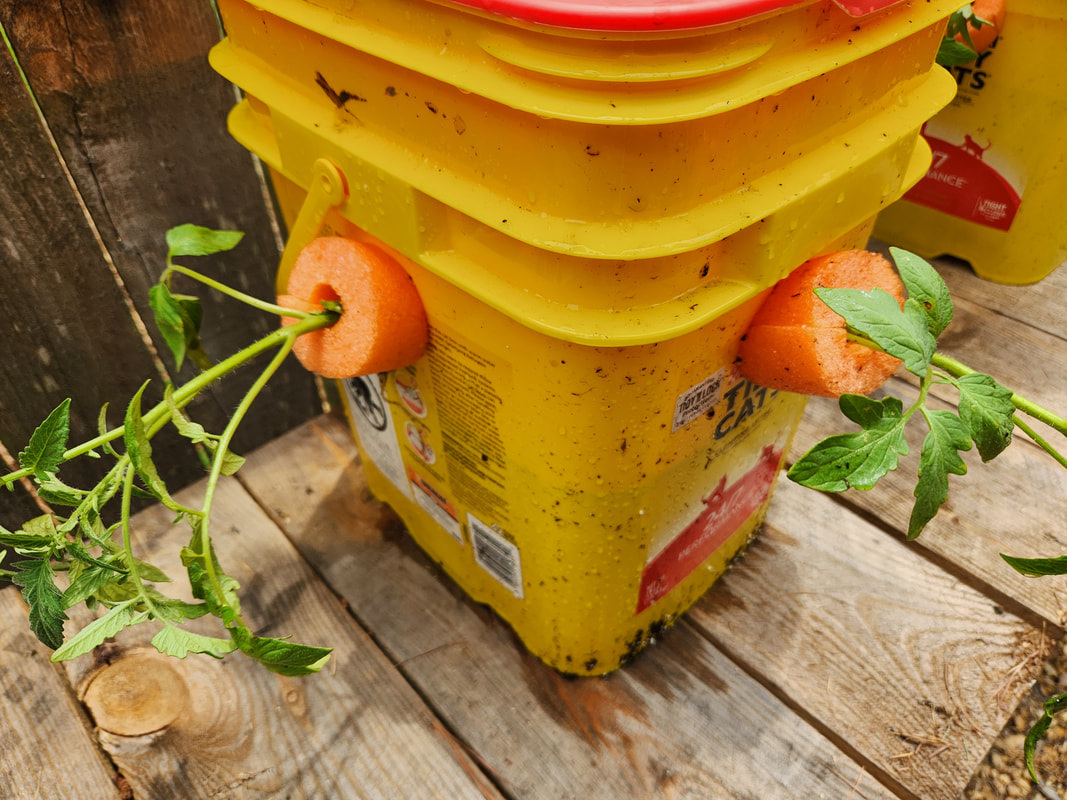
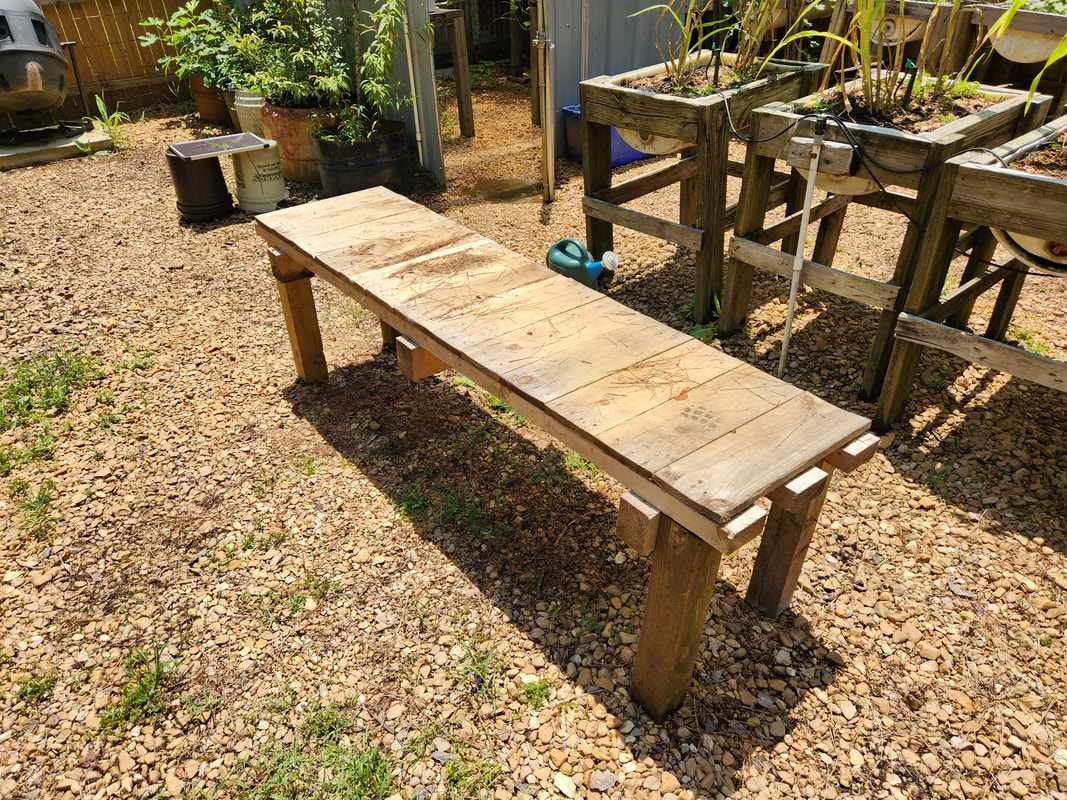
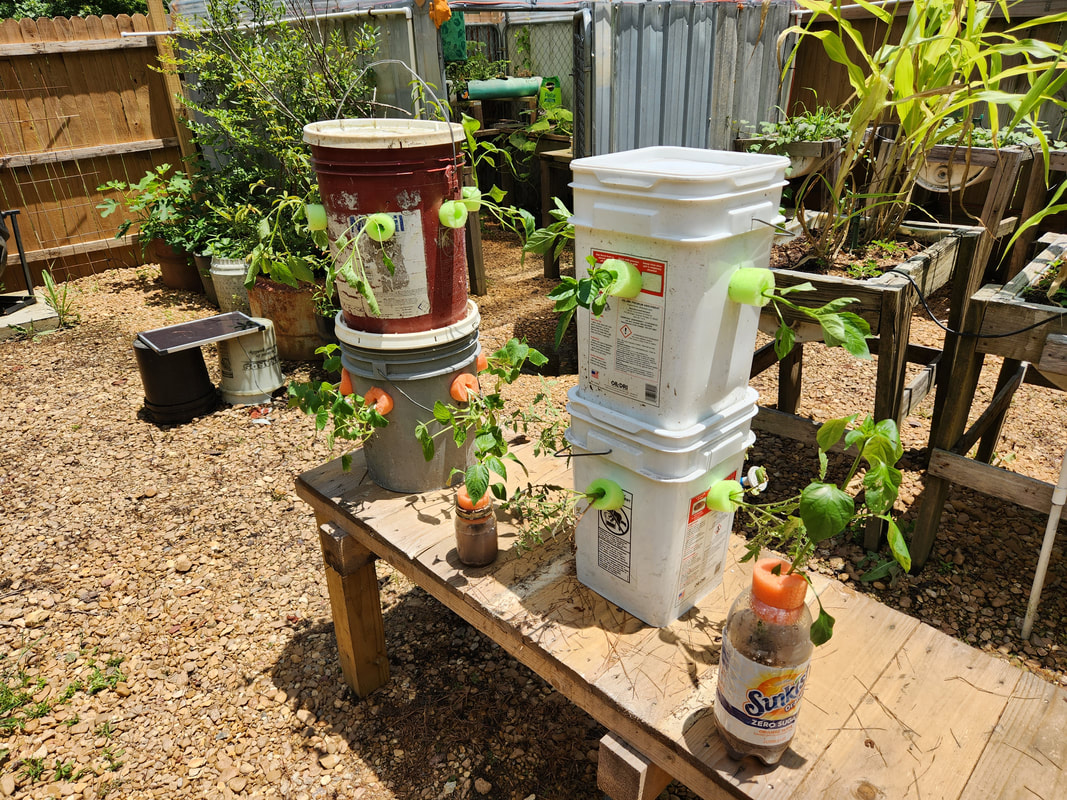
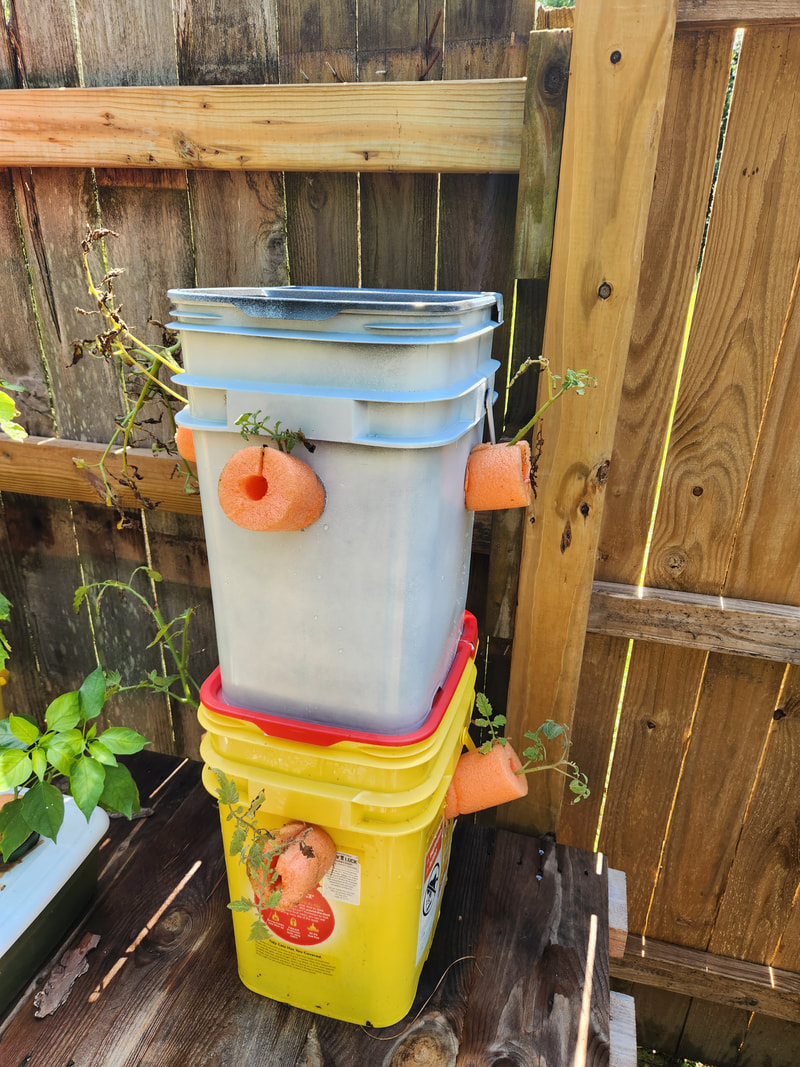
We made a table from a wood equipment platform acquired from our neighbor and modified with four 4x4 posts we had left over from past raised bed projects. The table is long enough to hold three sets of buckets, with each set being stacked two high for mini towers. The spacing between the sets allows the plants to grow without crowding.
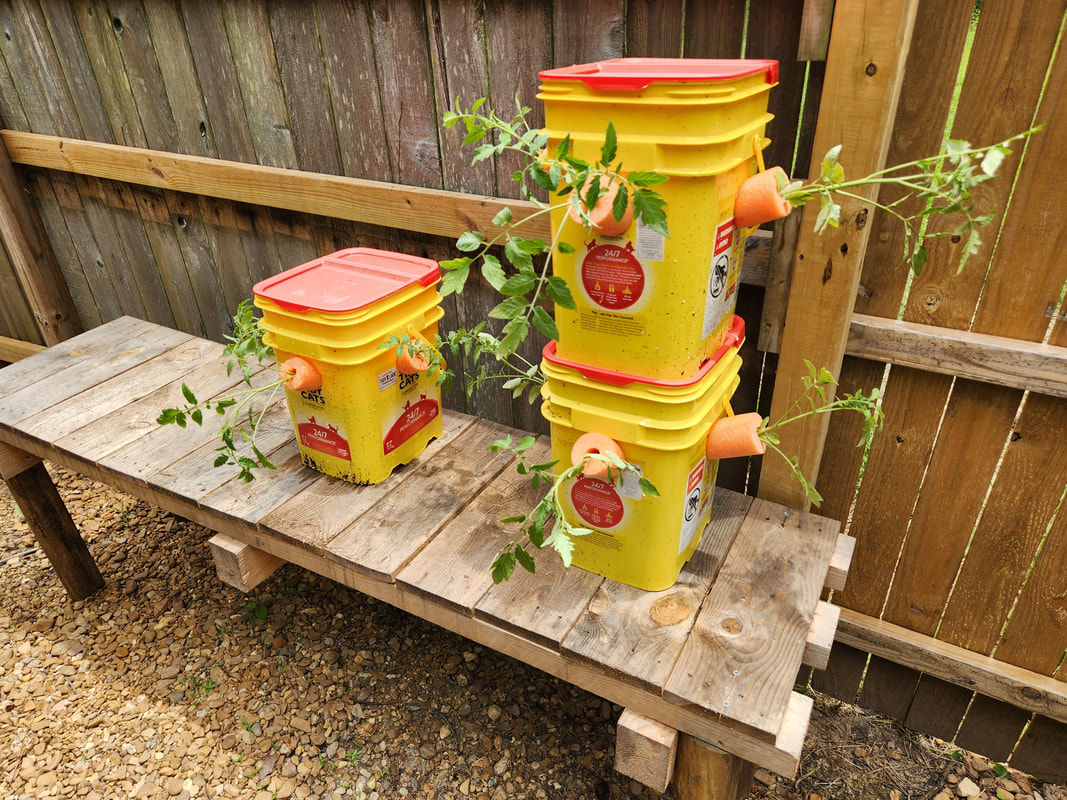
If necessary, a trellis will be staged behind the table against the fence line for use in tying the vining tomatoes or cucumbers that are also being planted in three more buckets, not yet added in this picture. When done, there will be three two bucket towers on this table. A third bucket can be added to each tower as the buckets come into our possession. I will end up drilling a small hole on the fronts of these buckets to use a funnel for refilling them with more water/plant food solution as the water levels go down.
The next move in our Kratky endeavors is a smaller setup that I saw other people do, which was using different containers as vessels for the plant solution, while using the neck of the bottle to hold the item that would hold the plant, in our case, a pool noodle. The same rules apply here, with the plant being suspended with the roots partly submerged in the plant solution. This concept worked for others, so, barring other variables, should work for us here as well. I also did the same thing with a mason jar, which I also seen done with success as well.
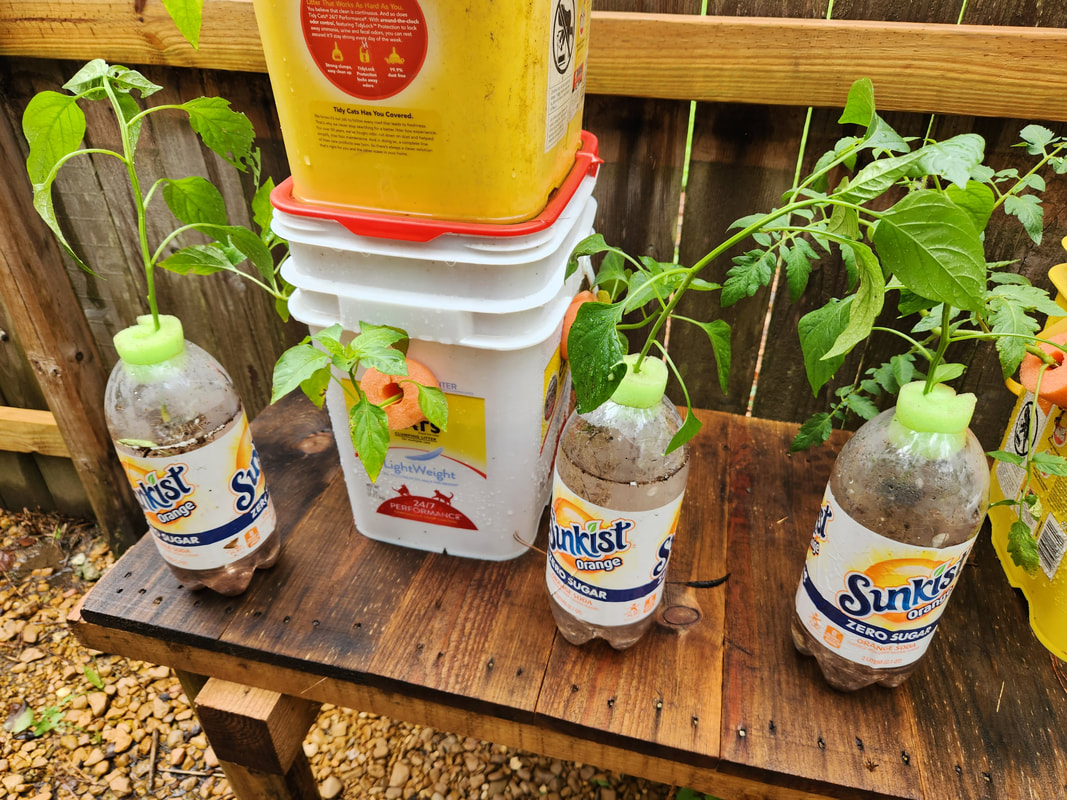
Three soda bottles are set up by cutting out the necks to leave an opening that is wide enough to accommodate a pool noodle. Plant solution is placed in the bottle to a level that would allow the plant's roots to sit partially submerged once placed in the neck of the bottle with the pool noodle.
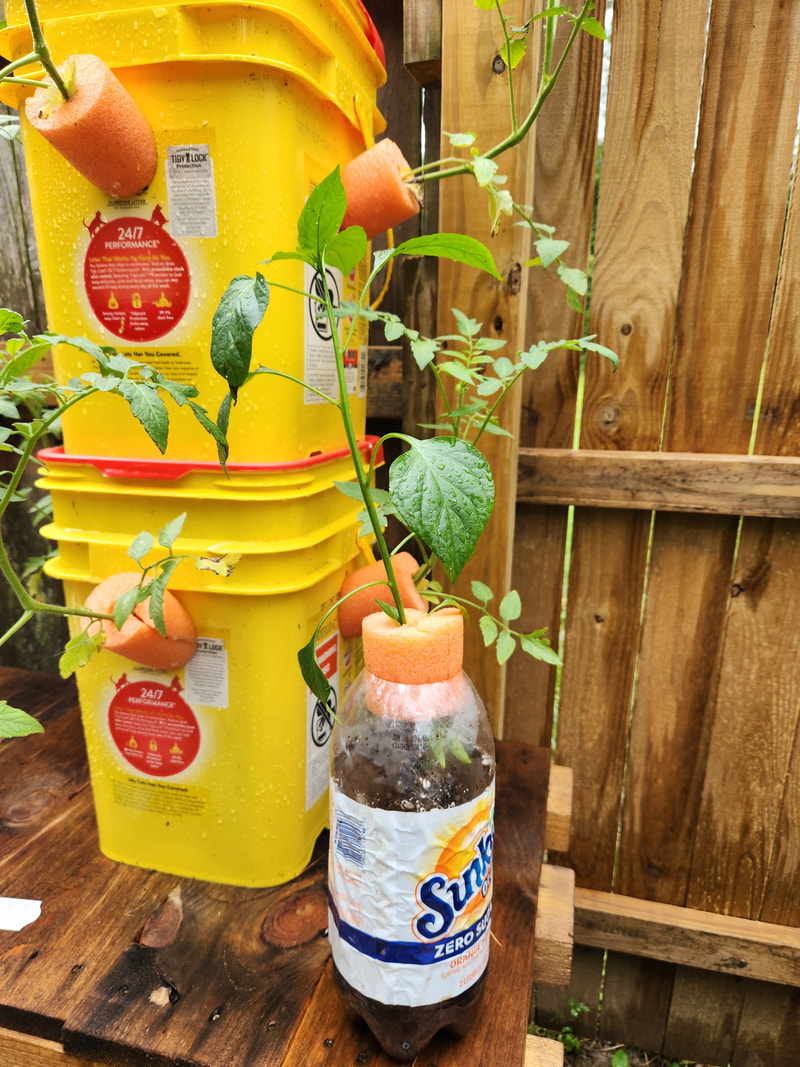
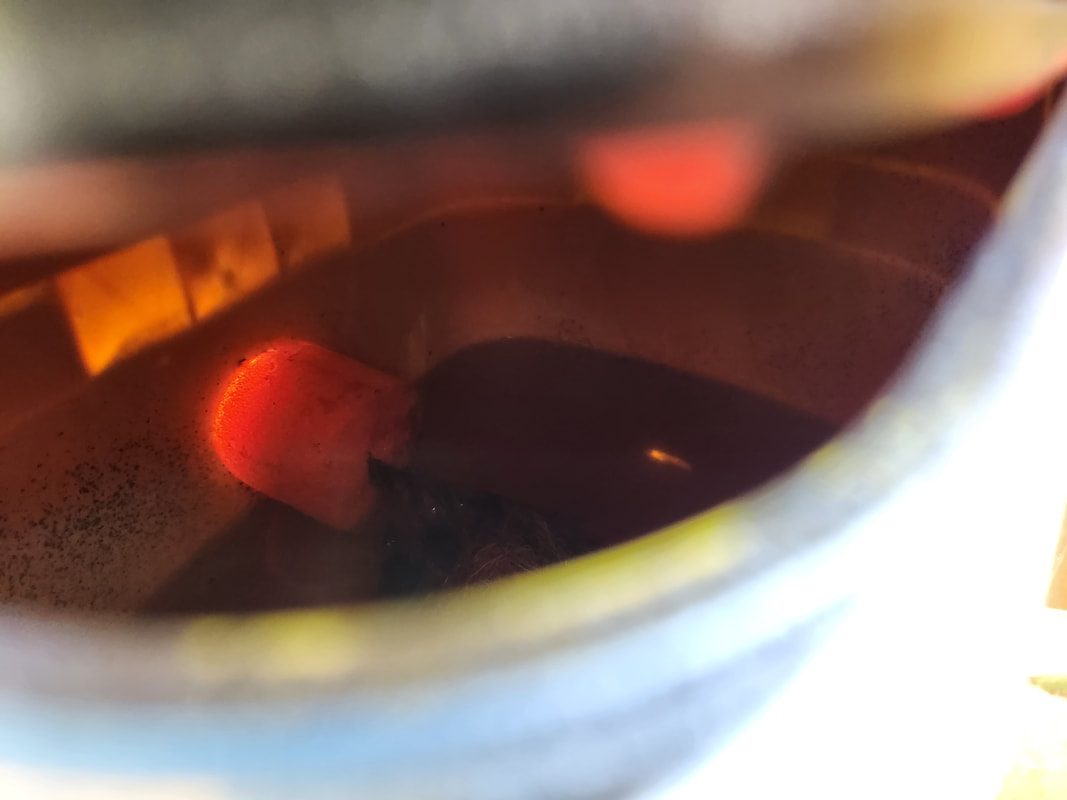
Here is a closeup of another bottle planter with a pepper plant placed within.
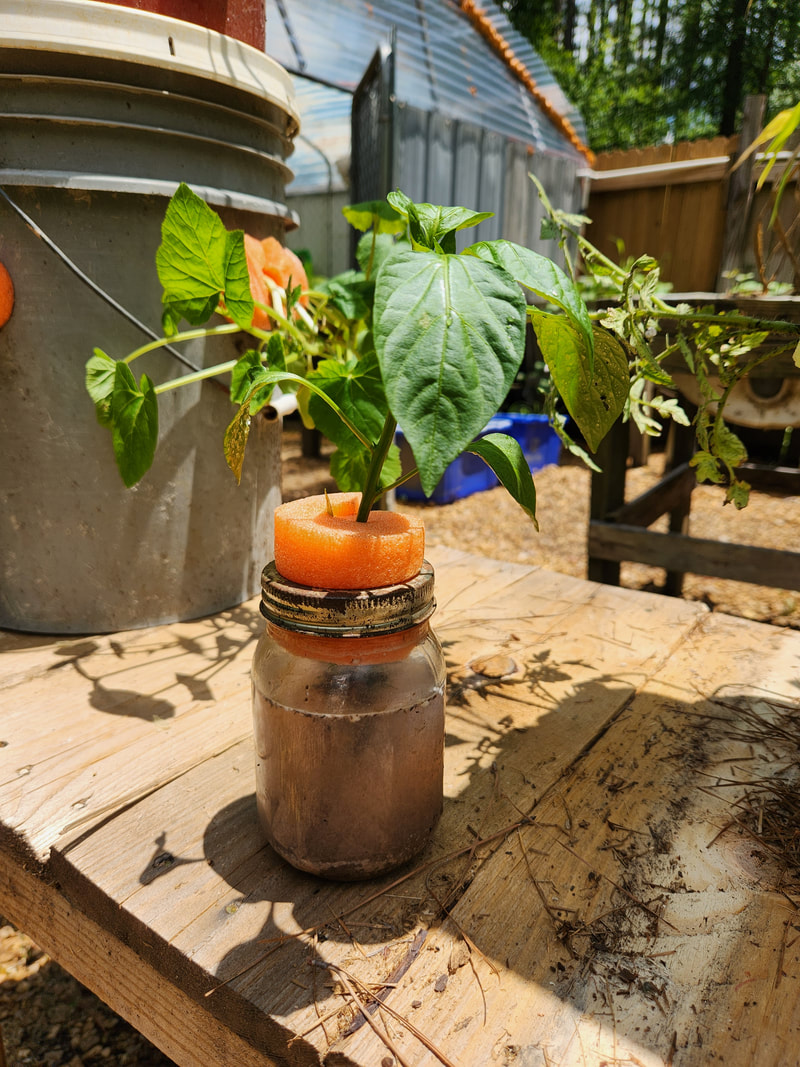
I seen plenty of examples of mason jars used as vessels for planters, especially since the ring for this mason jar is the right diameter to accommodate a pool noodle. The same Kratky rules apply here.
Since I had them available, I took a moment to crank out a few more bucket planters. I already had the one six plant round bucket just sitting on the ground, but to accommodate this and the new planters, I took a second wood frame assembly and added some 4x4's for legs to turn the thing into a table, just like the first table setup. I sacrificed another round bucket to make another six plant bucket to stack on top of the first six plant round bucket, giving us a 12 plant tower. I took two square buckets and tapped them for four plants each, giving us an 8 plant tower. The table still has room for two more towers, so once I get more buckets, I will set these up just the same.
We had another wood frame used for packing some piece of large industrial equipment. Just like with the first table, another was set up with some scrap 4x4's I had laying around.
The table is set up with four bucket planters, stacked two high next to each other. The round buckets each have six plants, making a 12 plant tower while the square buckets each hold four plants making an 8 plant tower. Note the couple bottle planters set up among the bucket planters. The table has room for two more towers on it.
Another thing that I started doing was retrofitting the existing raised beds to serve as Kratky hydroponic arrangements. Since the current arrangements appear to be doing well, even in this heat, my plan is to start converting over to hydroponics for the vast majority of the veggie garden operation. The bucket raised beds are able to be converted easily, as it just requires me plugging the drain hole on each bucket then using some large net pots as planters. I had to use some gorilla glue and some pieces of plastic to help make a crude plug for the drain hole on each bucket then set them back up in the raised bed table. Pallet pickets with notches cut in them and positioned over the buckets hold the net pots. The net pots were set up with a seedling that had its roots cleaned and Hydroton clay pellets as the medium. The buckets were filled with water/plant food up to a level that has the net pot sitting partially submerged. When the roots start to grow out from the net pot, the water level can go down more while still allowing the roots to feed and frow the air breathing hairs that help sustain the plant. This raised bed will still only hold eight plants but with the larger net pots I will still be able to grow larger plants like tomatoes or even corn plants. The main thing is that by using this method, every raised bed converted accordingly will save me having to use micro irrigation to water those plants and in turn, makes those raised beds near maintenance free, compared to the original arrangement with the timed irrigation and weekly fertilizing that needs to be done to keep the plants growing.
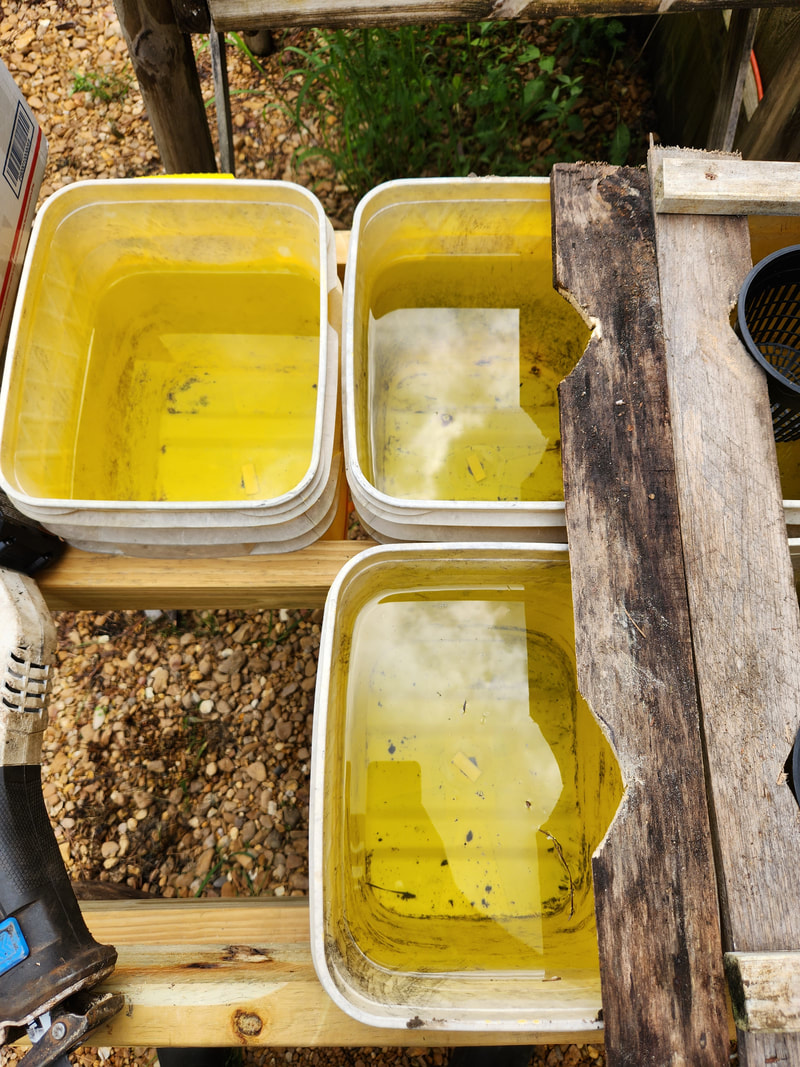
Our most recent raised bed is being set up to be a Kratky hydroponic planter bed. The buckets have their drain holes glued shut. Pallet boards are used to hold the net pots that will be used. Notches are cut into the boards as this provides more contact area for the net pots, which are round.
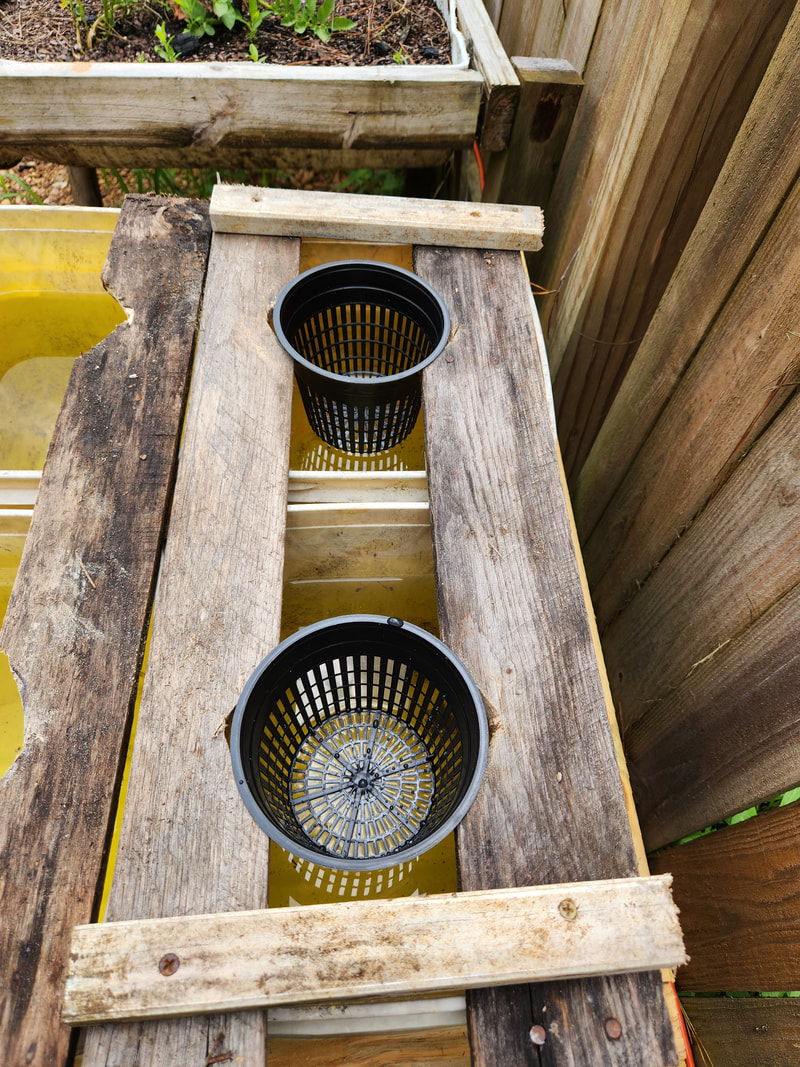
Extra boards are used to attach the two pallet boards together at a spacing that allows the net pots to be cradled properly over the tops of the cat litter buckets. Note the water level is high enough to partially submerge the net pots.
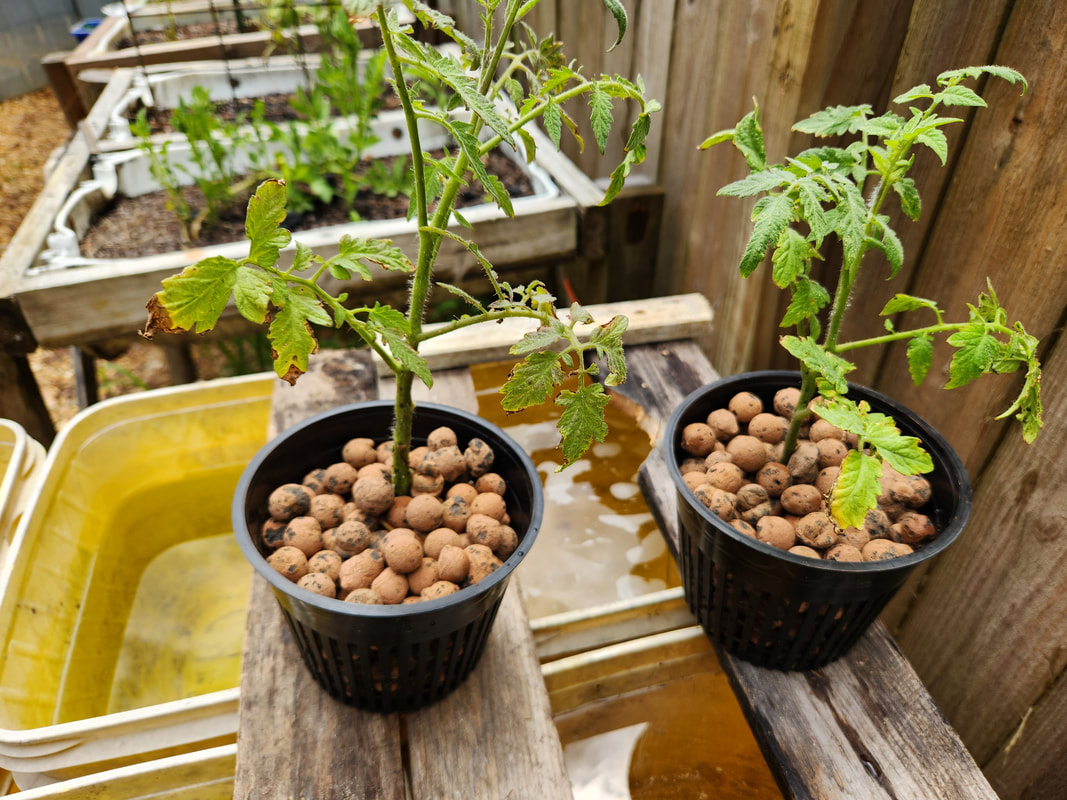
After cleaning the roots of these two tomatoes, the plants are placed in the net pots and Hydroton clay pellets are placed in the pot around the roots and stalks of the plants, securing the plants in place. These net pots will be placed in the buckets, allowing the roots to get water/plant food. As the roots grow, they will extend out through the bottoms of the net pots, allowing the water levels to go down some while still allowing the roots to feed and grow the air roots that will further sustain the plants.
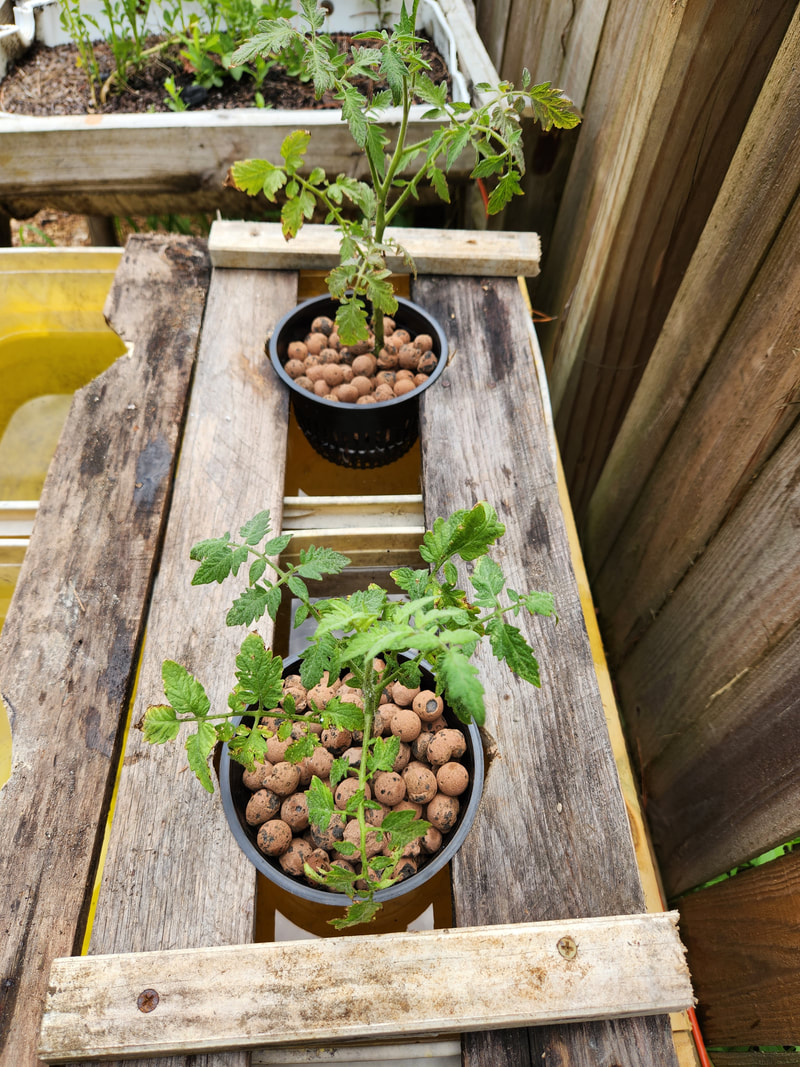
Our two tomato plants are set in their cradles, ready to grow, and no longer needing any intervention on my part, until the water levels go down, which might take a week or so, depending on the humidity. By the time the water levels go down, the roots may already be starting to grow out from the net pots.
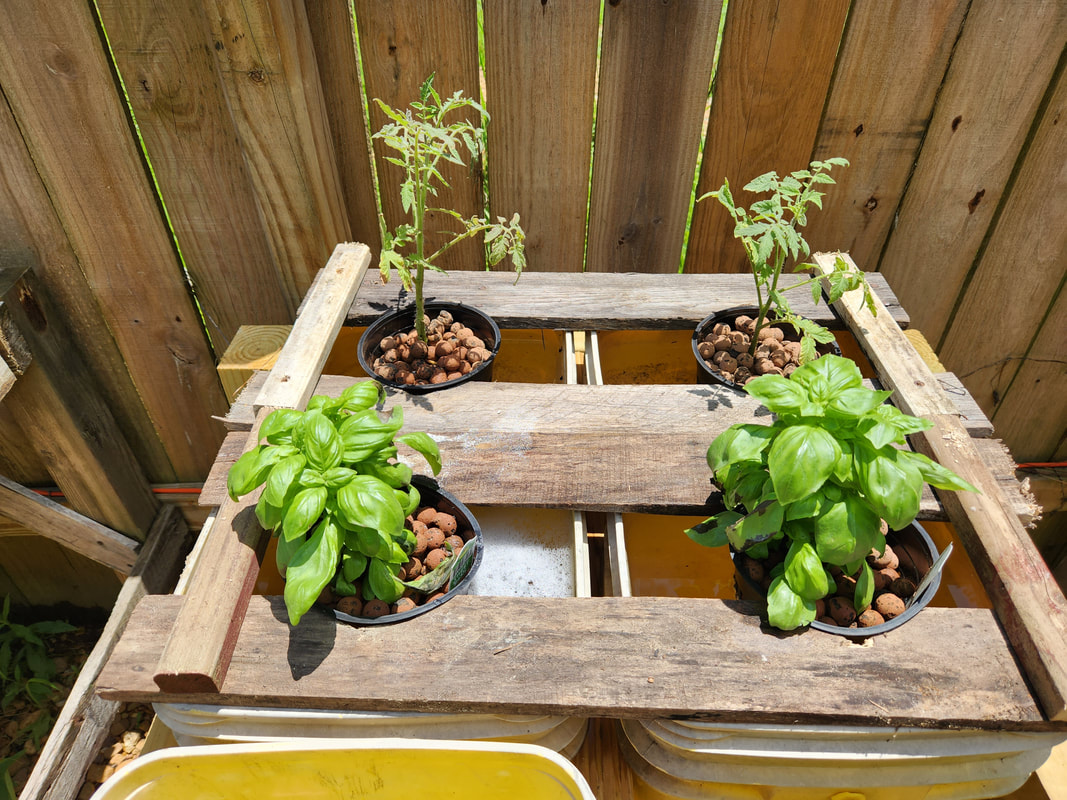
A second set of pallet boards are set up over another pair of buckets. This time two basil plants are set up in the net pots to grow in these buckets.
One of the things that needs to be taken into account when it comes to any gardening is the idea that excessive heat/sunlight is detrimental to the success of the plants. If the climate was more temperate and not going any farther than the low 80's like what might be seen in the north, plants would be fine with a large amount of sunlight, but in the south, when the temperatures go into the high 90's with high humidity, the more sunlight is had, the worse. Especially at the lower latitudes in the south, the sunlight is more intense so less of it is required to get the same effect. Such was the case with our planters. After a short span of time, the bucket planters that were in the middle of the garden getting direct sun for most of the day, more or less were getting cooked. I moved these buckets over to the east fence line where they get some shade between the fence itself and the large fruit trees that help shade the area in the afternoon. This move was enough to save the plants from getting fried, save for the bucket that had some cucumbers and melons in it. I did have one tomato planter that was doing good at first but then just fell flat, with two of the tomatoes dying off and the third being severely stunted. It also didn't help that excessive algae grew inside many of the buckets, covering and choking out the roots. This is another problem that I have to address if I want to have a chance of these bucket planters working out. Now the nutrient solution may need to chance as I've seen some growers still manage to have a success even with the algae.
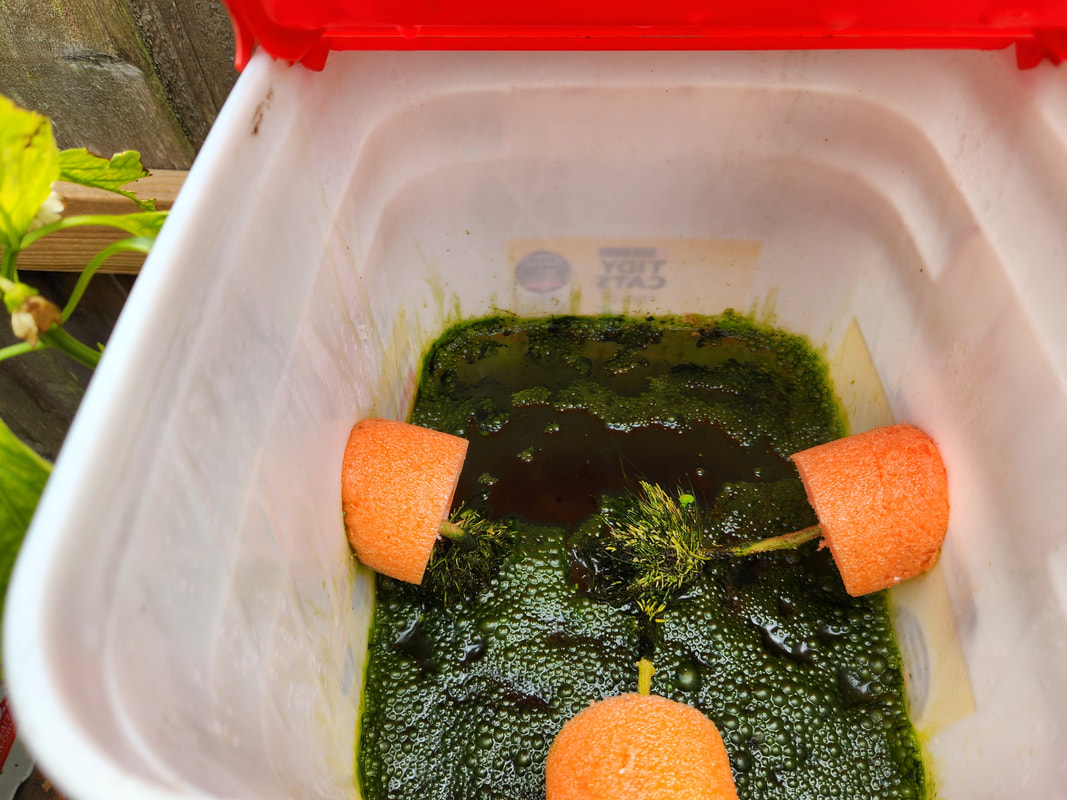
This algae growth can be a major problem when it comes to our roots being able to suck up nutrients to feed the growing plants. These light colored buckets aren't helping matters when it comes to stopping sunlight or any light for that matter from penetrating to the inside.
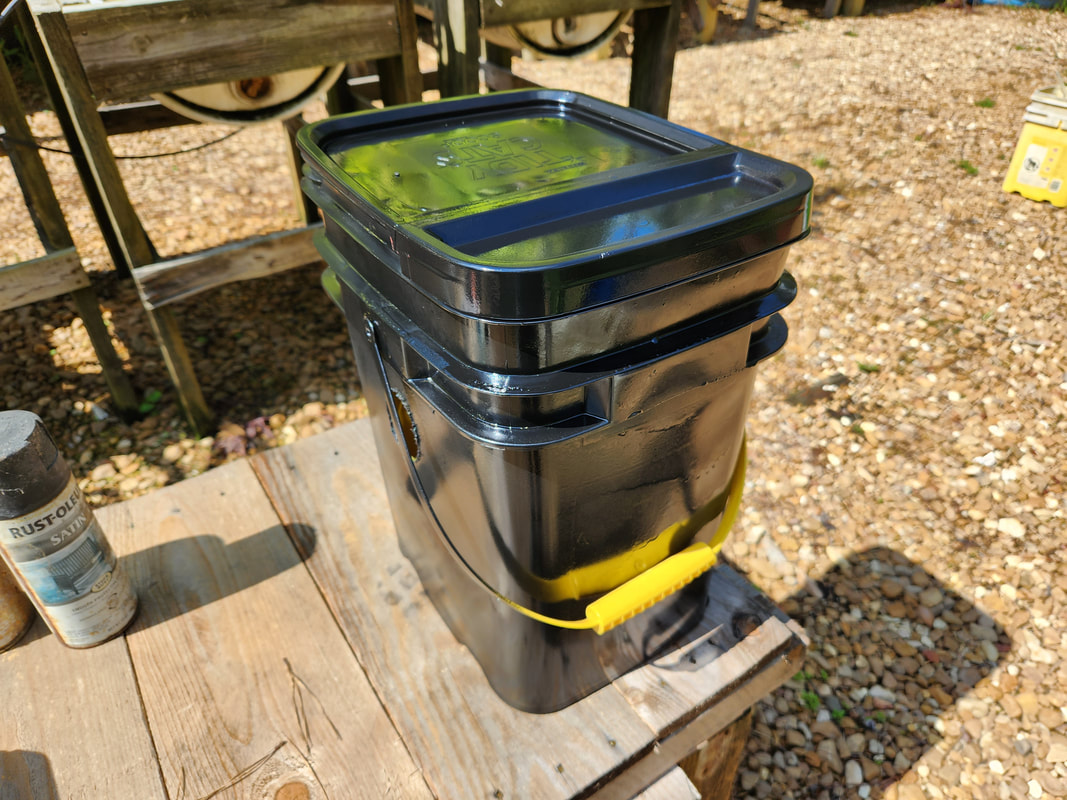
The solution here is to paint the bucket black to help block out enough sunlight to be able to grow algae.
The next move would be to then spray the black bucket with white paint so it can reflect sunlight and keep the bucket from getting any hotter than it already would be in the heat. Two of the tomatoes were replaced with some extra tomato seedlings I had. Hopefully the third one will come back.
The black paint is doing pretty good in shielding the inside from the outside sunlight. The only light making it in is that from the pool noodle and from the open bucket lid.
With the buckets being set up, one of the things that I had to do was paint the buckets to help in blocking the sunlight from penetrating into the buckets. This will suppress the growth of algae inside the plant solution as well as on the plants' roots. This was done by first painting the buckets with a dark paint, then painting over that with white paint. The dark paint shields the inside from sunlight and the white paint reflects sunlight to keep from overheating the buckets. Another thing that I started doing was producing net cup panels for the raised beds. I wanted to start converting many of the drum and bucket raised beds into Kratky style hydroponic beds. I already emptied many of the drum beds of dirt. I still have to plug the drain holes in these drums. On the buckets I also emptied the dirt and plugged many of the buckets' drain holes. I made some crude net cup holders out of pallet pickets for four buckets, already starting some plants within these planters. To make things neater and cleaner, I started making net cup holders from scrap corrugated sheet metal to cover the double drum raised beds as well as the litter bucket raised beds. These panels will better cradle the net cups without looking too tacky. I do plan on keeping some of the drum beds as standard beds for growing root veggies but a large portion will be hydroponics, specifically Kratky. I also made a new updated soda bottle planter that will adopt the Kratky method instead of using pumps. These easily accommodate 4" net cups, with the plan being that six soda bottles will hold plants and a seventh bottle will hold bulk plant solution.
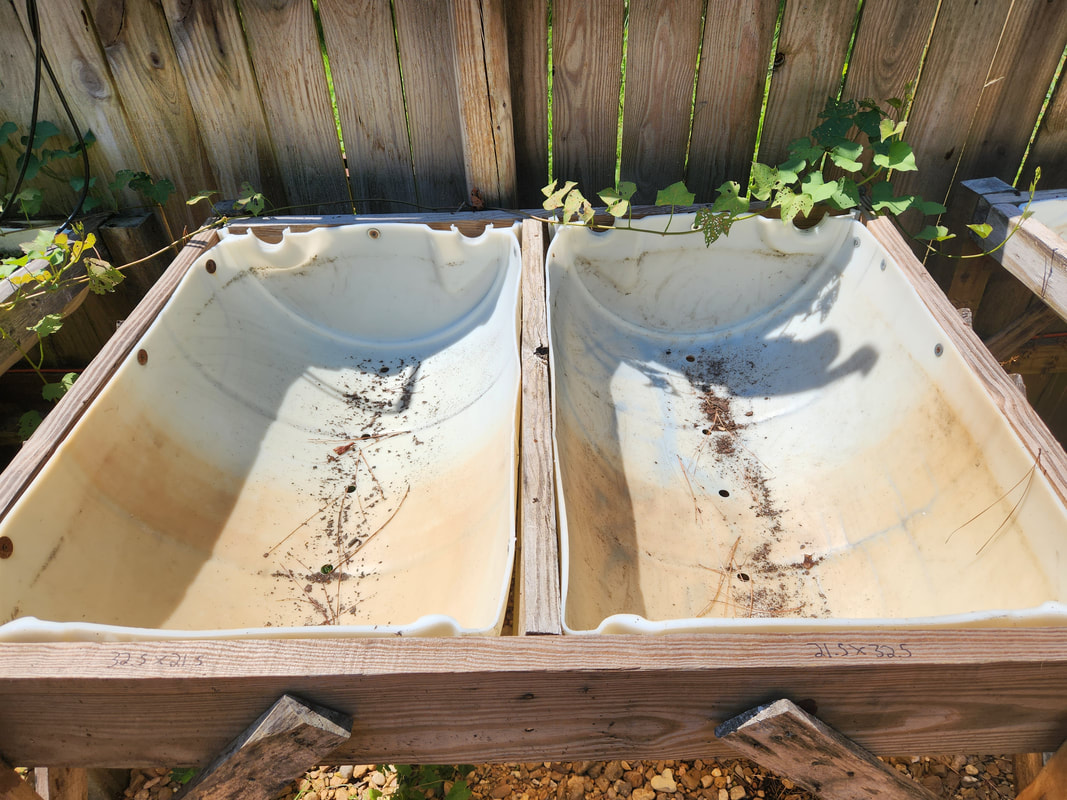
One of the double drum raised beds, cleared of dirt and harvested plants in preparation for a net cup panel to be cut to fit.
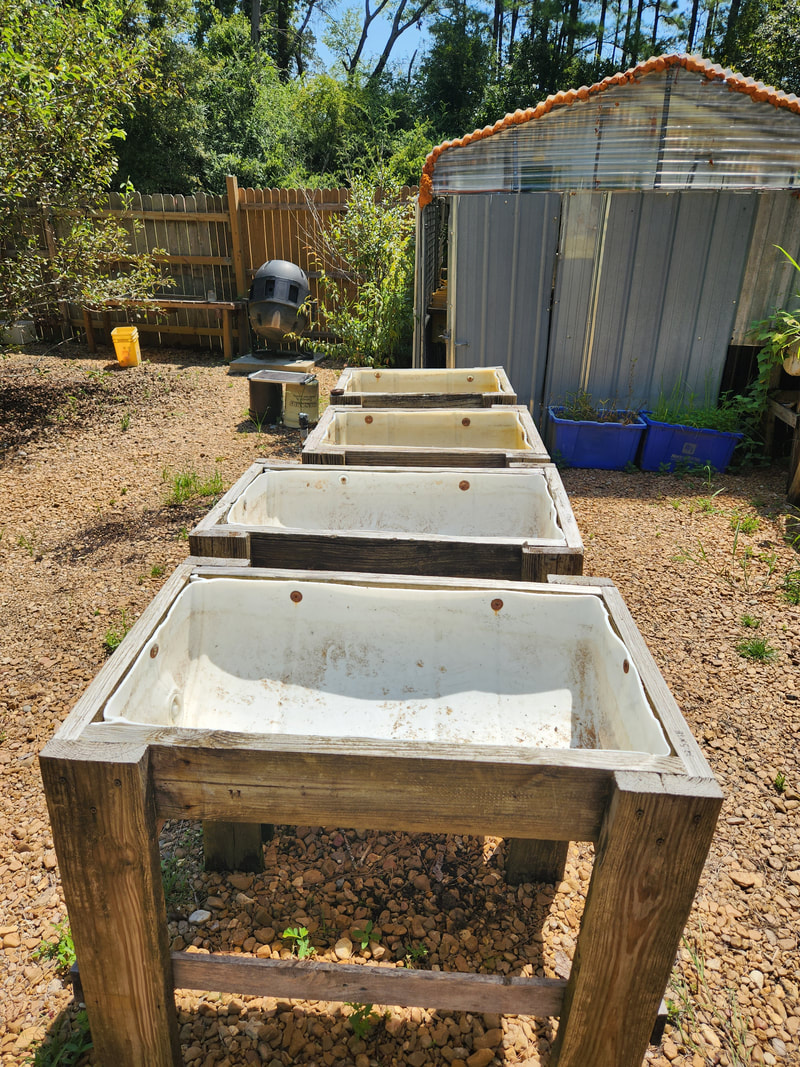
Another set of drum raised beds, these being single drum beds. The panels to be cut for these beds will be panels to accommodate six net cups each.
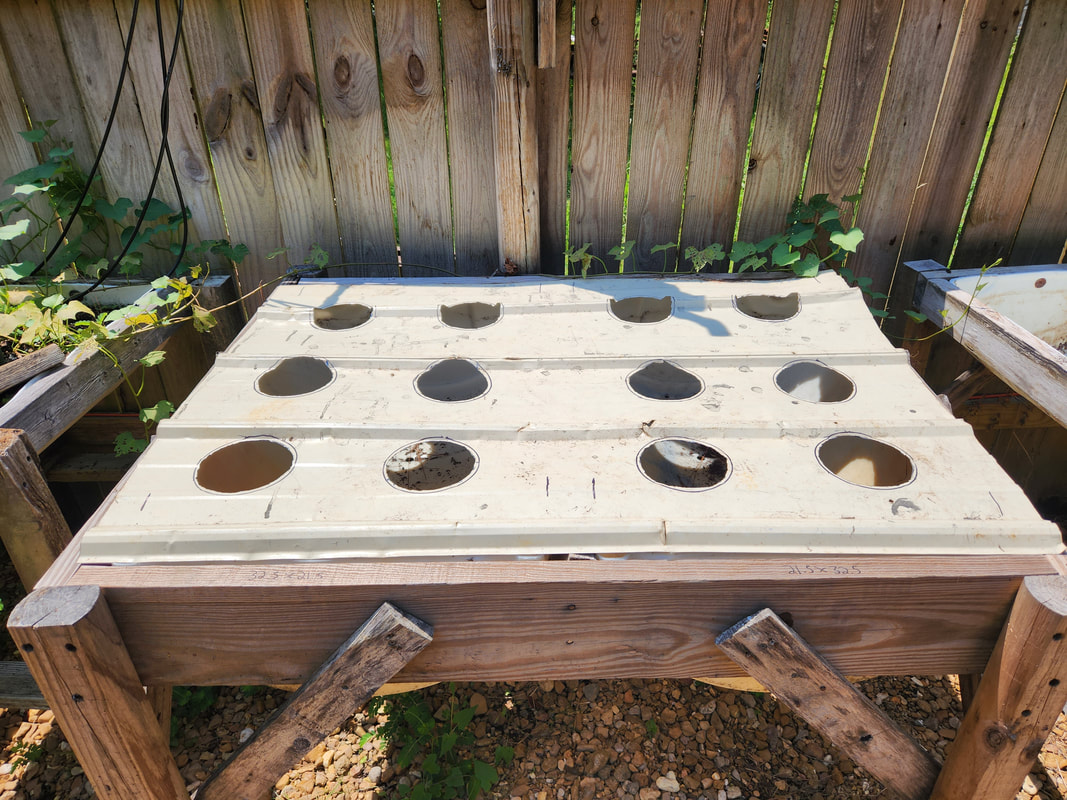
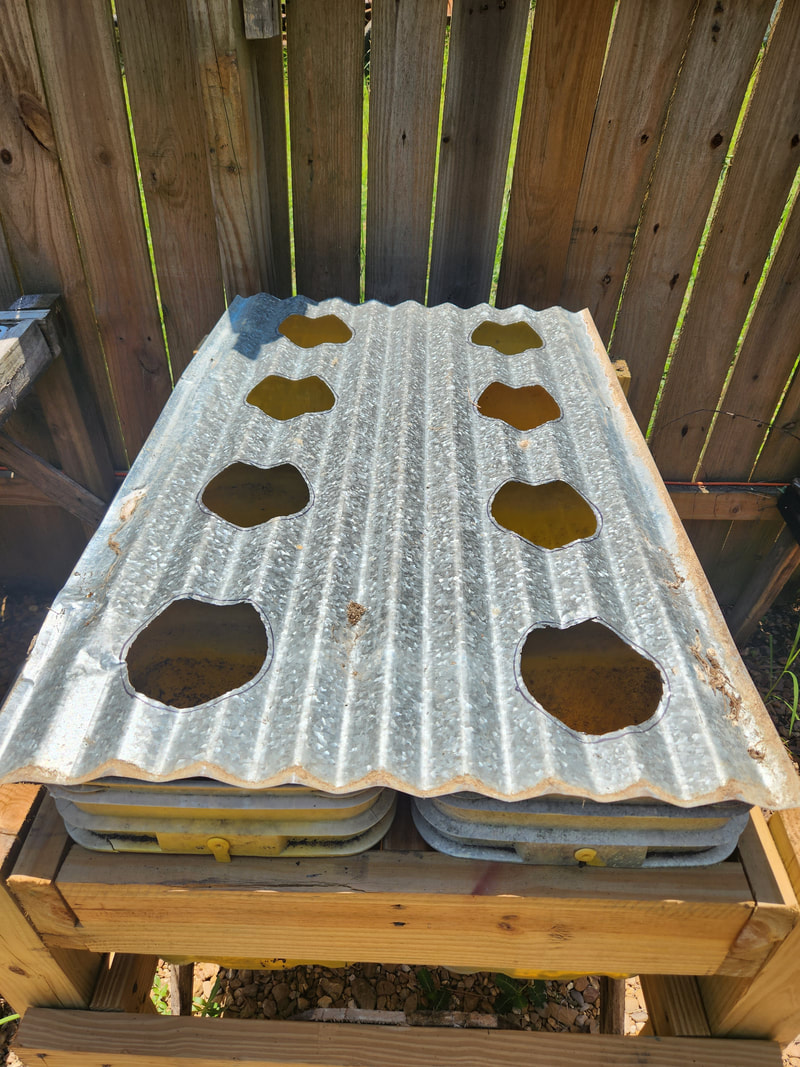
One of the corrugated sheet metal panels cut for the double drum raised bed. Each drum will accommodate six net cups, so 12 plants will be grown Kratky style in this raised bed. A 3" wheel cut off tool was used to cut the holes in the sheet metal.

The single drum raised beds with their sheet metal panels cut to fit. Each panel has six ports. Note the net cups in the left panel. The one panel on the left was the very first panel made by welding two smaller pieces of scrap sheet metal together then cutting the holes for the net cups. After this I started using the scrap corrugated sheet metal for panels.
This eight litter bucket raised bed has two rows of four buckets in place. The corrugated sheet metal panel is cut to fit with the holes centered over each bucket. I will probably add some boards around the edges to anchor the panel to so it will be more secured.
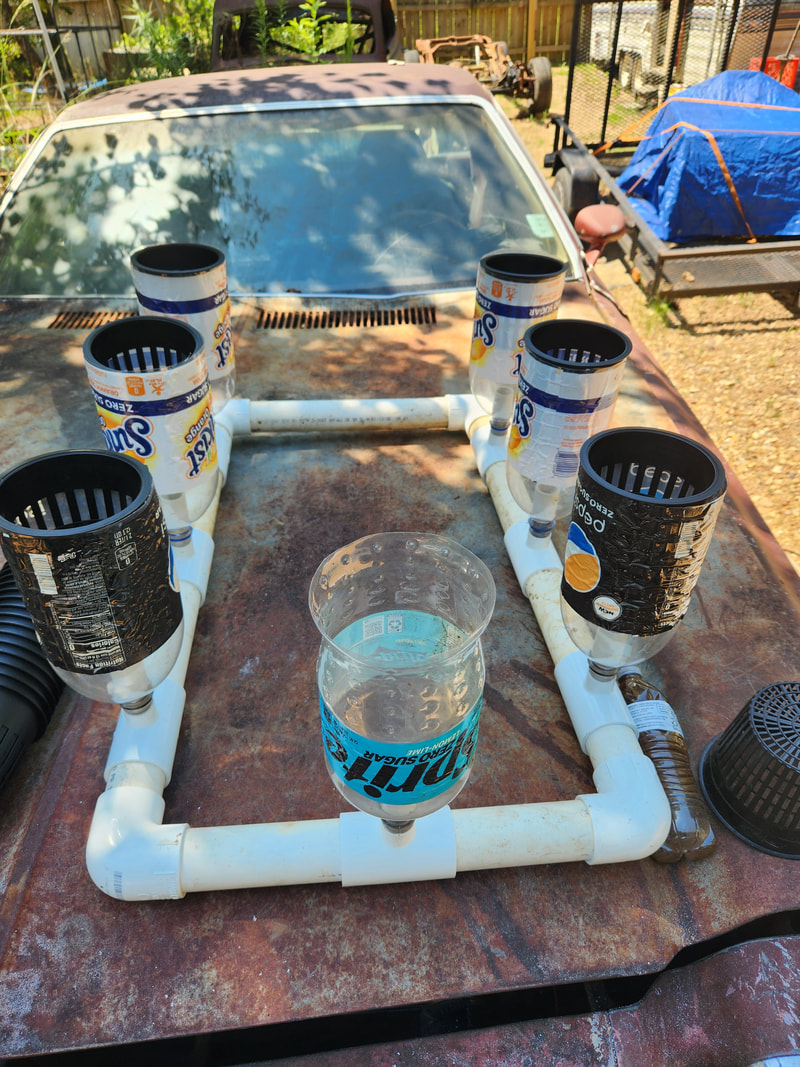
This new twist to an old idea. A new soda bottle garden assembly, made with 1 1/2" x 1/2 tees. The soda bottles will have 1/2" pipe with couplings on the inside and will be held in place in the 1/2" port on the tees. Net cups will be placed in all but one of the bottles, with the last one holding the bulk of the plant solution, raising the levels up in all the bottles high enough to reach the net cups. This set up won't use any pumps and will be able to be located anywhere in the garden, sitting on a table or similar platform, compared to our old setup that has to have a large reservoir for the plant solution that would make it a semi permanent fixture in the garden.
