THE JUNKYARD SHOP FAN
Another little project that was long overdue to take on was the acquisition of a large shop fan for the garage. Hot summer days can be unbearable and inside a steel garage, can be downright oppressive. Short of having an AC system sized to work for the large size of our garage, the only option is to use a shop fan. We recently came into possession a large fan that was used by a warehouse of some sort. This fan is an older unit with a belt driven fan bland on its own bearings. The fan body is completely open, with no wheels so this thing was probably mounted in a wall or on some kind of platform, never to be moved. The motor was crudely wired up with a short length of cord with an aftermarket plug on the end. It could work as is, but this crude version is completely unsafe in multiple ways. The fan needs a covering around the belt drive section and around the front of the blade so no dog or person sticks their nose into this thing literally and figuratively. I need to make a frame to go around the motor and belt drive so I can cover these critical pinch points, as well as install wheels on the body so I can move the fan around with ease. Lastly I would cover the larger open areas with chicken wire to allow air to move freely while still keeping anything from coming in contact with the fan blades.
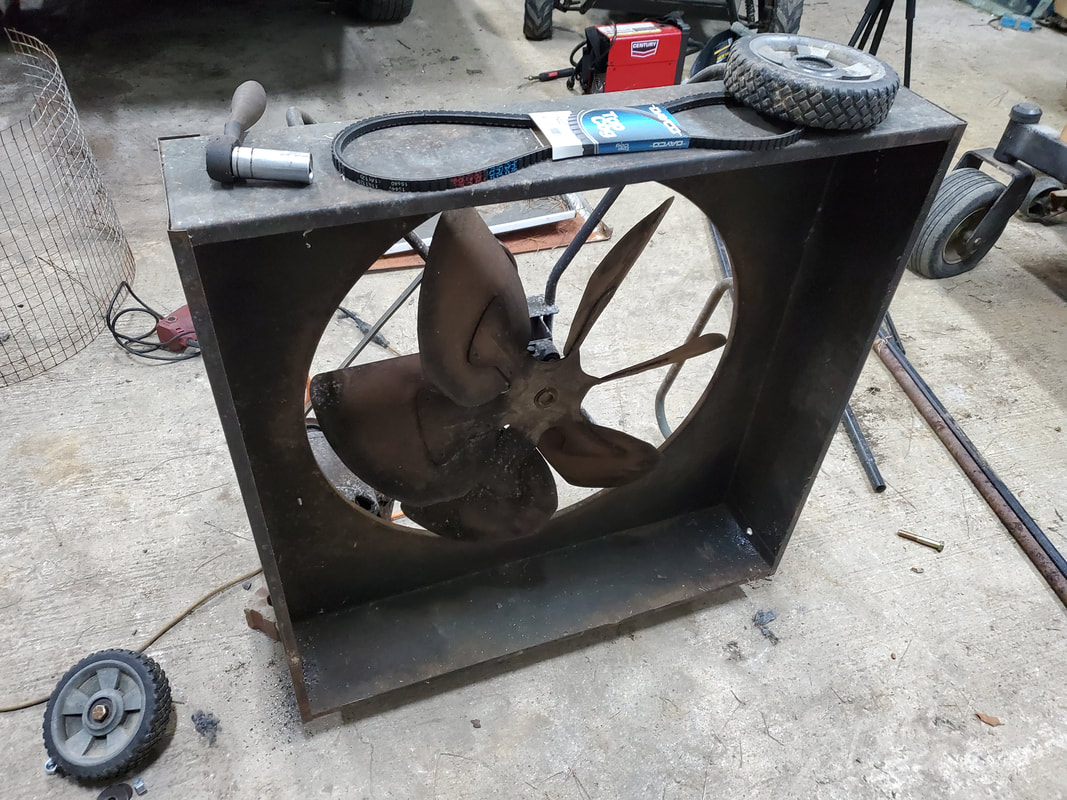
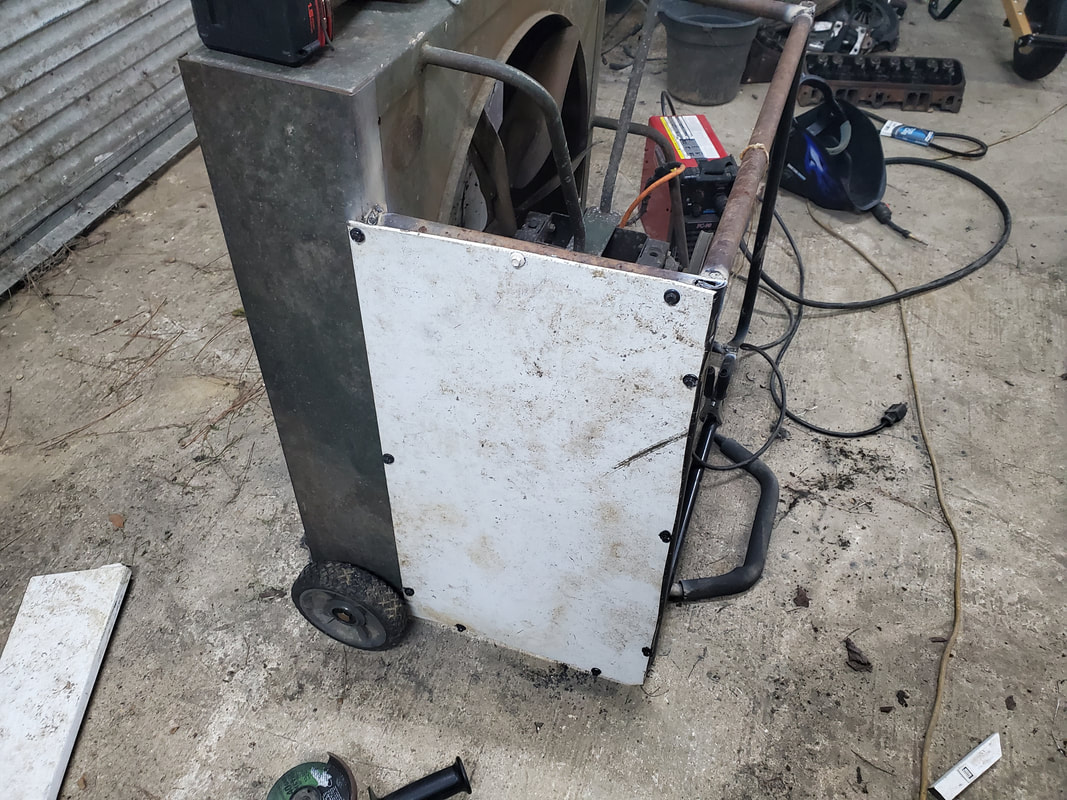
The old shop fan as we got it, along with a batch of miscellaneous parts and materials to build our final product.
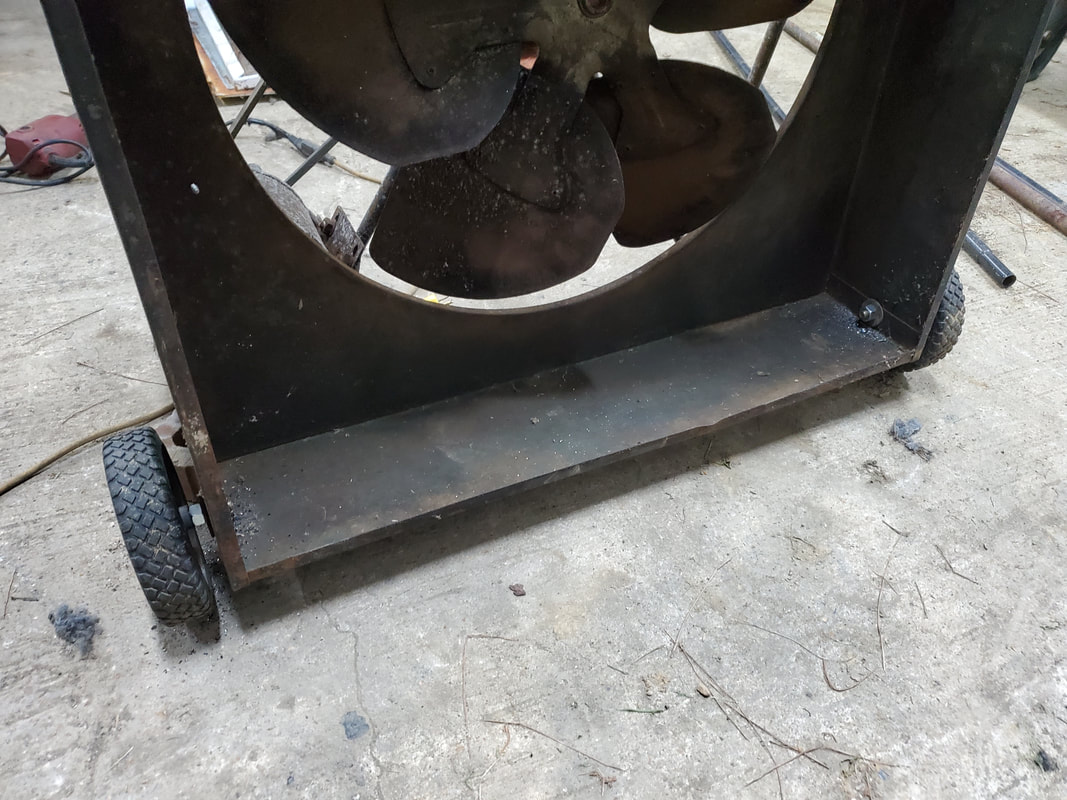
Wheels installed on sides of fan body. These wheels were salvaged from an old electric mower I stripped down for parts.
The start of the tubular frame, made from salvaged metal tubing, some of which was from the same mower that supplied the wheels. The leg on the middle of the frame was from the handle of the mower, cut and welded in place to serve as a prop up leg to hold the fan steady.
I gathered many materials from the scrap pile, including some parts pulled from an old electric push mower. Wheels, tubing, sheet metal panels from old appliances and chicken wire were sourced for the build. After attaching the wheels I welded up the base frame and a prop leg from the bent tubing mower handle to prop the fan upright. With more tubing welded in place I managed to get the whole tubular frame made around the motor and belt drive system. Since the sheet metal panels i had weren't long enough to cover the span of the fan body from bottom to top, I had to terminate the sides a few inches below the top of the fan body. This was fine as I just made a cage around the top using chicken wire to cover this section after I attached the sheet metal panels on the sides. The chicken wire was cut into panels to be secured to the front of the fan and the back of the fan using self tapping screws with washers. The sheet metal panels were also attached to the tubular frame with self tapping screws.
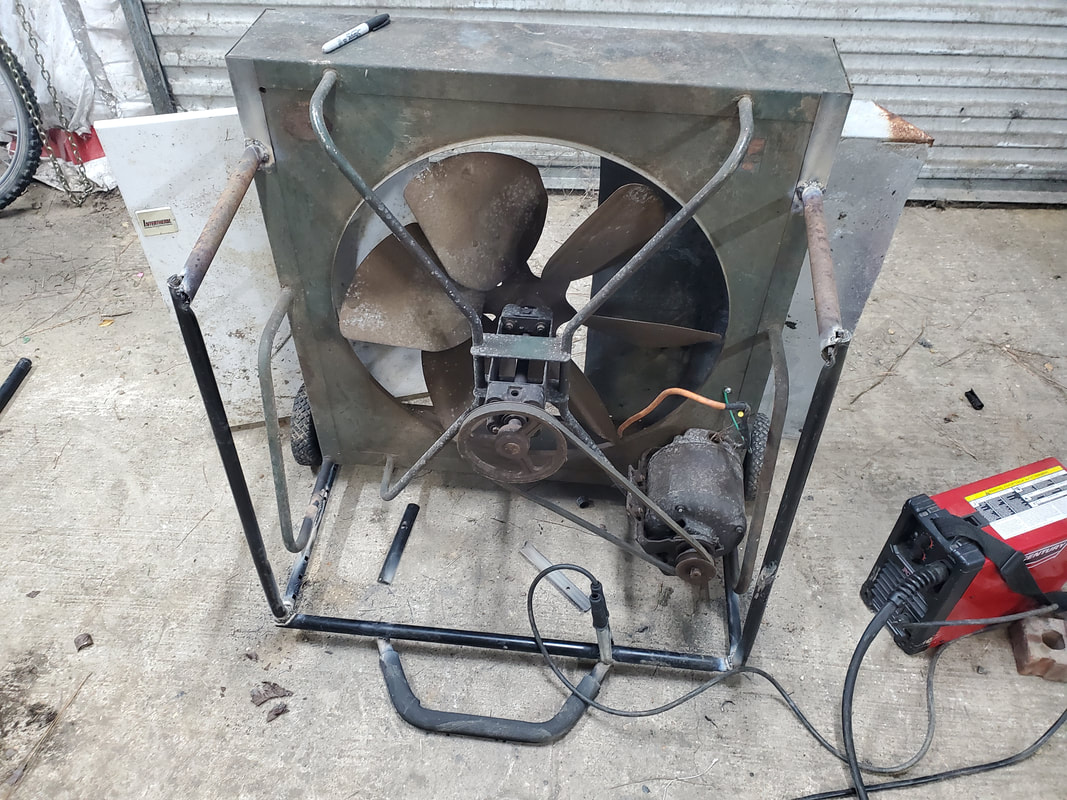
Tubular body welded up to cover up the sides of the rear of the fan. The sheet metal wouldn't reach the top of the fan so I had to weld the frame a few inches from the top.
Sheet metal panels salvaged from old appliances. These panels were attached using self tapping screws into the tube frame and trimmed where the sharp edges were not extending out from the frame to prevent any accidental scraping against said edges.
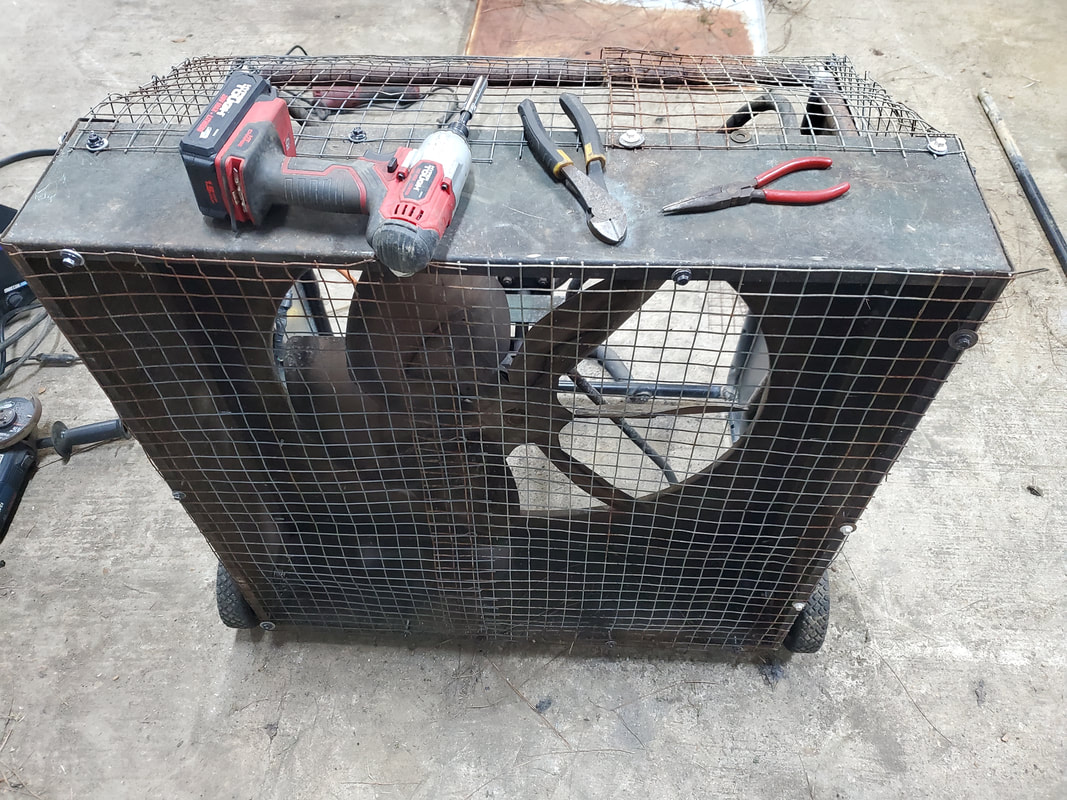
Pair of chicken wire panels attached to front of fan using self tapping screws with washers. Lip around the front of the fan served as an attachment surface.
Chicken wire cage assembled by attaching pair of panels across the top then bending the panels down to the frame. Smaller pieces were cut and trimmed to fit into the small sides, using the wires of the pieces as links to attach to the main panel body. Self tapping screws were used where needed to further attach the "cage".
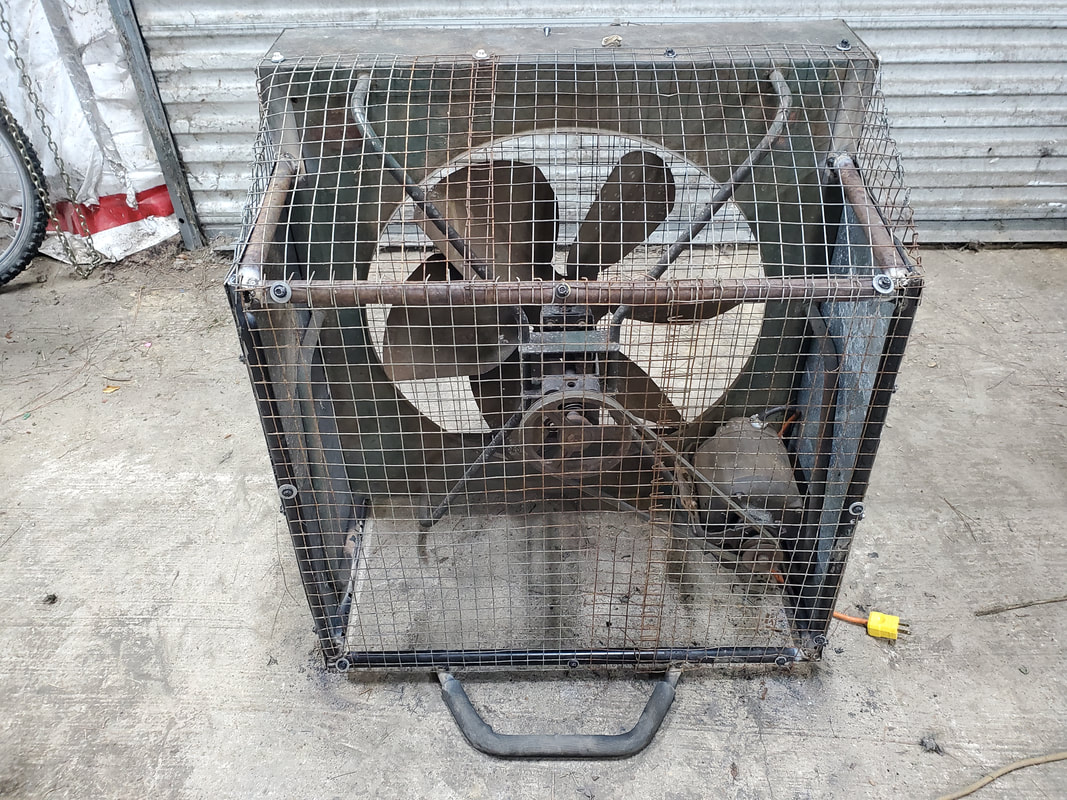
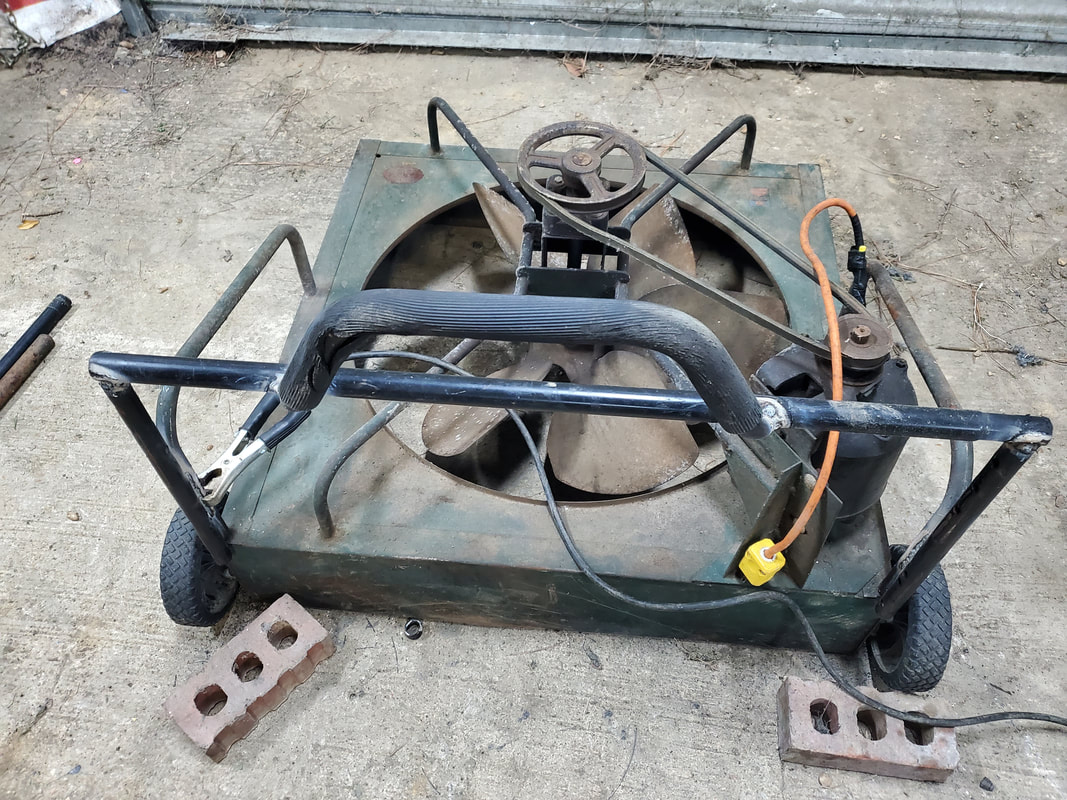
Whole complete fan body with tubular frame and chicken wire panels attached. Wheels are in place along with prop leg as well. Cable is attached to motor as seen.
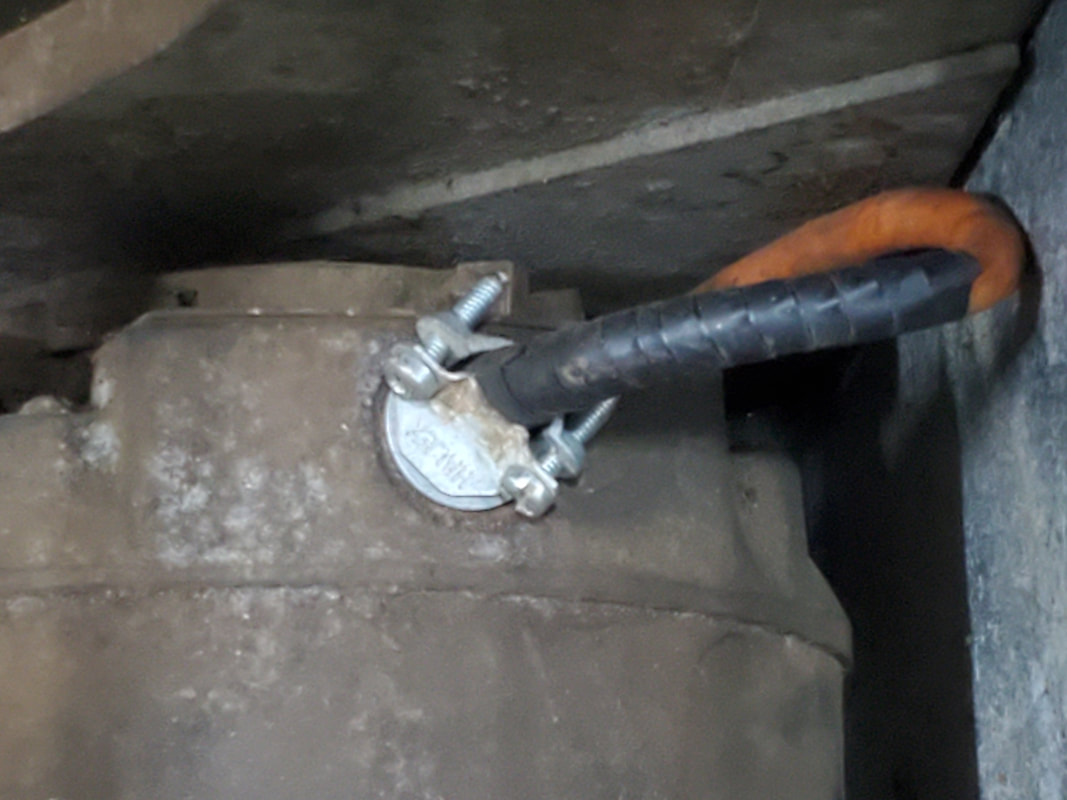
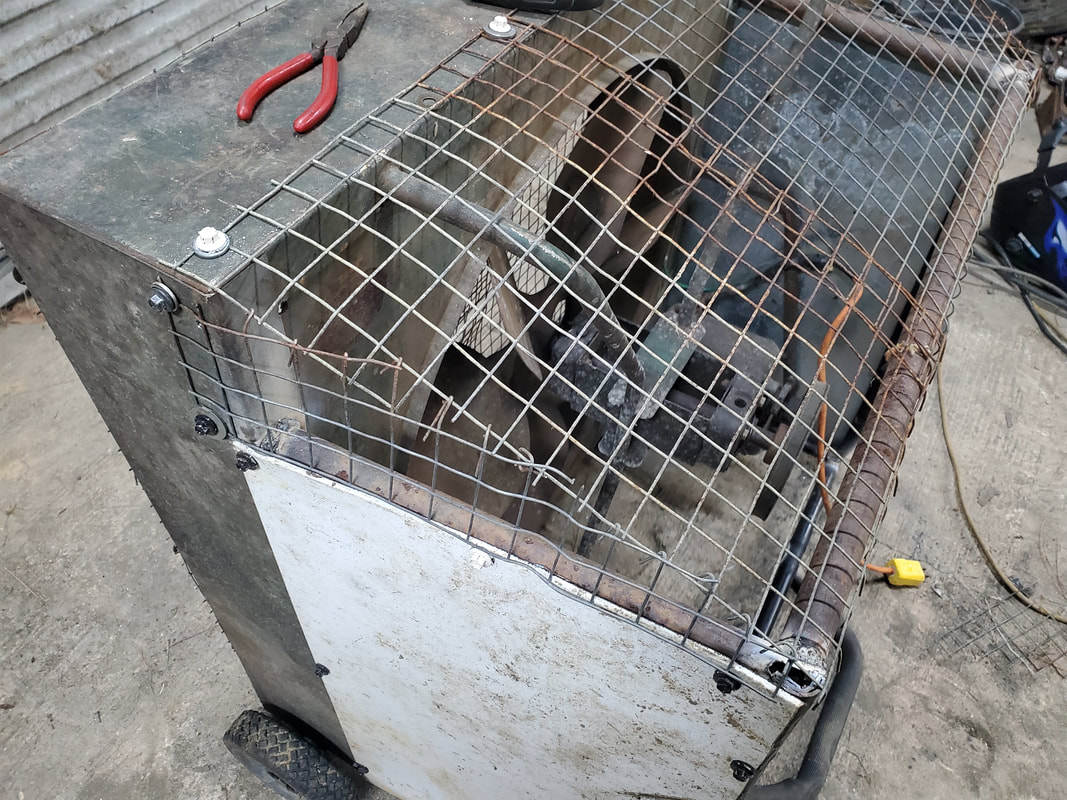
Closeup of motor with electrical box fitting in place to safely hold the cable supplying power to the terminals on the motor panel. Unfortunately I have to swap a couple leads to reverse rotation on the motor. All in all the fan works, in either direction.
I had to trim the chicken wire panels to make them fit better, even with some overlapping. I cut the panels where they left wires exposed so these wires can be bent around the adjacent wire panel to attach the two panels neatly. The cover around the top was made the same way with the chicken wire being hooked together to make a cap of sorts to cover the top section of the fan. With the chicken wire all in place, the last thing was fixing the wiring on the motor. The motor has a port that accommodates a junction box fitting for clamping cables to keep them from scraping the sides of the hole in the motor body. Once the fitting was done and the wiring taken care of, I was able to test the fan. Annoyingly enough, when the fan powered up, it turned out to be running in reverse relative to how the fan's body is made. This is a minor inconvenience since I would have to go back into the motor and swap a couple of leads on the motor panel to change the rotation of the motor. Either way the fan still moves plenty of air, since the front and back of the fan body are chicken wire, air can move in either direction. I may go back into the fan later and fix this but for right now, the fan is ready for use.
|
|
|
|
|
|
|
|
|
