HYBRID SUPER HEDGE TRIMMER
AKA: THE SUPER HEDGE TRIMMER
After having our battery tools since the middle of 2020, we managed to finally kill one of the first generation tools. Along with that we also managed to kill one of our most recent acquisitions. The weed trimmer, one of the first set of battery tools we picked up, literally the second tool, after the chainsaw, got to the point where the bearing support on the trimmer head started wallowing out enough to cause the drive gear to over wear to the point that it would no longer engage the motor gear. Because of this, the weed trimmer was rendered useless. I didn't want to scrap the machine since the motor was still good and the double battery body as I could've used it for some other project in the future. Well the future is now. Reason being the hedge trimmer we picked up last year had finally gotten to the point that the motor died. It would run around 60% most of the time then down to 30% on the low end. The motor is either dead due to the brushes or the coils, either of which makes the motor no good.
So what is the plan here? Well the plan is to take the good motor from the weed trimmer and replace the bad motor in the hedge trimmer. Next I will take the dual battery end of the weed trimmer and somehow blend the body into the body of the hedge trimmer, in order to create a hybrid super hedge trimmer out of the two machines. Of course the first thing I have to do is break down all this stuff to gather the components for the build.
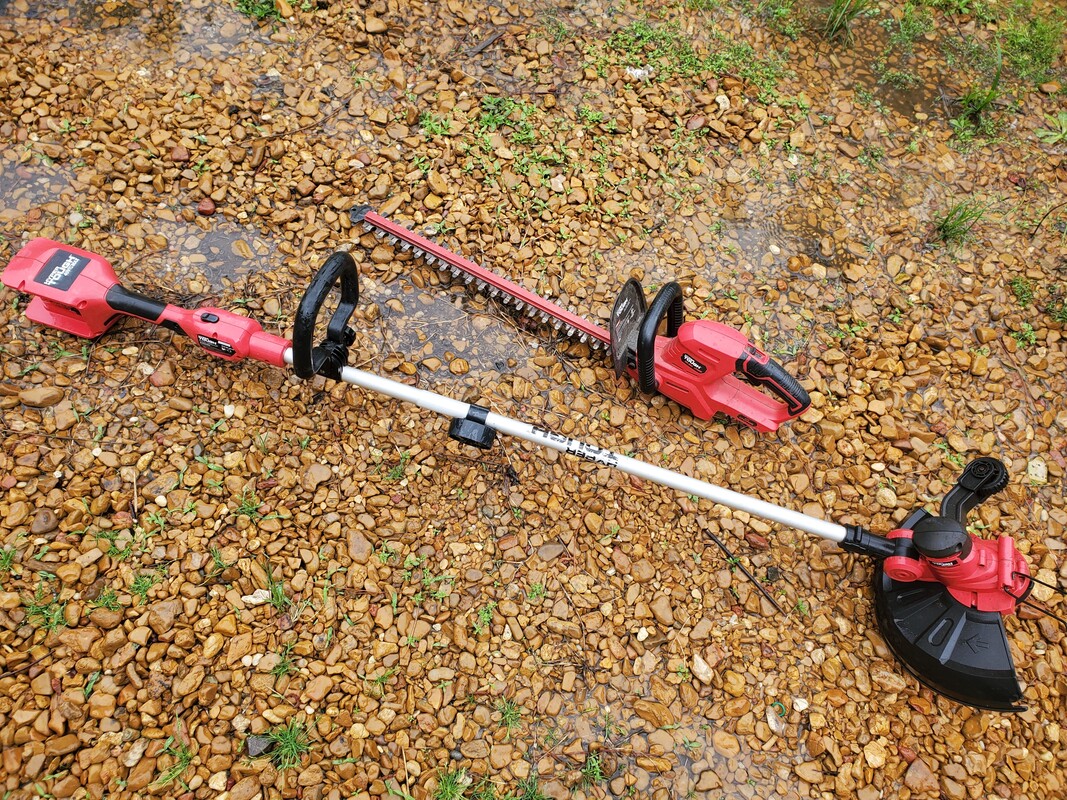
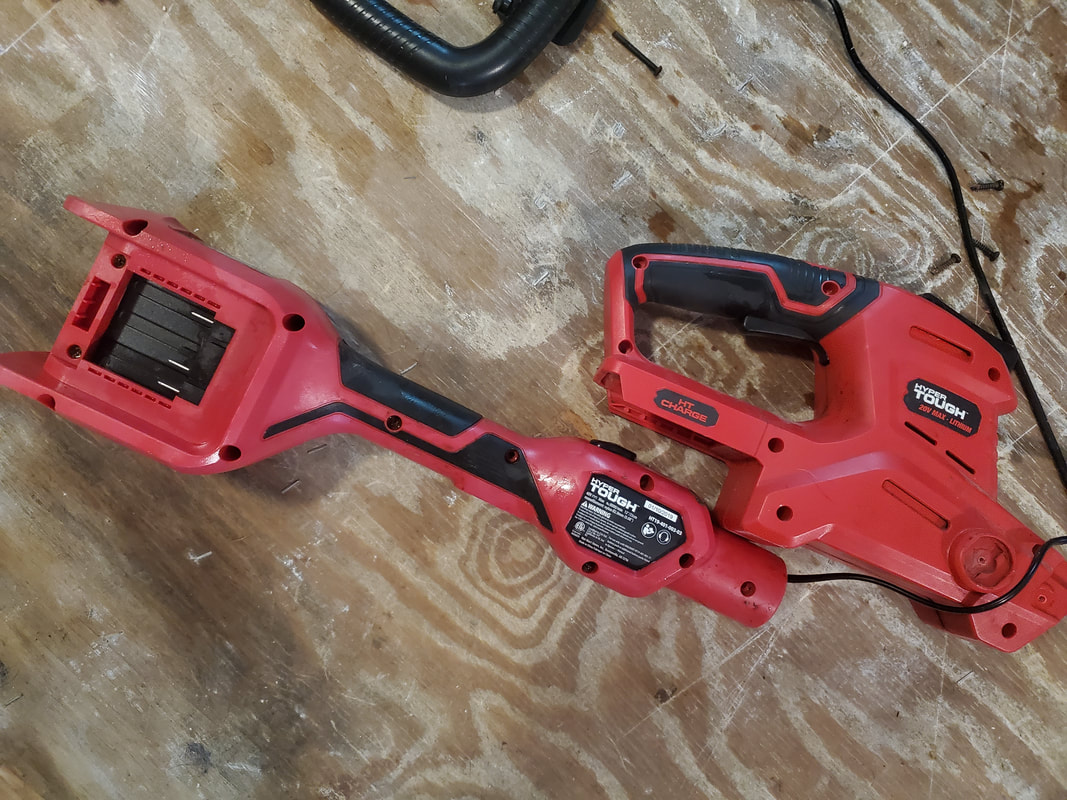
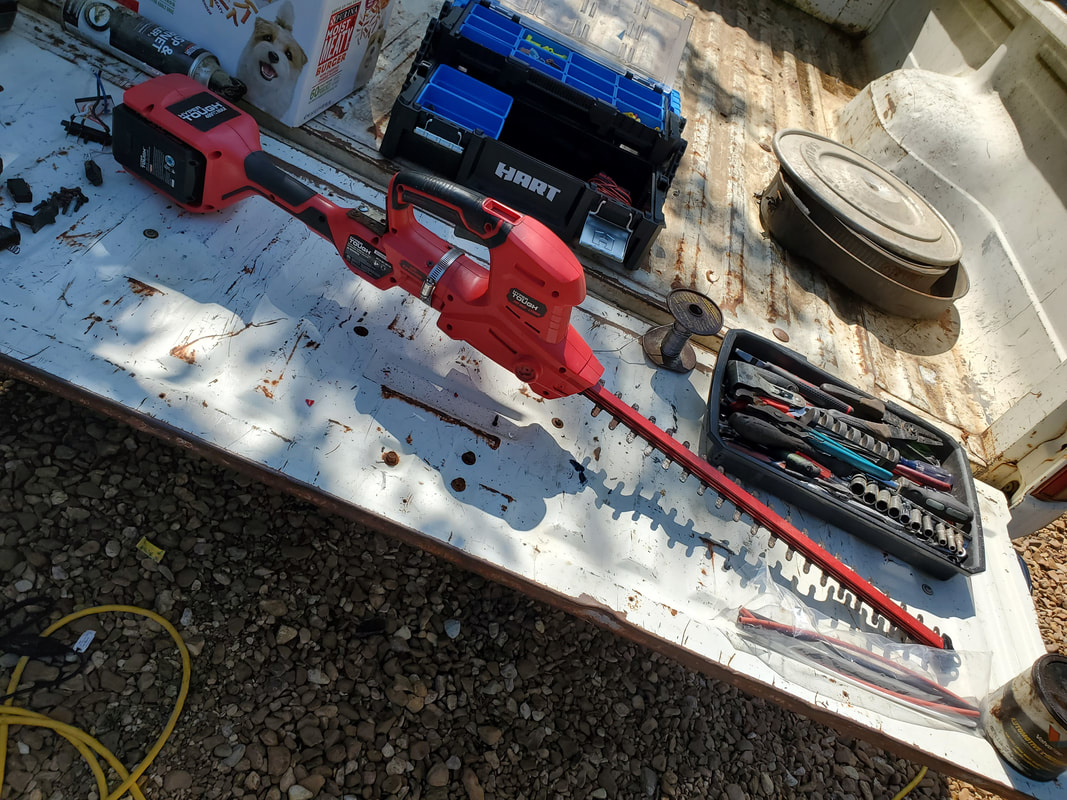
The Hyper Tough hedge trimmer and weed trimmer that will be blended together to create the super hedge trimmer.
Now the first thing to do is break everything down. I started with the weed trimmer. I broke down the dual battery end first, only separating the two sections enough to allow me to slide the body off the aluminum tube along with some of the wire that's connected to the battery sockets. After getting that end loose I broke down the trimmer head end, removing the trimmer head and other body components, getting to the motor. I cut the wire where there's enough wire on the motor to allow for a hookup to the battery body. With the dual battery body and motor removed, I moved on to the hedge trimmer.
I separated the hedge trimmer body, getting down to the cutter assembly. After pulling that loose, I put the motor from the weed trimmer next to the hedge trimmer motor and other than the model numbers and voltages, the motors were identical. Hopefully the drive gears are the same as well, which would mean that the swap out should be in and out. As for the bodies, I put the two against one another in order to see how I might put the two together. I had to accept that whatever way these bodies go together, its not going to be pretty. I'll probably end up cutting the bodies up to "surgically" attach the two together.
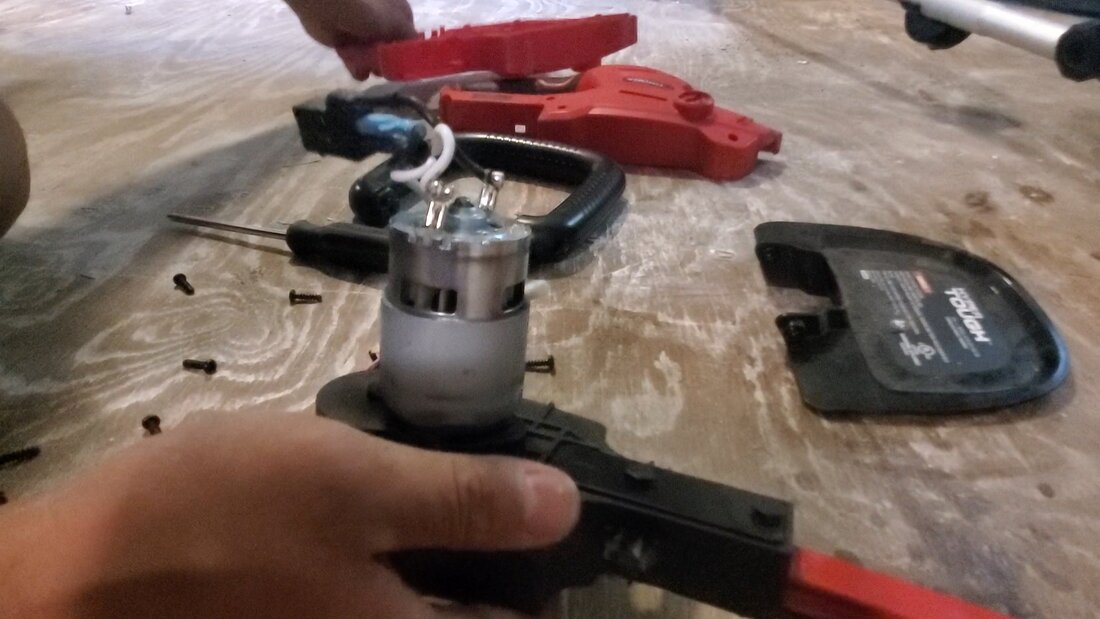
Disassembling the hedge trimmer to get the vital components out.

Breaking down the weed trimmer head/motor section.
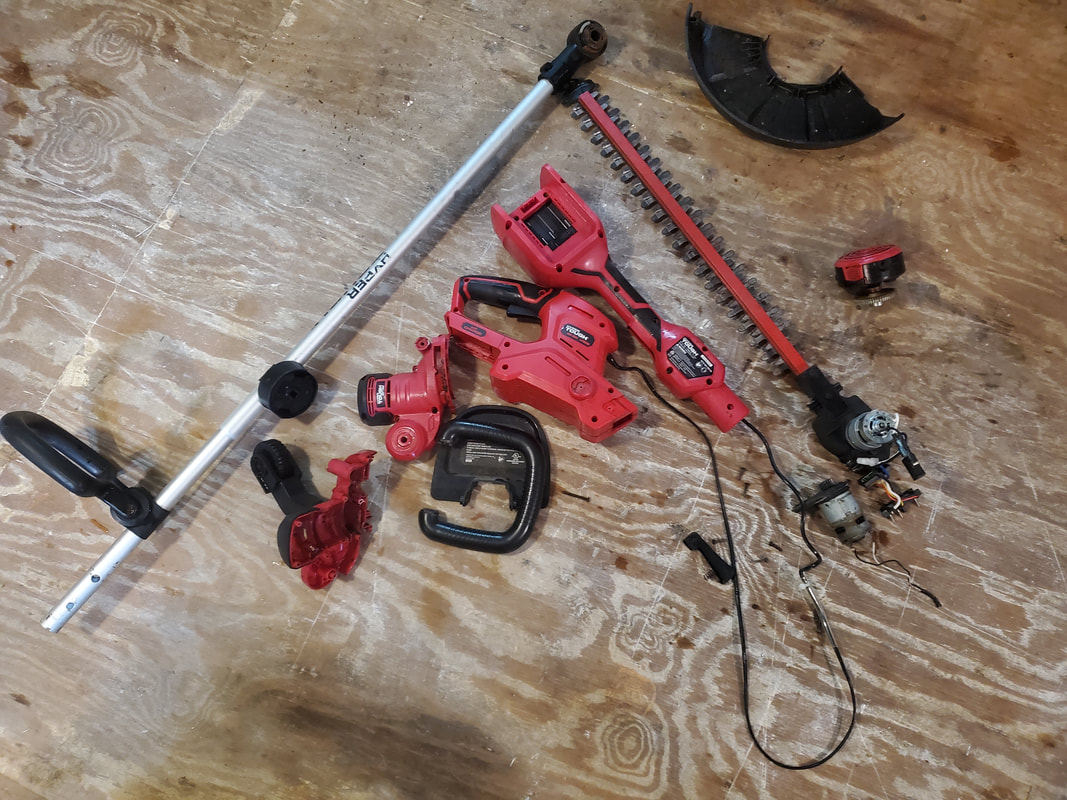
The two machines broken down into multiple components. Some of the components will be discarded as not needed.
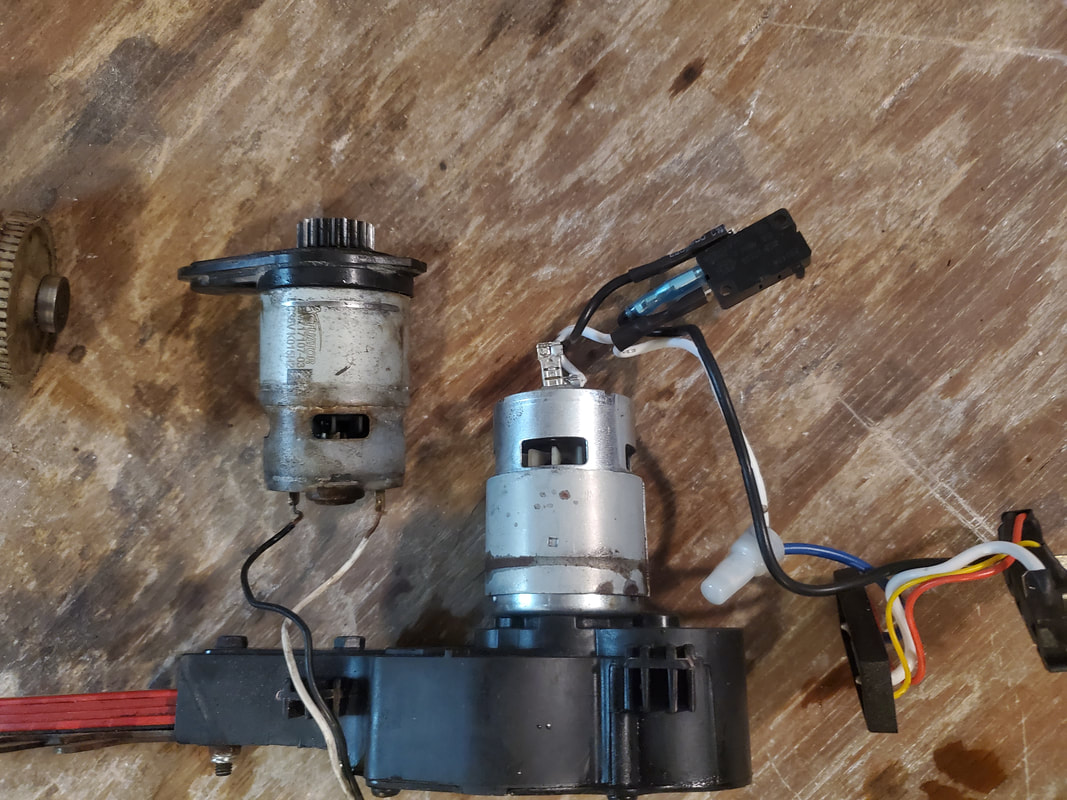
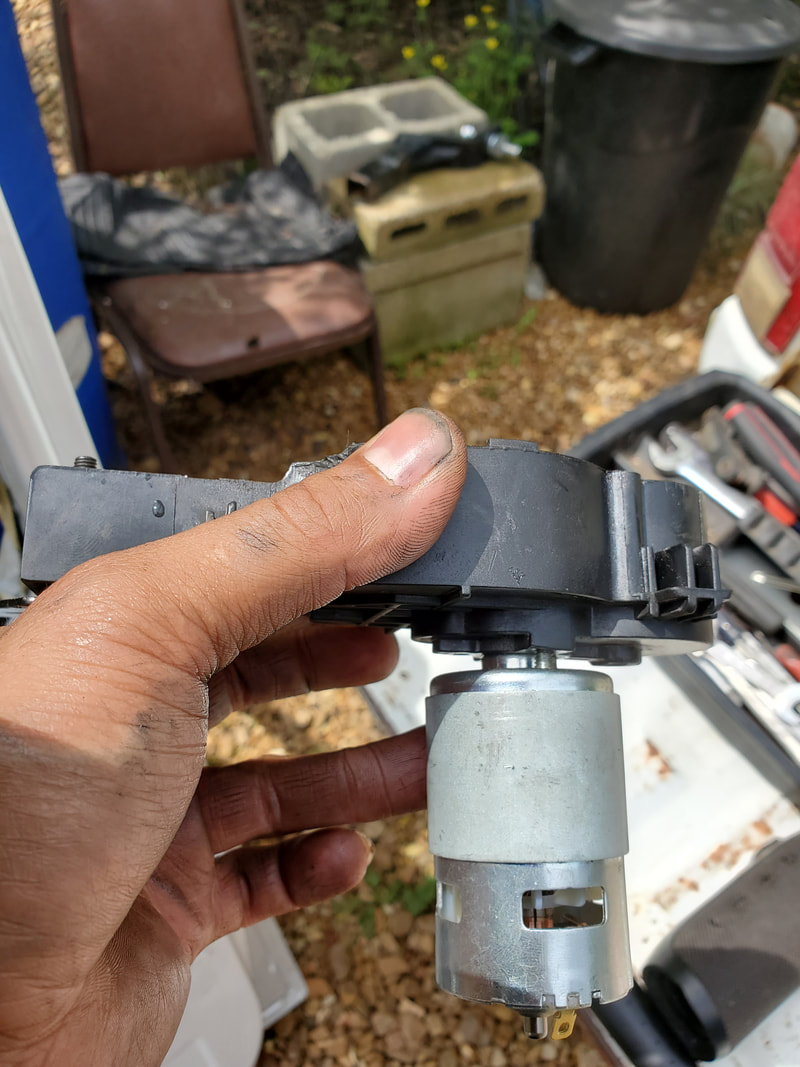
The weed trimmer motor next to the hedge trimmer motor/cutter assembly. Note how the motors are identical.
Putting the two tools' bodies together to get a rough idea of how they will be put together.
With all our parts gathered, the first move was to swap out the motors on the cutter assembly. I had to break down the motor end of the assembly in order to access the two screws holding the motor in place. Once the motor was out, I ran into the first hurdle, which was the drive gear. It was smaller than the gear on the weed trimmer motor, I would have to pull the smaller gear off the bad motor and install it on the other motor. This wasn't that simple. These gears are pressed on and would require a small gear puller to remove the gear. Since I didn't have that, I had to use a combination of needle nose pliers, hammer and punch along with a table vice to get the gear off. In the end the bad motor was definitely rendered bad after dislocating the rotor. Once I got the rotor moved enough to get the needle nose pliers around the motor's shaft, I was able to tap the motor further onto the pliers, using it as a wedge to work the gear up enough that I could use pliers at a brace to hold the gear while I tapped the motor shaft out of the gear. Once the gear was off, since I would've destroyed the weed trimmer motor removing its gear, I had to use a spare motor I had. This motor is one of the generic 12v-36v motors out there used for power tools and hobby applications. This virgin motor was able to be propped in the vice where the other end of the shaft was rested on the vice, allowing me to tap the gear on without damaging the motor. The next problem was the idea that the new motor had a neck that was wider than the old motor. As a result, I was unable to mount the motor flush with the cutter body. Luckily the motor's shaft was long enough that with the placement of the gear at the tip of the shaft, the gear still meshed up with the cutter assembly's gears after the spacing issue. I had to use longer screws to reach the motor body after placing the piece against the cutter body. With the motor mounted despite the wide neck and the spacing issue, I was able to reassemble the gears in the cutter assembly, getting that part of the project completed.
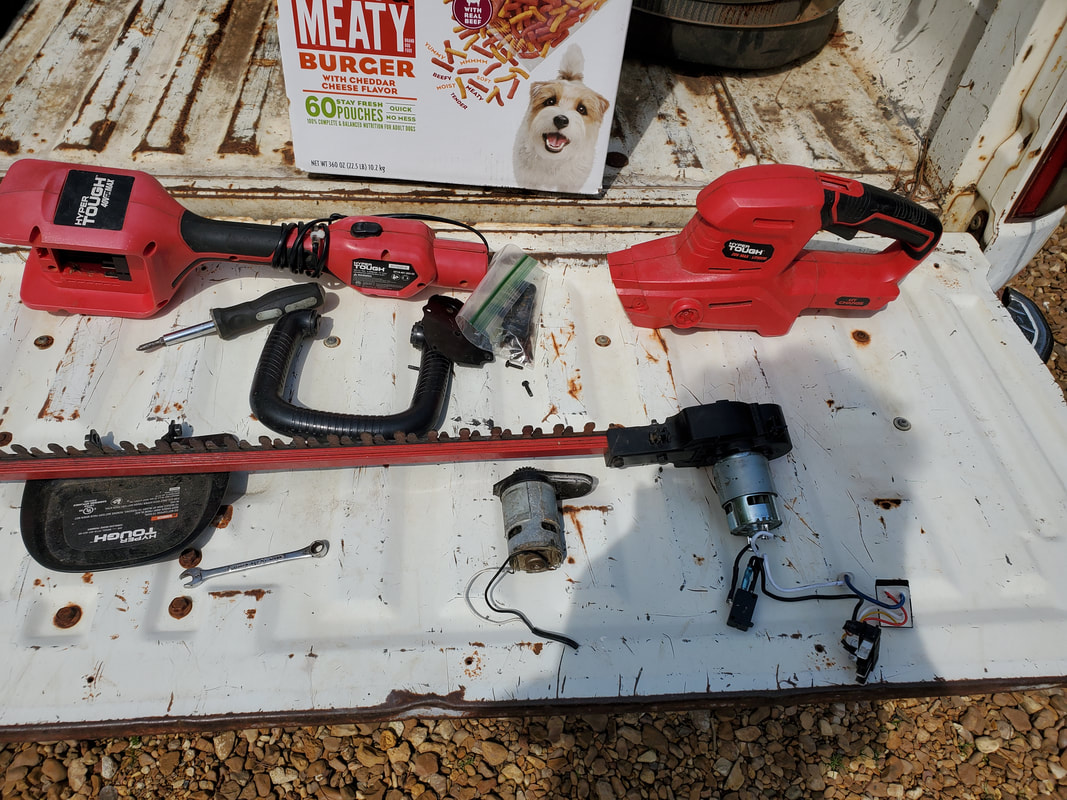
All the salvaged parts laid out for the building of our super hedge trimmer
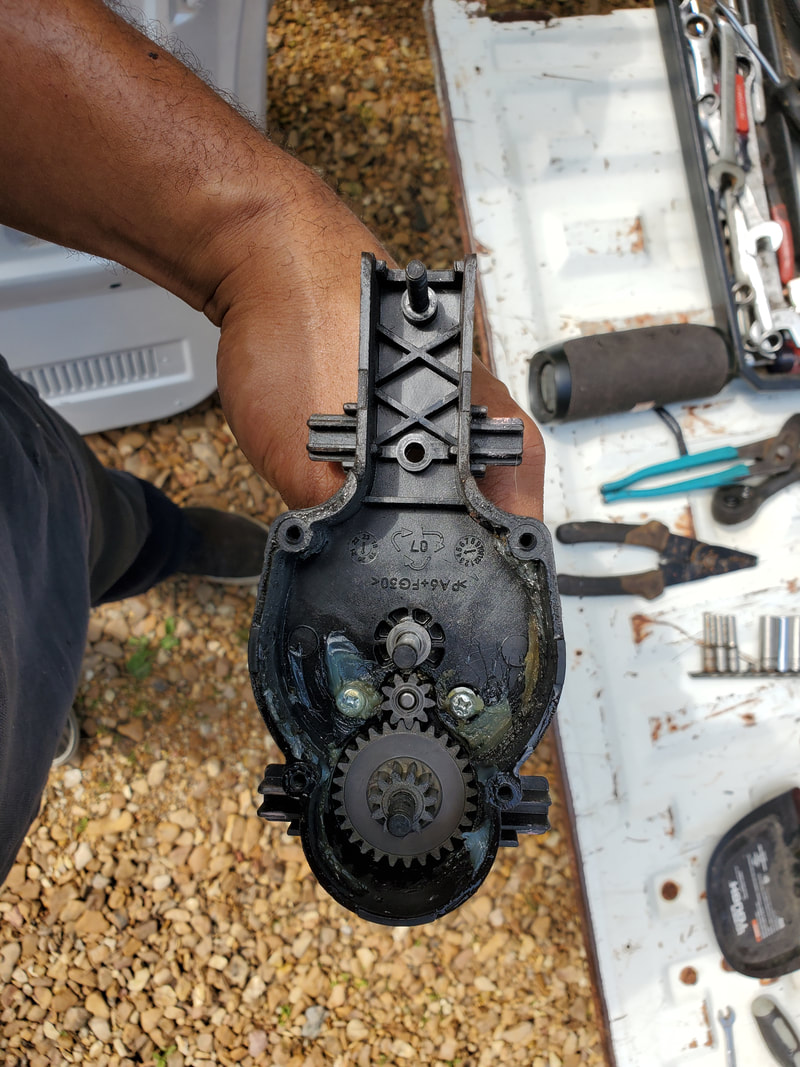
Internals of cutter assembly after removing cutter blade and cam gearset. Note Phillips screws holding old motor in place.
New motor mounted in place, note the spacing between the top of the motor and the cutter assembly body due to the wider neck. Note the screws protruding through the body to the motor body.
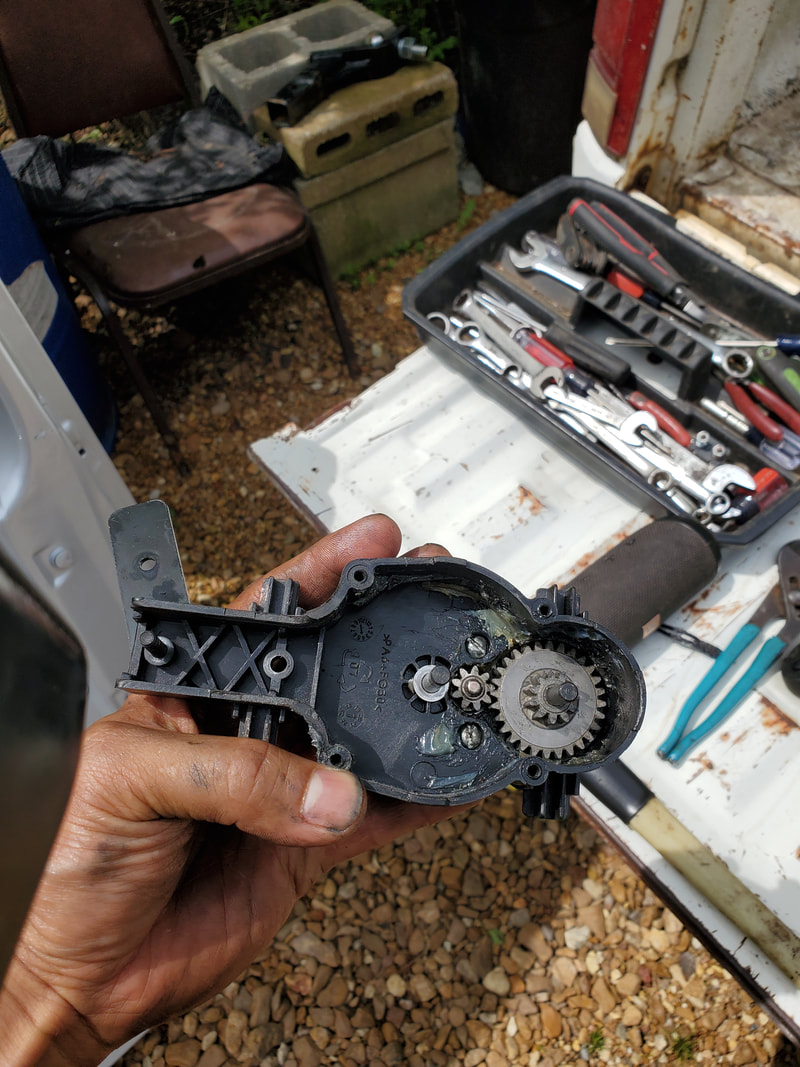
Note the longer flathead screws holding the new motor in place. Also note how the drive gear meshes straight with the gears of the cutter assembly.

Cutter blade and cam reassembled onto cutter assembly body, prior to reinstalling cover.
With the new motor installed in the cutter assembly and everything put back together, the next move is the wiring. On the weed trimmer body there's two microswitches that won't be needed since I'll only be using the switch on the hedge trimmer body. I removed these and replaced these with a pair of wires soldered directly to the output from the dual battery terminals and the regulator module that is installed in line with the output lines. This wire pair will then be routed over to the hedge trimmer body where it will connect with the switch on the hedge trimmer body. The wires from the switch will then be connected to the motor. I installed enough wire that I can bridge the gap between the battery clips and the drive motor without having the congestion of extra wire in the bodies of the machine. Once the wiring was taken care of I reassembled both body shells and put things together to see just how I would finish coupling the two bodies. It almost appeared like everything was made to go together, with the neck of the weed trimmer body appearing to fit in the battery well of the hedge trimmer body. Instead of doing any extra cutting of the plastic or doing any excessive work trying to blend the two bodies together, I ended up using a worm clamp to couple the front of the weed trimmer body neck to the bottom of the hedge trimmer body. I then drove two wood screws through the bottom section of the hedge trimmer body, from the top down, into the neck of the weed trimmer body. I finished things off with two angle braces mounted on the back of the hedge trimmer body and resting on the top of the weed trimmer body. Sheet metal screws hold these braces in place on both bodies. With all of that done, both bodies were secured well, allowing me to do a preliminary test on the cutter. After seeing everything work like it was supposed to, I installed the handle and hand guard and put the machine to the test.
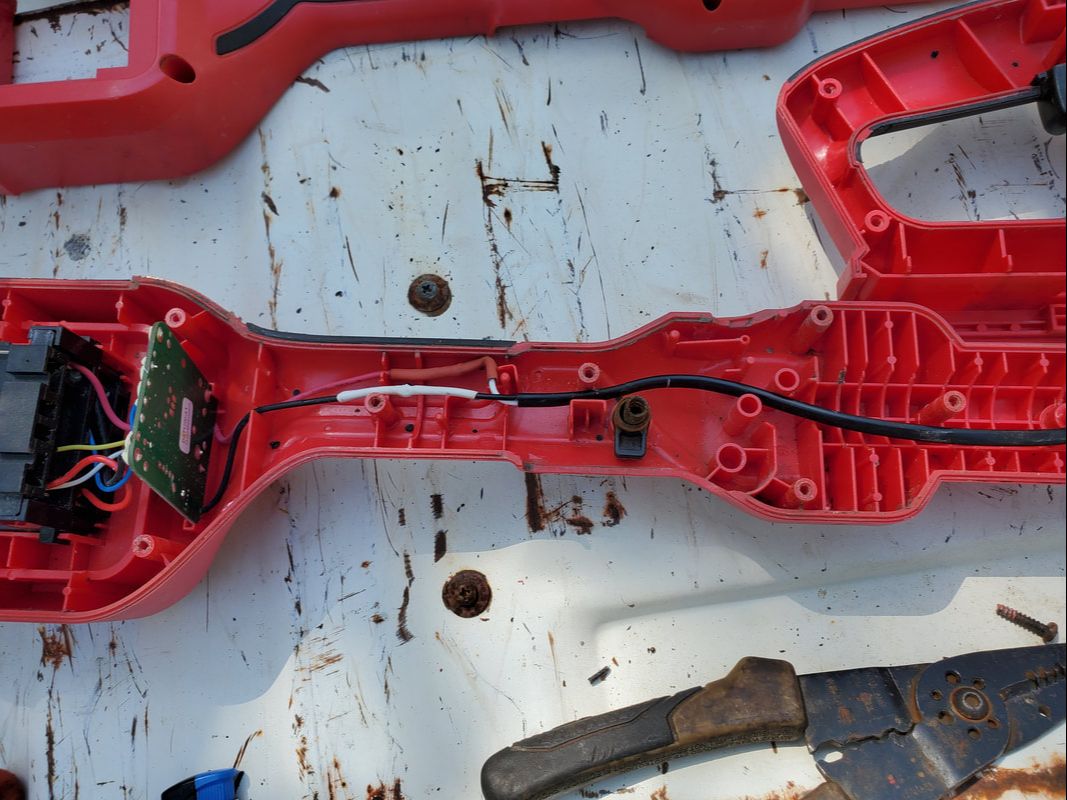
Pair of wires hooked up to dual battery clip and regulator on weed trimmer body. Pair of microswitches were removed since they won't be needed.
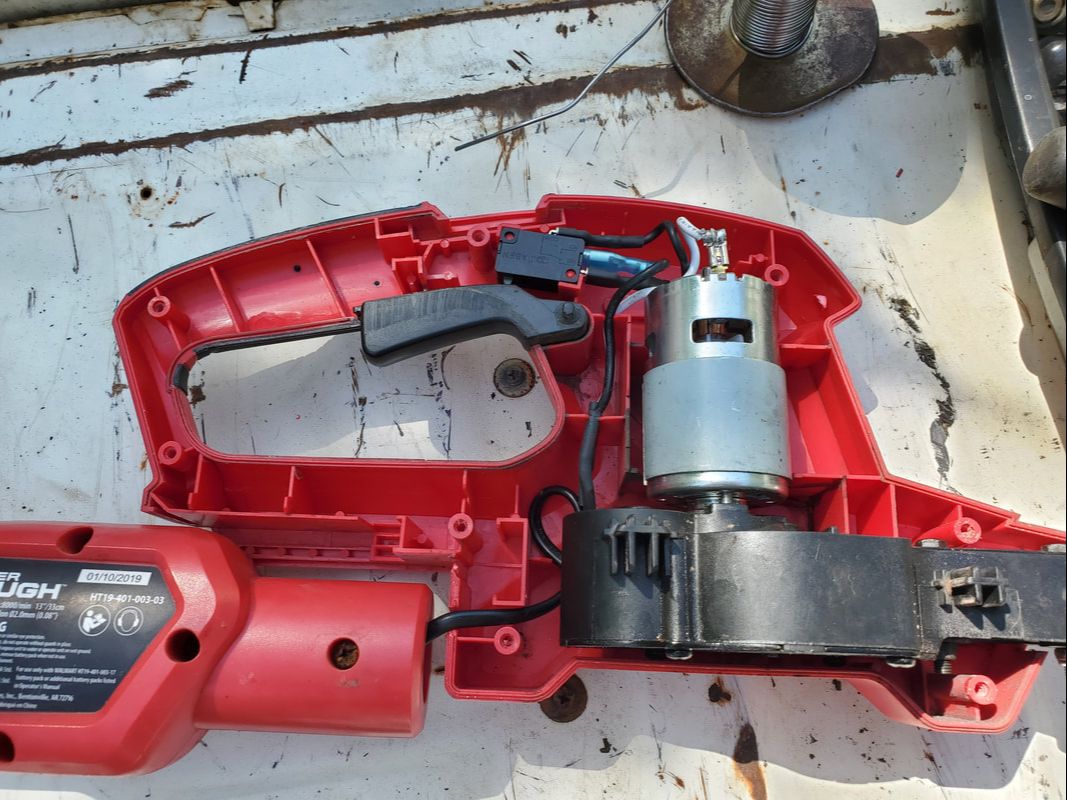
Cutter assembly installed in body with switch wired up.

Both bodies are reassembled with the completed wiring. Bodies are staged together as I intend them to go together.
Tool bodies are assembled here, note the worm clamp and wood screws on the hedge trimmer body as well as the angle braces at the back of the hedge trimmer body, attached to the top of the weed trimmer body.
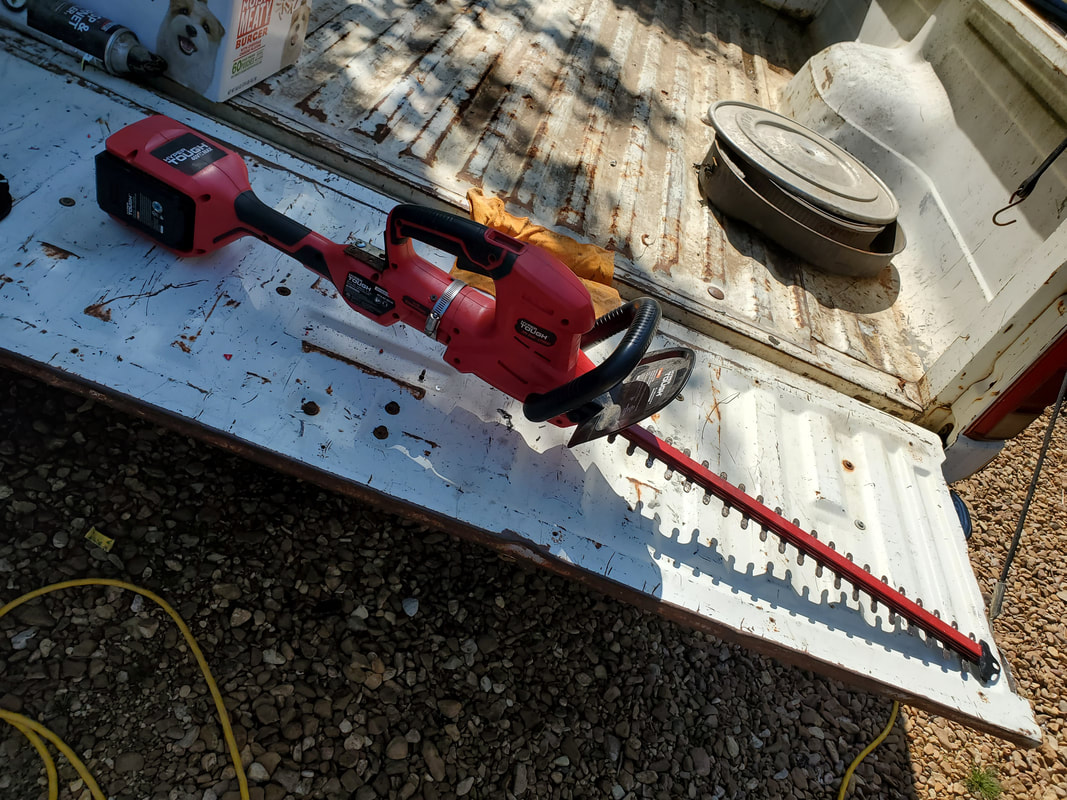
Completed tool with handle and hand guard in place, batteries are plugged up and ready to go.
The funny thing with this design is the idea that the balance is actually pretty good. With the double batteries on the back end and long cutter assembly on the front end, the tool is actually pretty balanced at the handle. This is actually a good thing as it will allow me to use the tool much more before hand fatigue sets in. Tests had the machine cutting regular brush/hedges rather well, just like the Kobalt 24v hedge trimmer does. I did have theories about maybe getting some extra kick on the tool if I replace the current motor with a 24v motor that will "overdrive" with the higher voltage from the double battery system on this machine. The regulator on the tool will keep the motor from getting a full unregulated 40v anyway, so maybe this little extra RPM and torque by using a lower voltage motor will give this tool the power needed to really cut through some stuff. Add to that the sharpening of the individual blades on the cutter assembly, and this tool can truly be worthy of the name "Super Hedge Trimmer".
|
|
|
|
|
|
|
|
|
|
|
|
|
|
|
|
|
|
