Crosman 1077 Restoration/Modification
Back in 1996 while in high school, I managed to pick up the third of my collection of air guns in my burgeoning gun hobby. This gun, a Crosman 1077, pretty hot for its time when it comes to budget air guns, was like the "flagship" of my collection. This gun, a .177 semi auto, CO2 rifle that shoots around 625 fps was a fun plinker that would put one in the mind of a 10/22 in its look as well as performance when it comes to CO2 air guns. The CO2 air guns of the time were relatively weaksauce pistols that pushed around 400 fps, with rifles being either spring piston or multi pump single shots. To have a semi auto air rifle that actually pushed respectable velocities was something back then. One would have to spend some real money to get a PCP to get these features back then. Now, with large bore air rifles and automatic air guns being everywhere, this gun is pretty much a has-been, pushed into the same class as a Red Ryder or similar gun. Even then, this 20+ year old relic deserves a new lease on life. The seal on the CO2 valve is dry rotted and the power valve may be questionable. With a replacement valve kit in hand, I was ready to restore this old relic (even though new models exist).
I had to break open the gun, three screws removing the stock from the receiver. After removing the cover from the receiver, I pulled the trigger group and pulled the power valve out. I pulled the barrel to get it out of the way as well as the CO2 tube. I had to pull a roll pin out to remove the CO2 valve. A screw down ring allowed me to access the seal, which needed to be scraped out with a pick. Once the old seal was out, the new one was installed and the valve reassembled. A bushing was reinstalled that seats the gas tube. The valve, barrel and CO2 tube were reinstalled on the receiver, then the new power valve was reinstalled, followed by the trigger group. The cover was replaced and the whole barreled action was reinstalled in the stock. The next move is to test this thing, especially since I got a new chronograph.
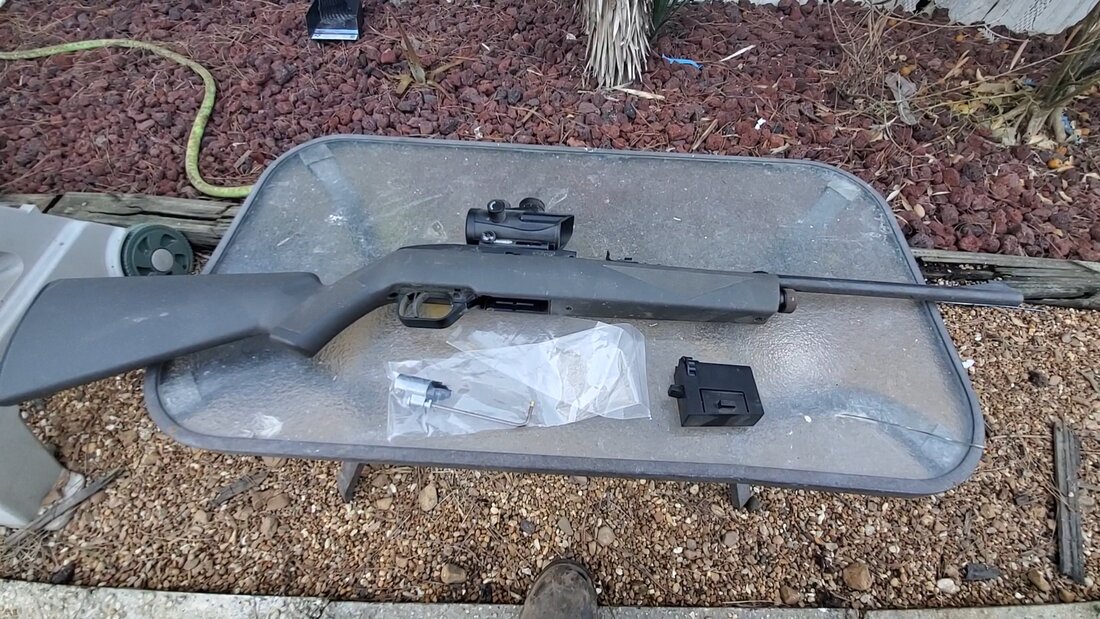
The Crosman 1077 with aftermarket red dot optic added.
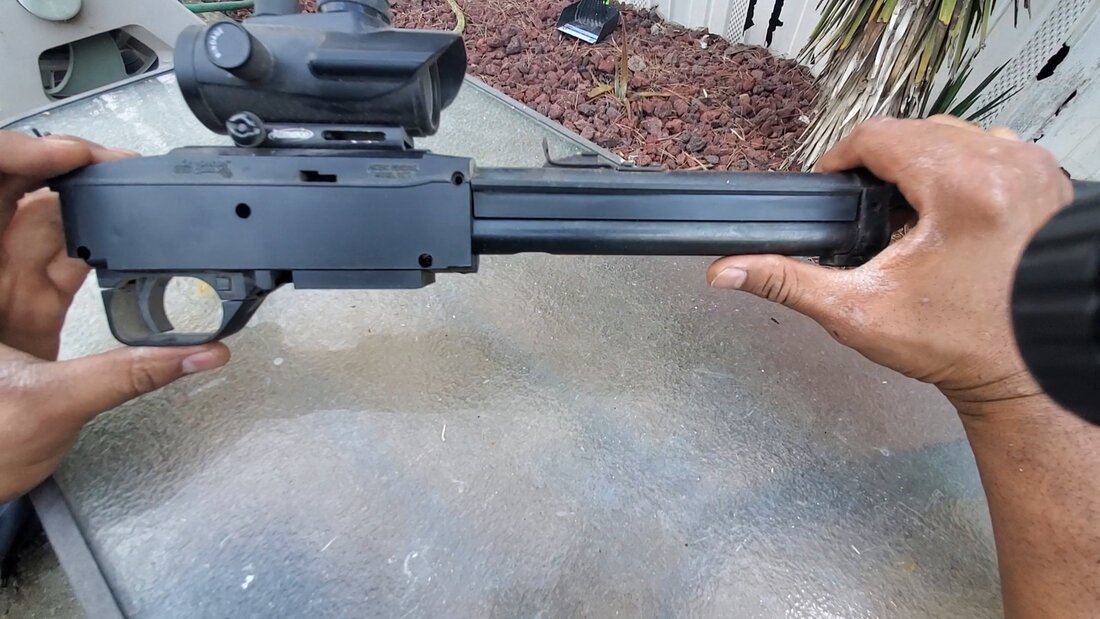
The barreled action/receiver removed from the stock.
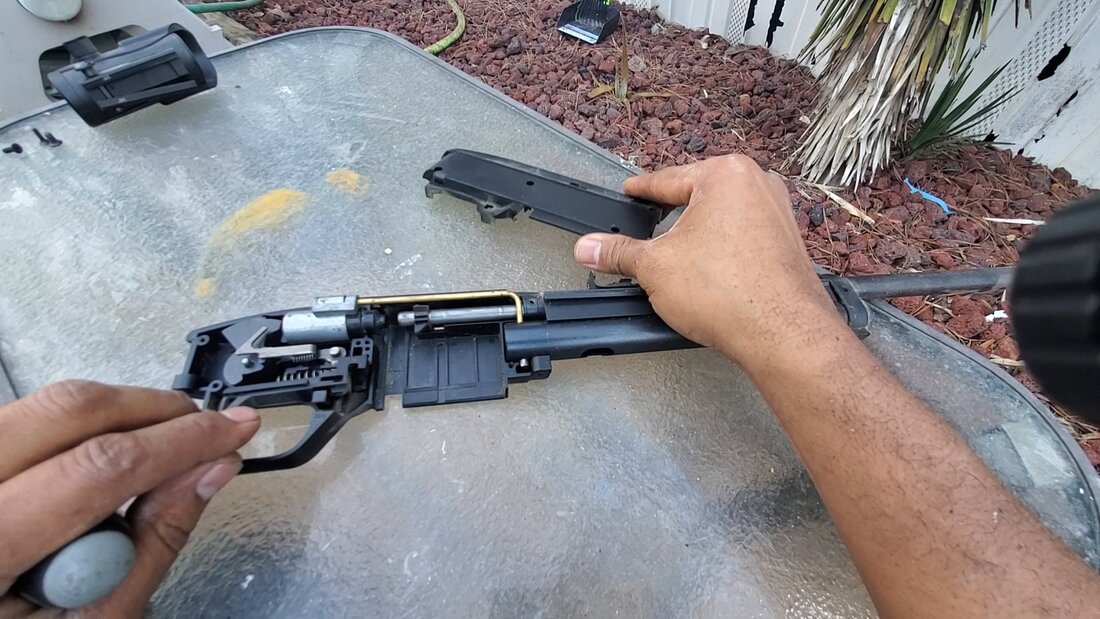
The receiver cover removed, exposing the internals. The power valve and trigger group have to be removed, along with the barrel and CO2 tube.
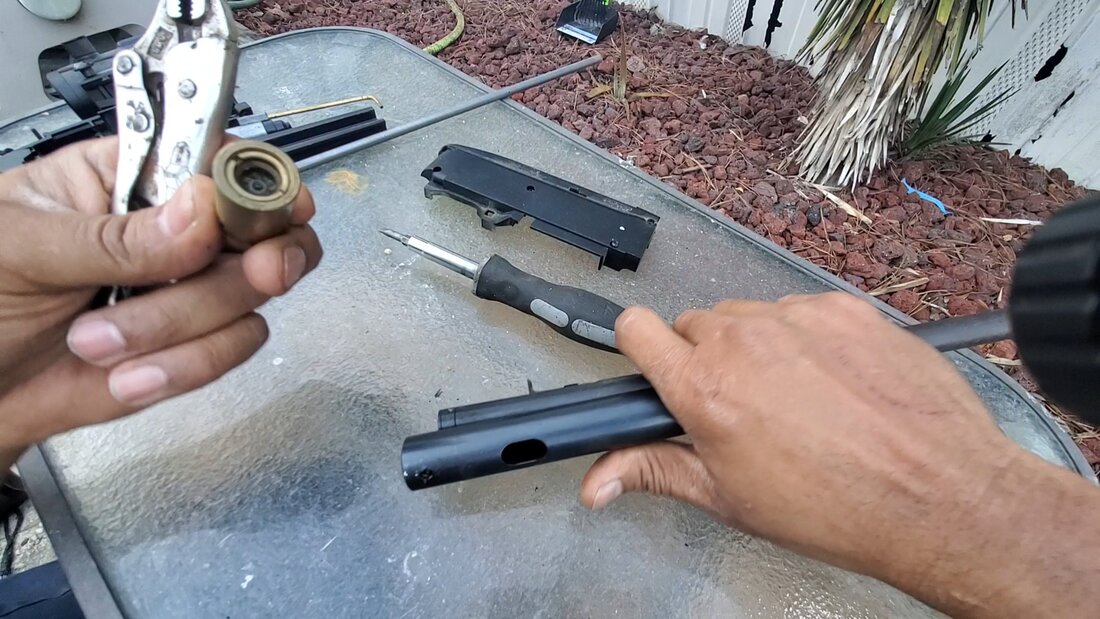
The CO2 valve/base removed from the CO2 tube. A roll pin had to be pulled out of the tube to allow the CO2 valve to be removed.
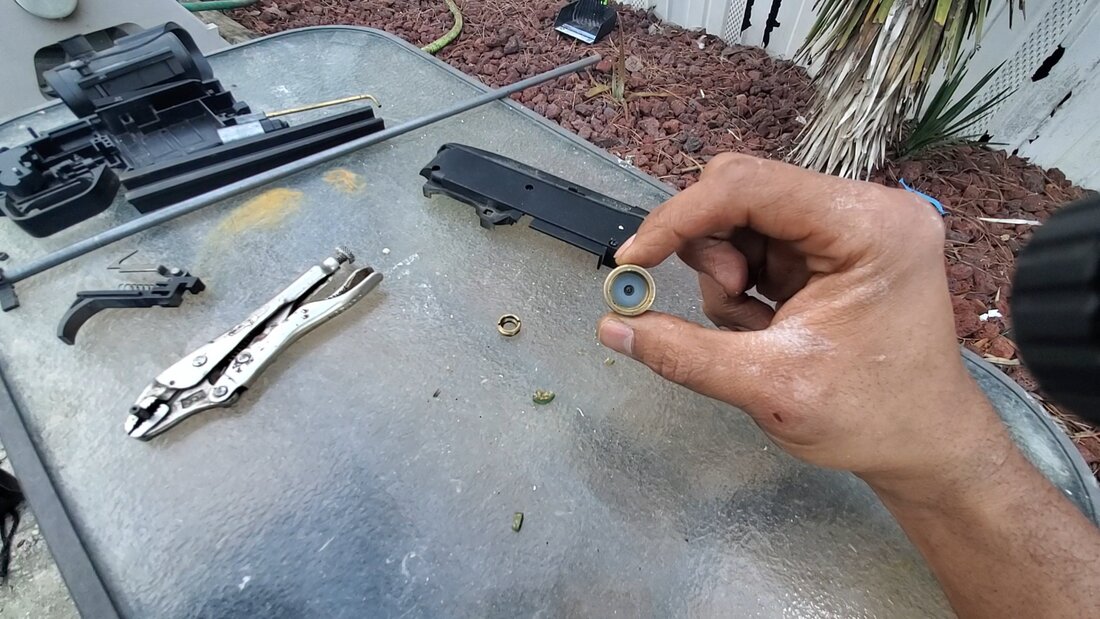
A screw down ring had to be removed to allow me to pick out the dry rotted seal. The new seal is installed and ready for the retaining ring to be screwed back in place.
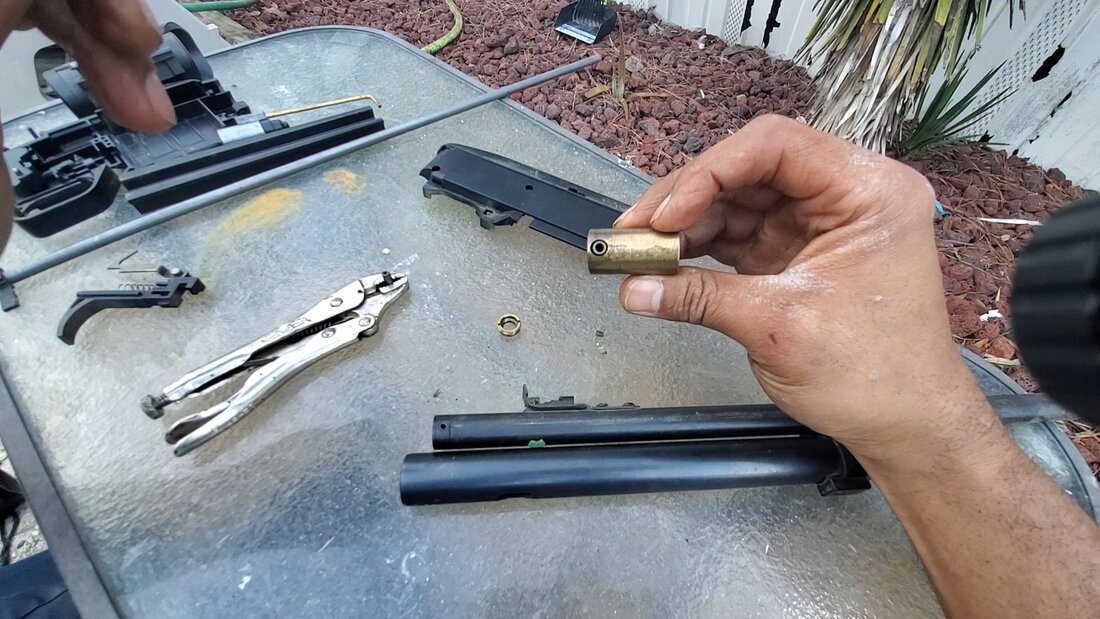
This bushing is reseated in the CO2 valve before reassembly. This bushing seats the gas tube that routes gas to the power valve.
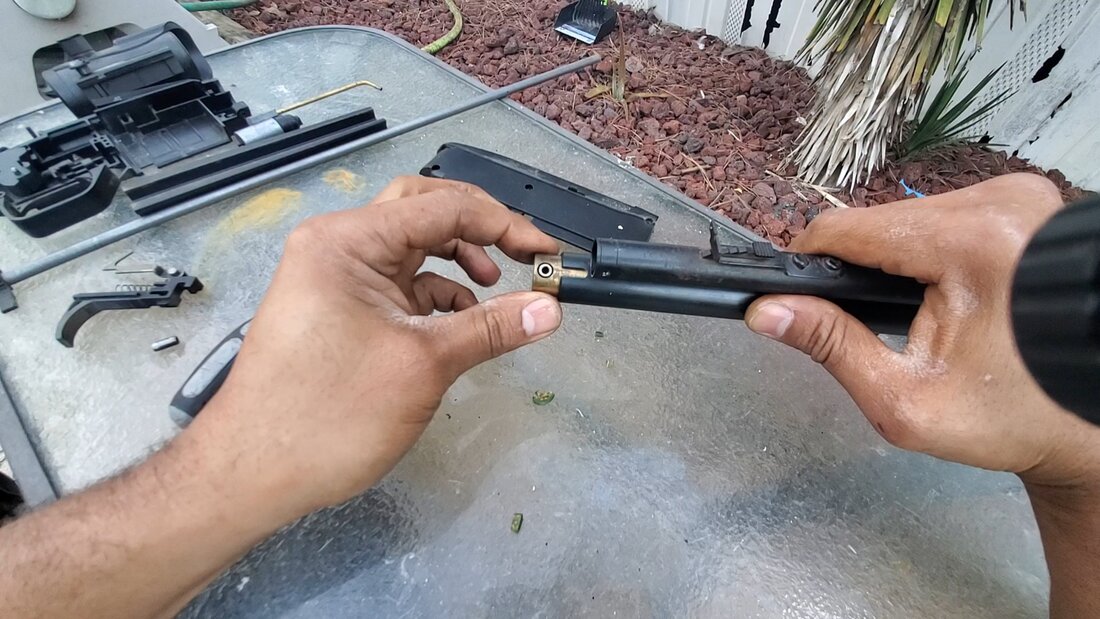
The bushing has to be seated in the CO2 valve before the valve can be inserted into the CO2 tube.
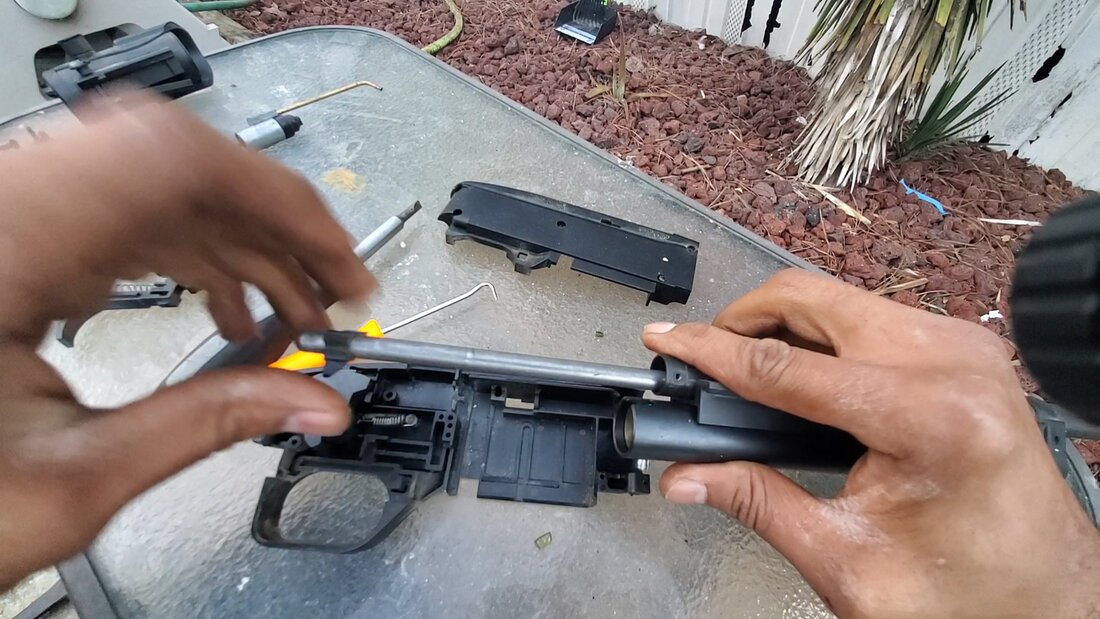
With the CO2 tube back in place and the roll pin hammered home, the barrel is reinserted into the barrel tube. The power valve will follow afterward.
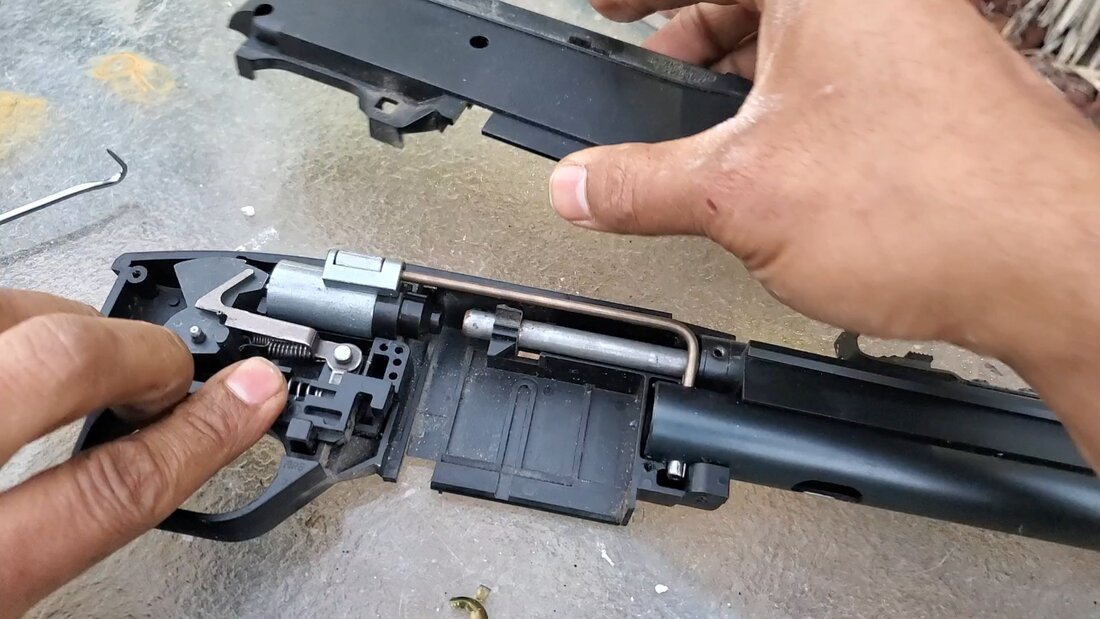
With the power valve installed, the trigger group is put back in place. With that, the cover will be reinstalled, and the barreled action installed in the stock to complete the reassembly.
|
|
|
|
|
|
|
|
|
|
|
|
