ALTERNATIVE AC BOX
This is a project that I've been seeing various versions of online from different venues but the basic concept was the same: blowing air over some form of ice or ice packs to chill the air before blowing it back out into the environment. Most of these use an old cooler or bucket as the container and usually large computer fans as the means to move the air.
At first I really didn't take this idea seriously as I figured the unit wouldn't last long enough for the applications that I would use it for, which is as an alternative AC system in any of the vehicles that are lacking AC.
As of recently I've been recently working on the 69 mustang and am also currently making a push to get the charger back up as well. We also have an 84 monte carlo thats currently drivable, but none of these vehicles have working AC. I used to drive the mustang in the 90+ degree heat every day to the job, sweating every step of the way. That was several years ago. At this point I said nope! I don't wanna sweat my ass off again in vehicles with no AC. Ok then, if I wanna drive any of these cars outside of the late fall/early spring and winter months then I'm gonna have to do something while I work on getting the components to complete the AC systems on any one of these cars. The best alternative: one of these alternative AC boxes.
Now since there are a million different versions of this concept out there, there's really no reason to follow any particular instruction on building one of these. My best bet is to just see what I have available then shoot from the hip in designing my own version of this device to build.
I managed to find a couple of decent 12v computer fans I had stored in a box with some other parts, along with a 2" pipe elbow and some short cuts of 2" pipe. I had a couple of old coolers that I was trying to sell to no avail, so one was allocated to serve as my AC box. An old toggle switch, some wiring and a new 2" elbow completed my parts list. The main tool to be used in the construction of this device: a heavy duty hot glue gun, one of the best craft tools known to man.
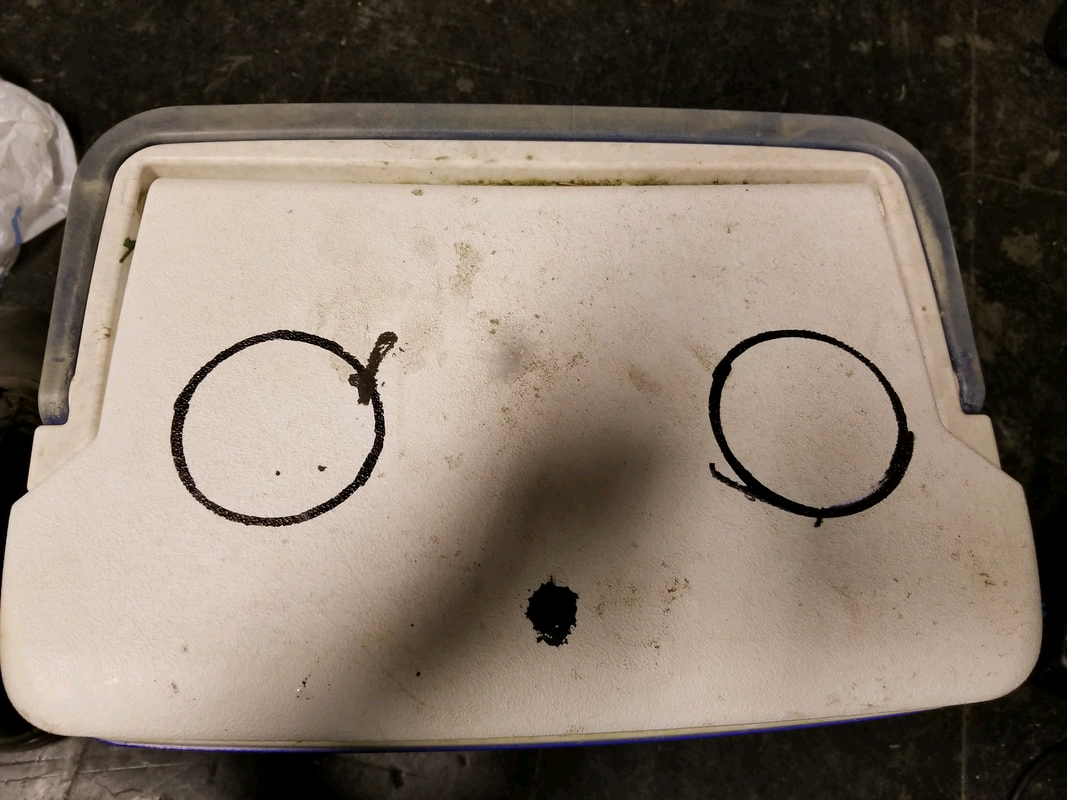
Tracing holes on cooler lid for the 2" pipe elbows
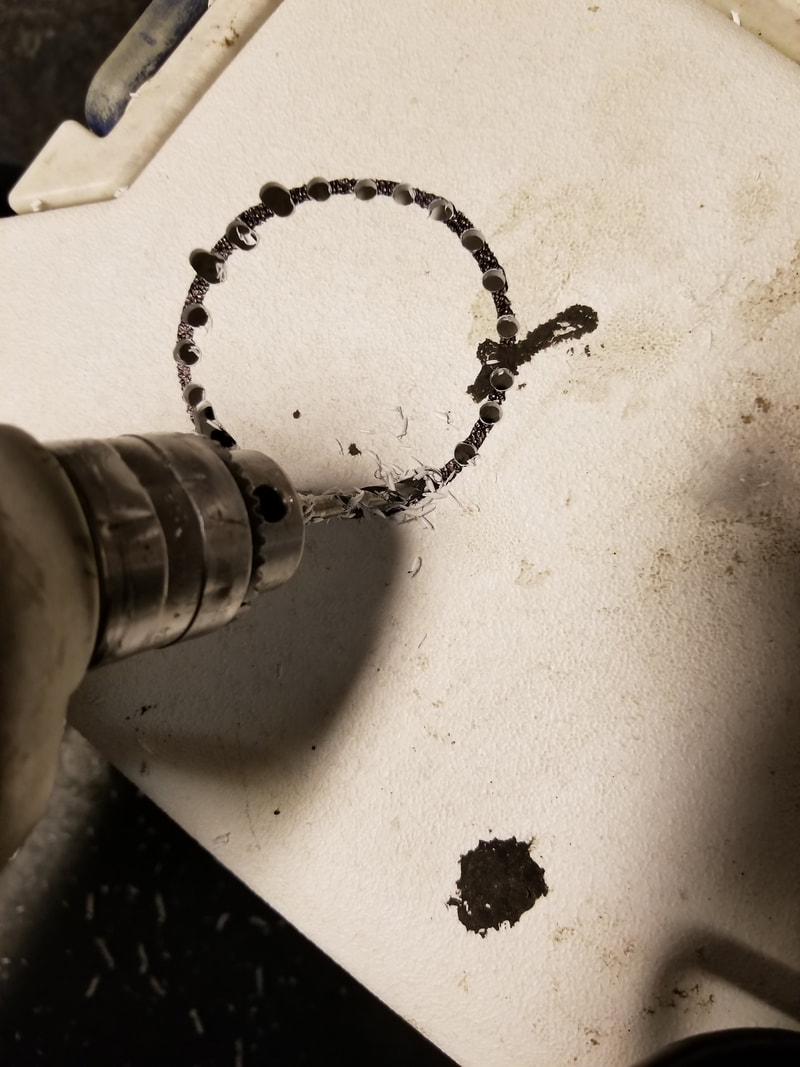
Drilling holes along circle then reaming out between holes to essentially cut the circle out from lid.
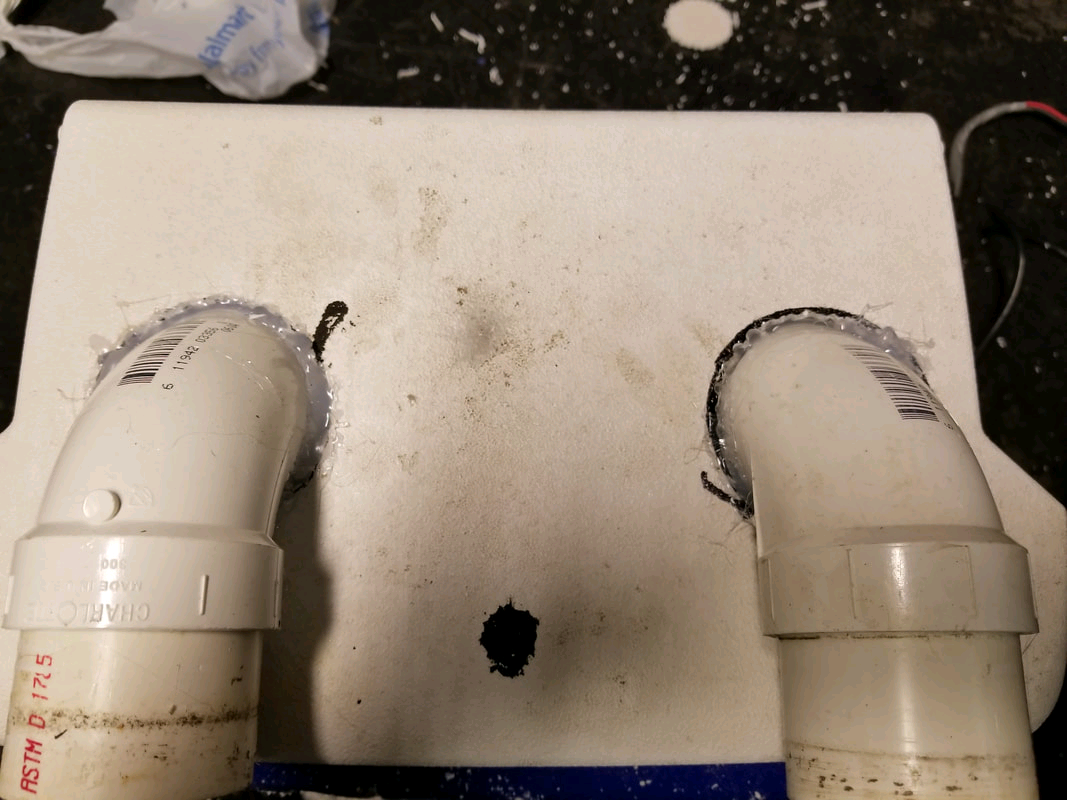
After fitting elbows in place in holes, hot glue injected all around pieces inside lid seal everything up real nice.
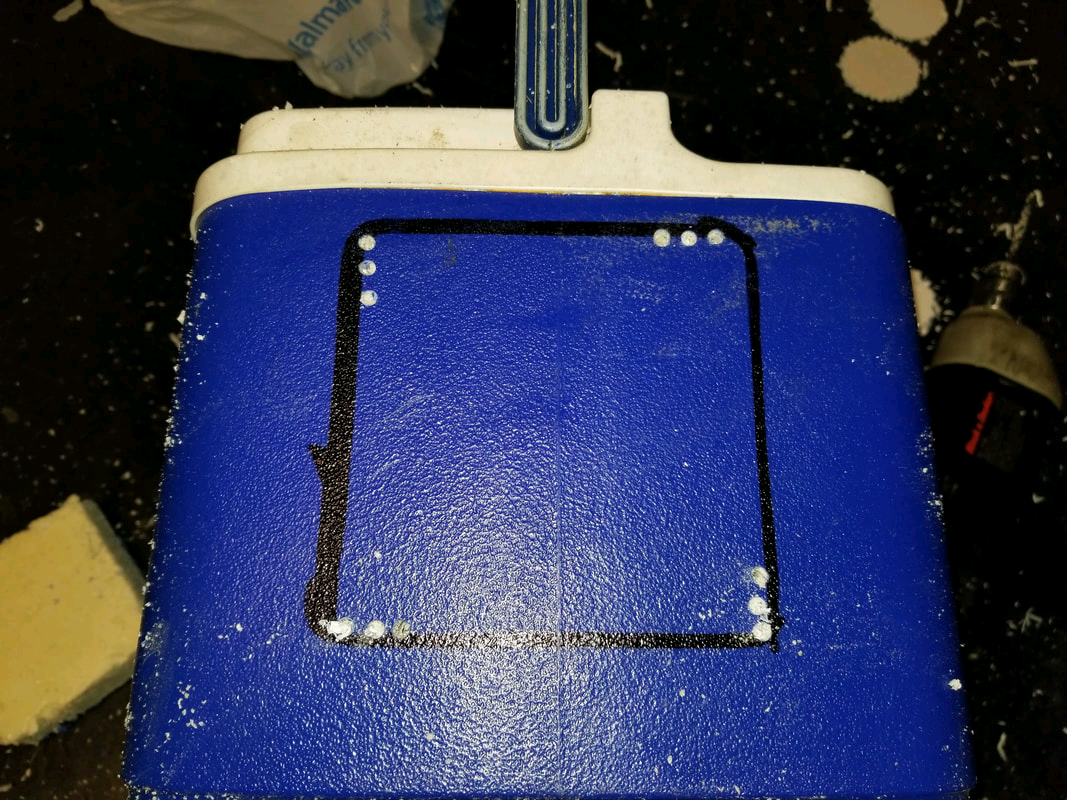
Traced lines on sides for fans, drilled holes on all sides to ream out and use a saw to cut out blocks.
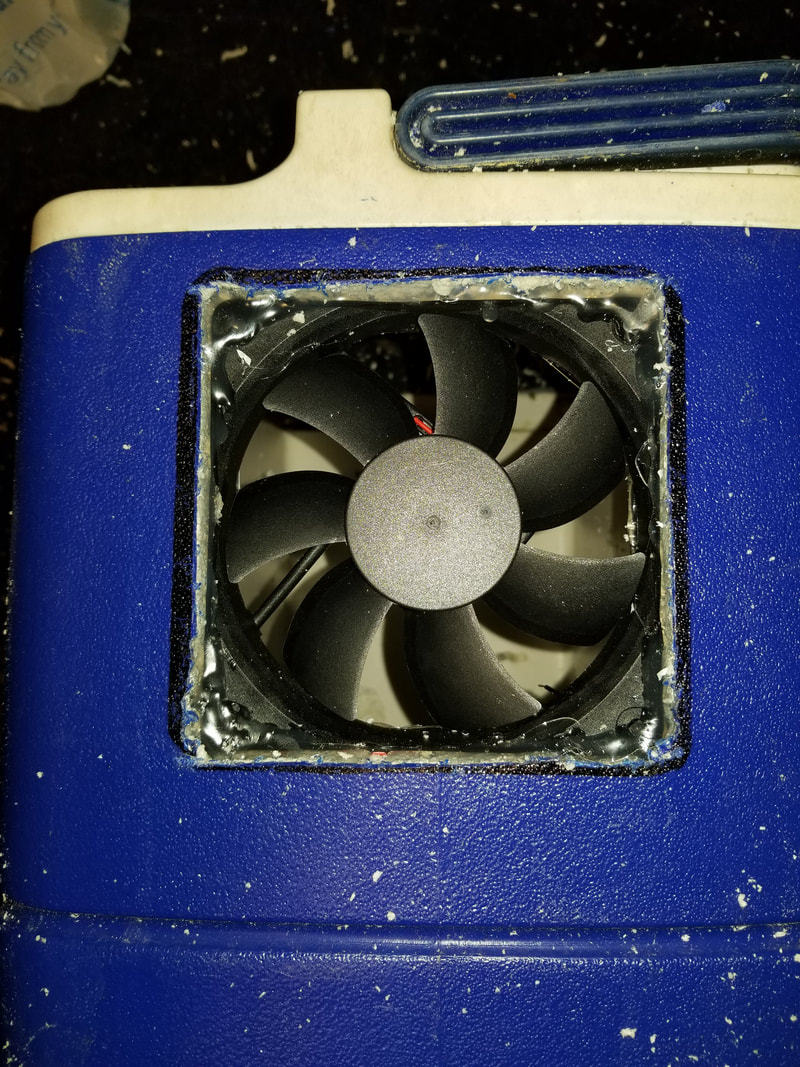
Computer fan hot glued in place in hole.

Inside shot of glued in fan, note wires routed to inside of cooler.
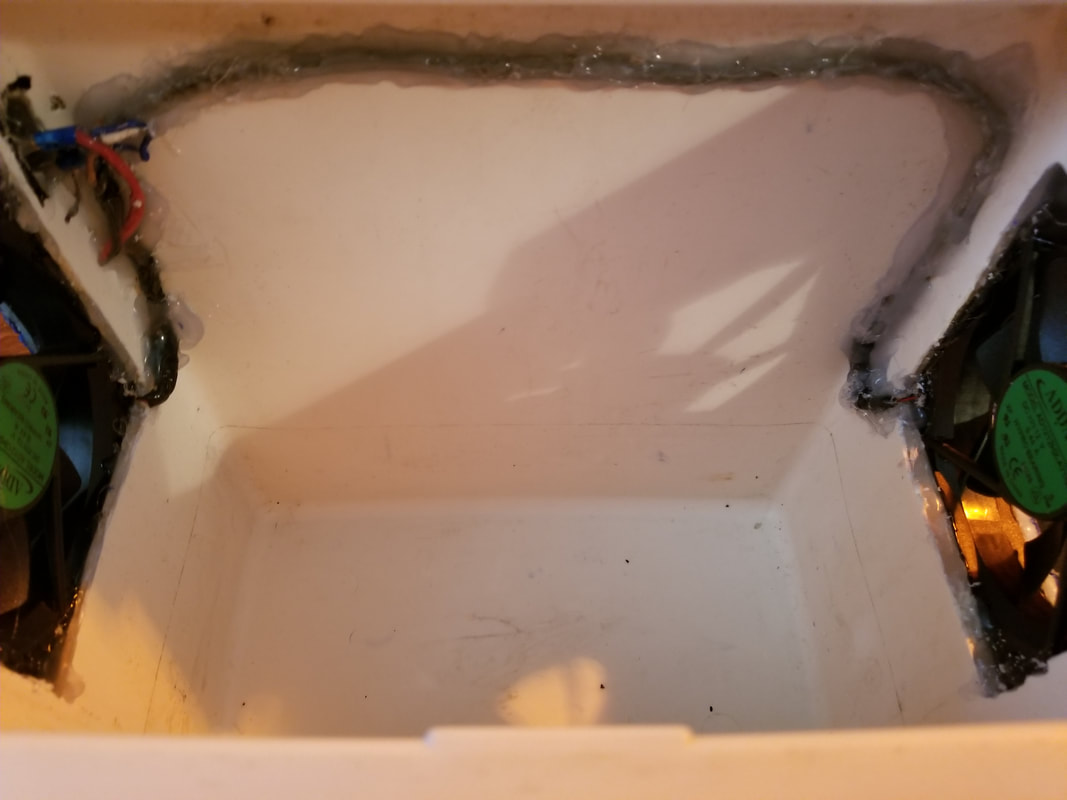
Shot of inside of cooler with wires glued in place linking both fans and the switch and power wires.
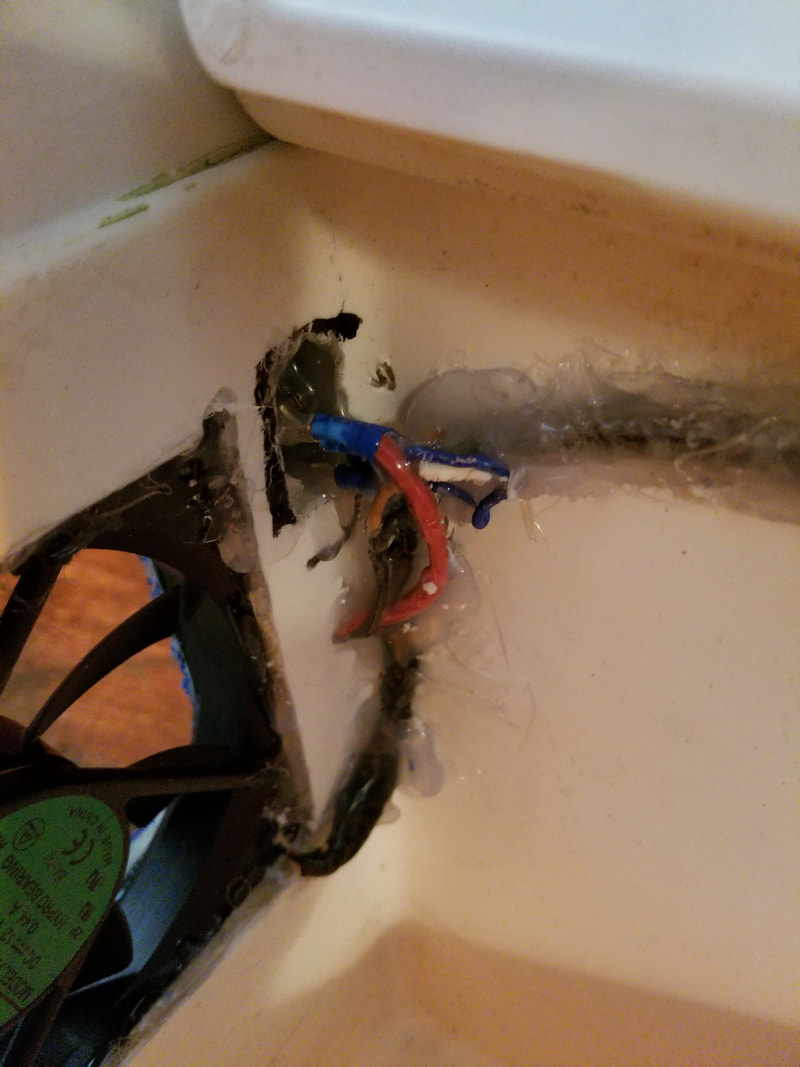
Closeup of glued in switch and power wires. Hole was drilled for power wires and another hole was drilled with a cavity cut out from the inside to fit switch into flush.
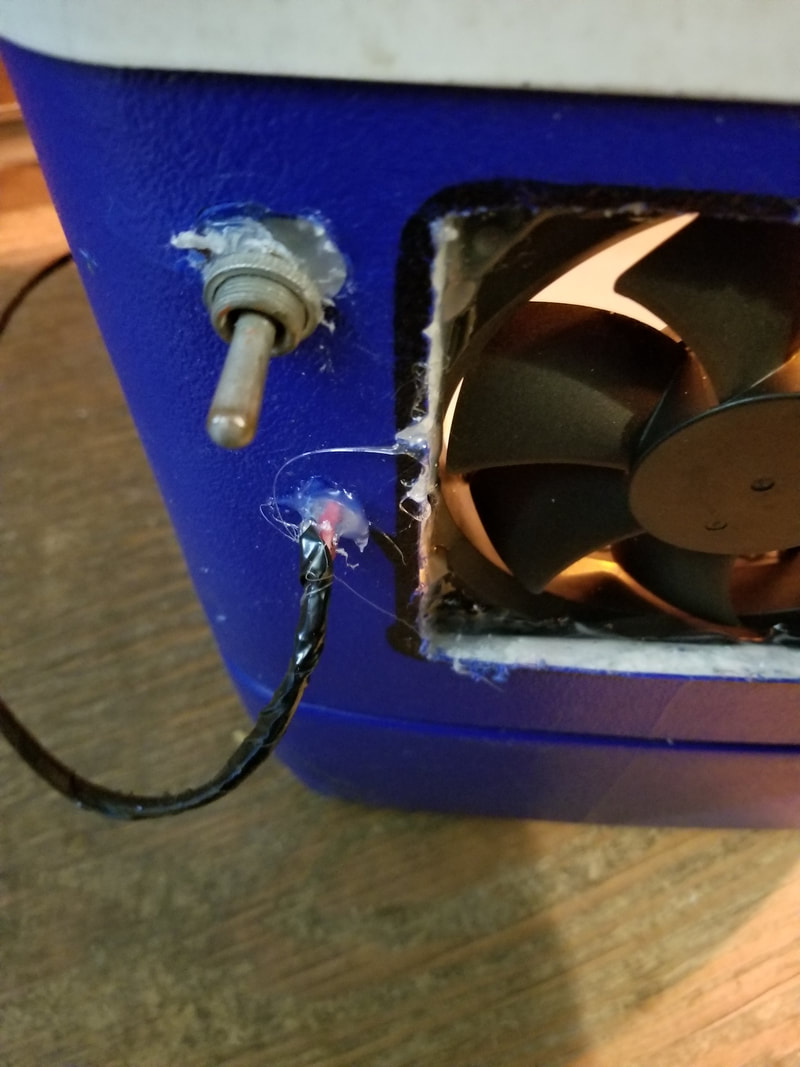
Outside shot of switch and power wires protruding from holes drilled in side of cooler. Note glue seals.
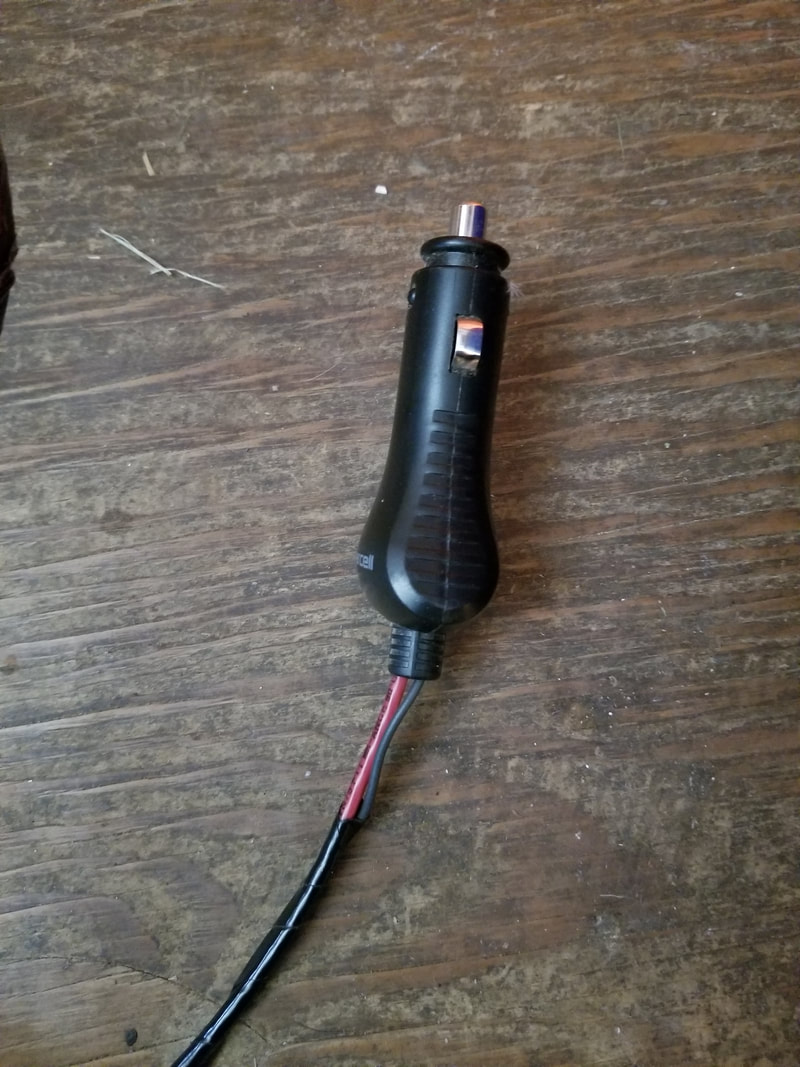
12v receptacle with power wires plugged into it. Note electrical tap wrapped along length of power wires for neatness.
As can be seen from the pics, the unit was pretty simple to assemble thanks to the hot glue gun. The only thing left at this point is to get some ice packs to stack inside the unit for test purposes. I figured I would vertically stack the ice packs so air can better move around the sides from top to bottom, versus stacking them horizontally where the bottom packs wouldn't get sufficient air flow. I also plan on putting a little water in the bottom of the cooler to give the unit that evaporative cooling effect as well. Preliminary tests shown that the unit moves sufficient air, similar to the middle setting on the dash blowers on a car HVAC system, so we'll see. Stay tuned for updates.
