12v LITHIUM BATTERY POWER SUPPLY
Here is another one of those labor of love pet projects that involves spending money building something that more than likely can be replaced for just as much without having to do the work. This project is the remaking of an old 12v power supply I bought over 20 years ago during the time I was getting into tooling up for some survivalist preparedness. This power supply started its life with a couple of 6v sealed lead acid batteries wired in series to make 12v and supply power to a couple of 12v "cigarette lighter" receptacles. One of the receptacles supplies straight 12v power around 15 amps max and the other socket supplies a variable 3, 6, 9, 12v at around 1 amp. This was used in unison with a plug that had an end with different plugs that fit a variety of sockets for devices that used the AC adapters we were used to seeing back then. This power supply was good for powering any number of different low voltage devices and any of the camping/RV/automotive gadgets that were coming into their own at the time. The main thing I used the power supply for was powering a small power inverter. At the time I found it fascinating to be able to produce 120vac power anywhere from a couple of little boxes.
Since the batteries were small, using the power inverter only gave me a few hours at best with a small load. Even with that minimum time frame, this thing was still a very interesting combination for someone who was getting deeper into preparedness at a time when it was still called survivalism. Being able to plug up a fluorescent shop light to light up a room for a few hours or a small TV was something that intrigued me at the time.
Well fast forward a little bit and the batteries crapped out. I ordered replacements online and got the unit back online for a little while but never got to use the unit until the batteries died again due to non use and the fact that the batteries were on the low end of cheap and were probably the worst quality one could find, so yeah they didn't last. Shortly after I ended up removing the batteries and scrapped them with some other metal crap and put the box in another box with a bunch of other crap, like the old fluorescent lantern that I recently converted to an LED lantern. Now fast forward to today and the power supply box was pulled out, soon to be resurrected by installing another lithium battery pack similar to the one used in the LED lantern.
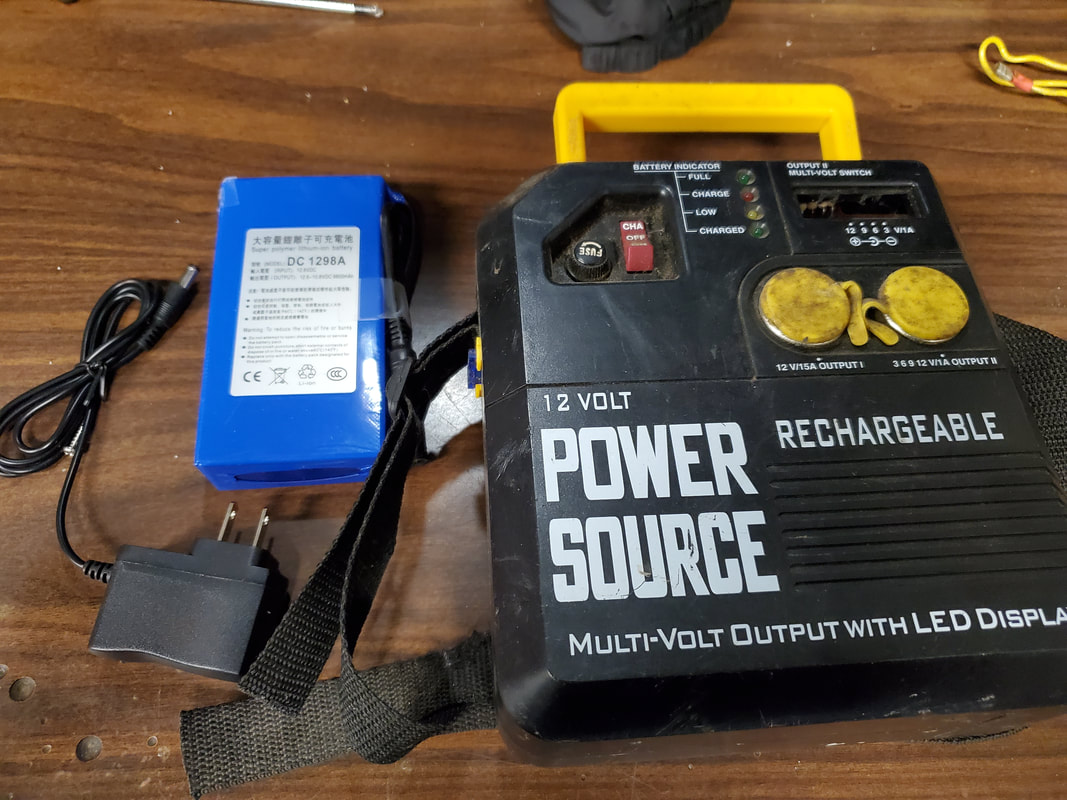
Power supply box with lithium battery and charger.
The first thing I did was open up the casing so I can remove a few wires. One of the sets of wires went to the charging jack. The other wires were for the old batteries. Now at first I wanted to pull the old charging jack from the side of the box but then thought, why not just cut the charging plug off the battery pack then wire the power box's charging port to the battery so I can keep the flush charging port and not have to worry about gluing a new charging port. I clipped the wires from the old circuit board that served as a charging circuit as well as a voltage regulator for the variable voltage socket. Obviously I'm not using the circuit board but rather than remove the board and redo the wiring I just went ahead and left things as is on that end.
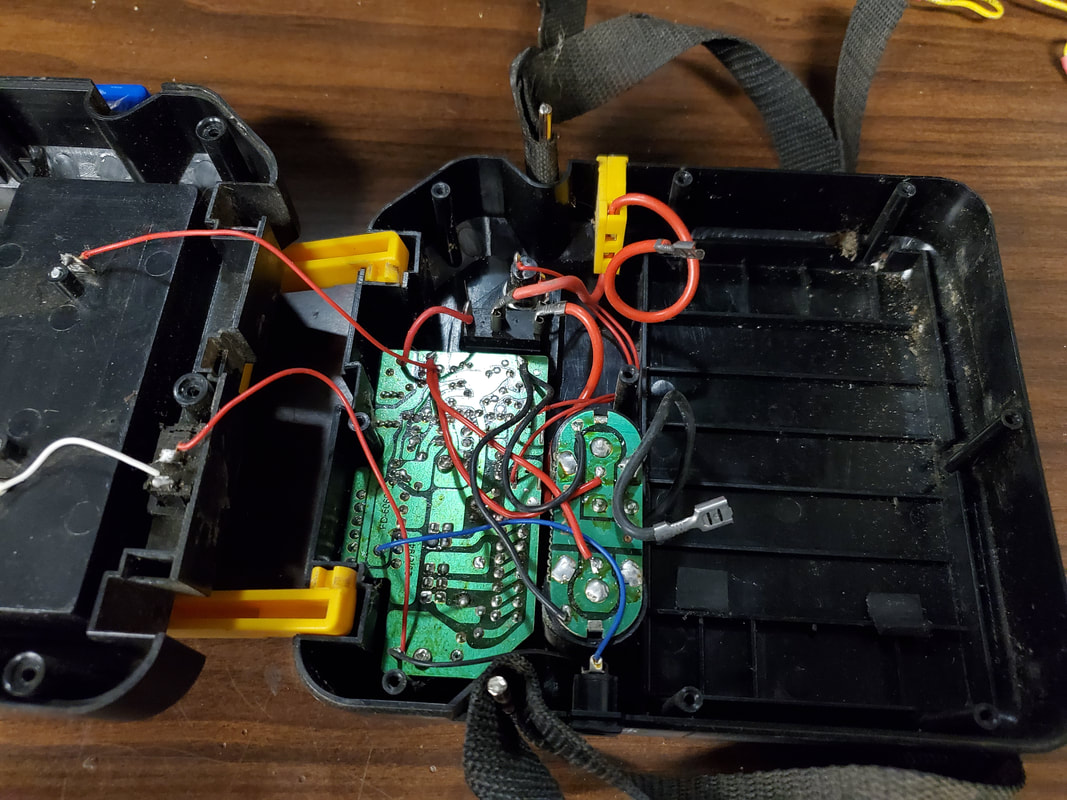
Opened up power box with old circuit board, note wiring going to auxiliary light on back side of case to left in picture.
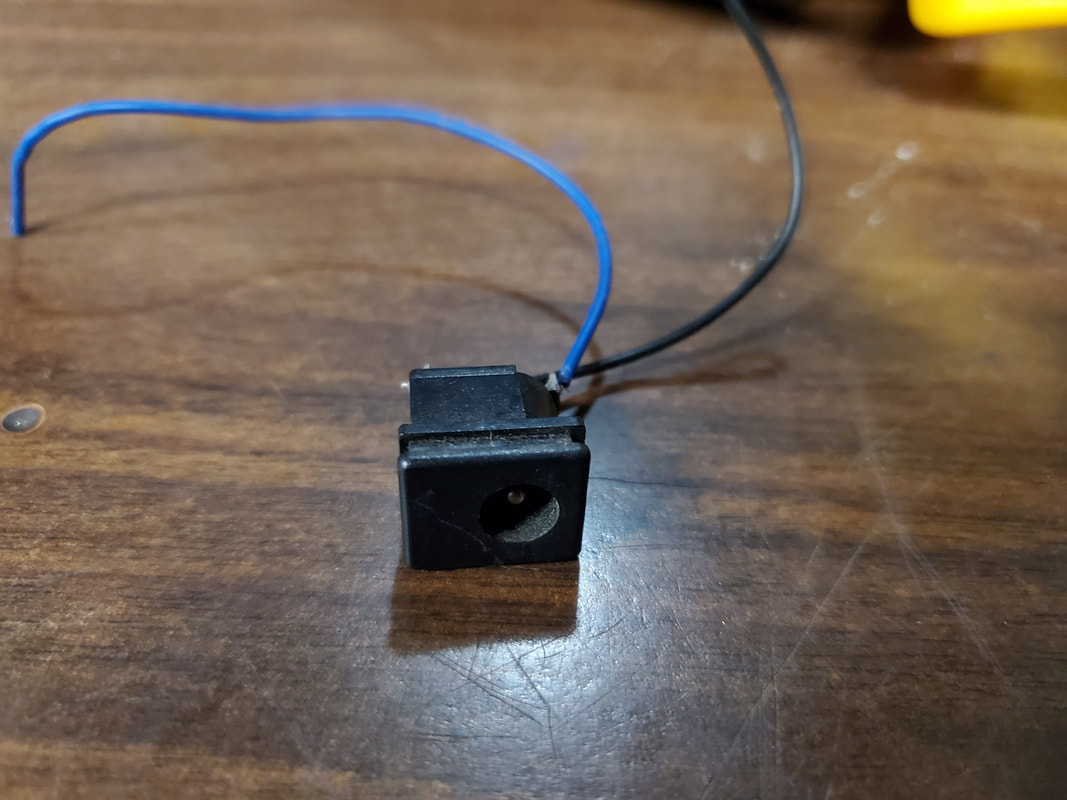
Charging socket removed from power supply box with wires clipped from circuit board.
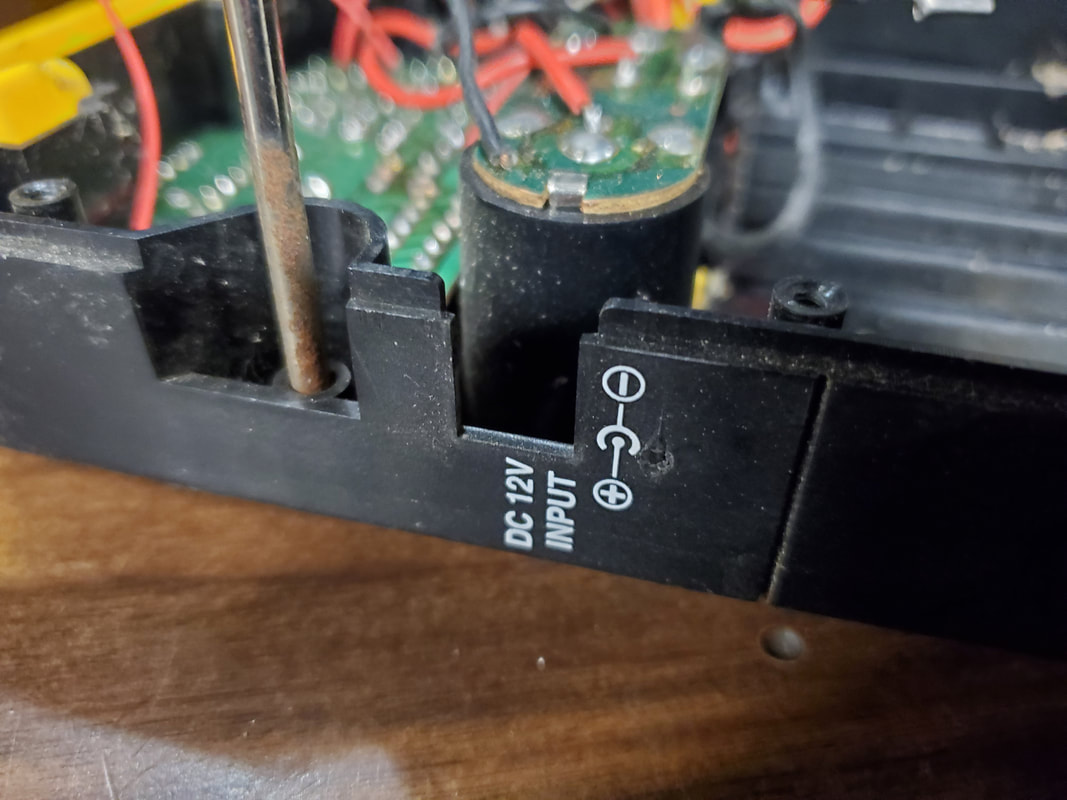
Opening on side of box where charging port mounts.
I took the charging plug on the battery and cut the head off leaving about an inch and a half of wire on the plug. Reason for that is I could reuse the plug in another application. Especially since I'll be cutting the other plug off of the power output wire, which is the male end that matches up to the female charging port. These plugs could be used in any number of applications/projects so I wanted to try and remove them with extra wiring. After chopping off the plug I stripped the cable to expose the wires and went ahead and removed the old wires from the box's charging head. I then took the battery's charging wires and soldered them directly to the charging port. This saved on having to solder and cover with heat shrink tubing to mate the two sets of wires together. Plus it saves on having that extra wire stuffed inside the box. After that I was able to re-install the charging port and at the same time set the battery in its new spot inside the casing prior to gluing down.
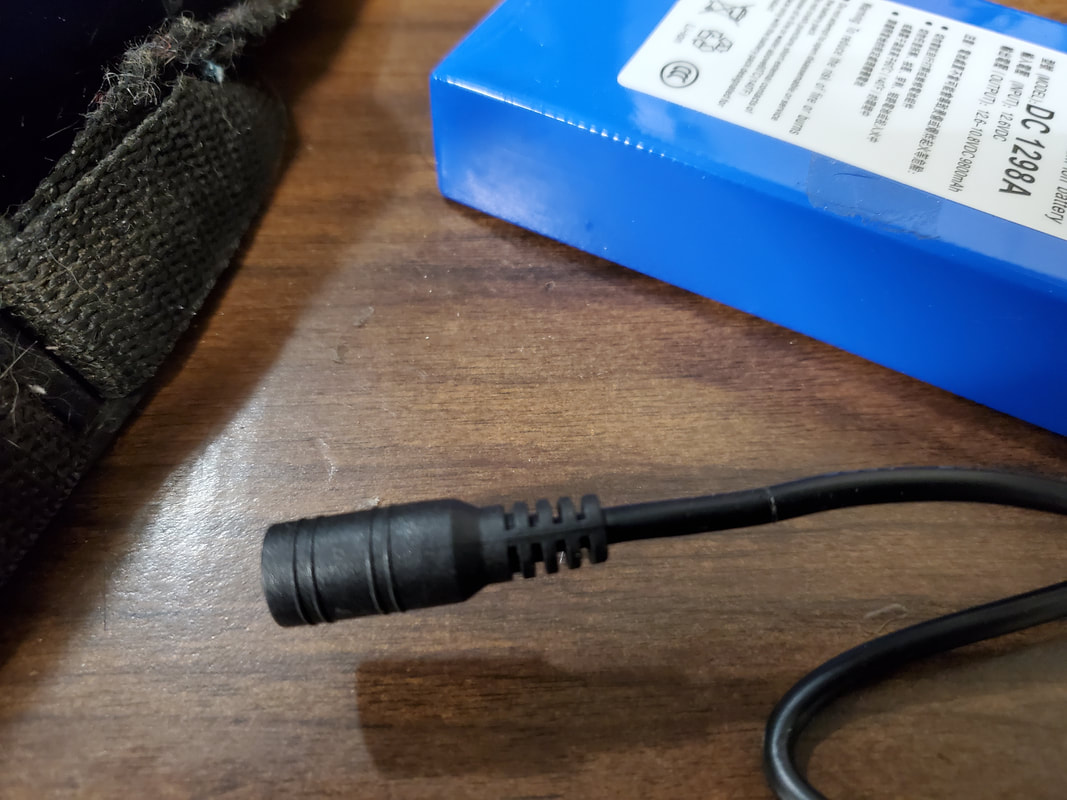
Charging plug on battery pack with mark made on cable prior to cutting plug off.
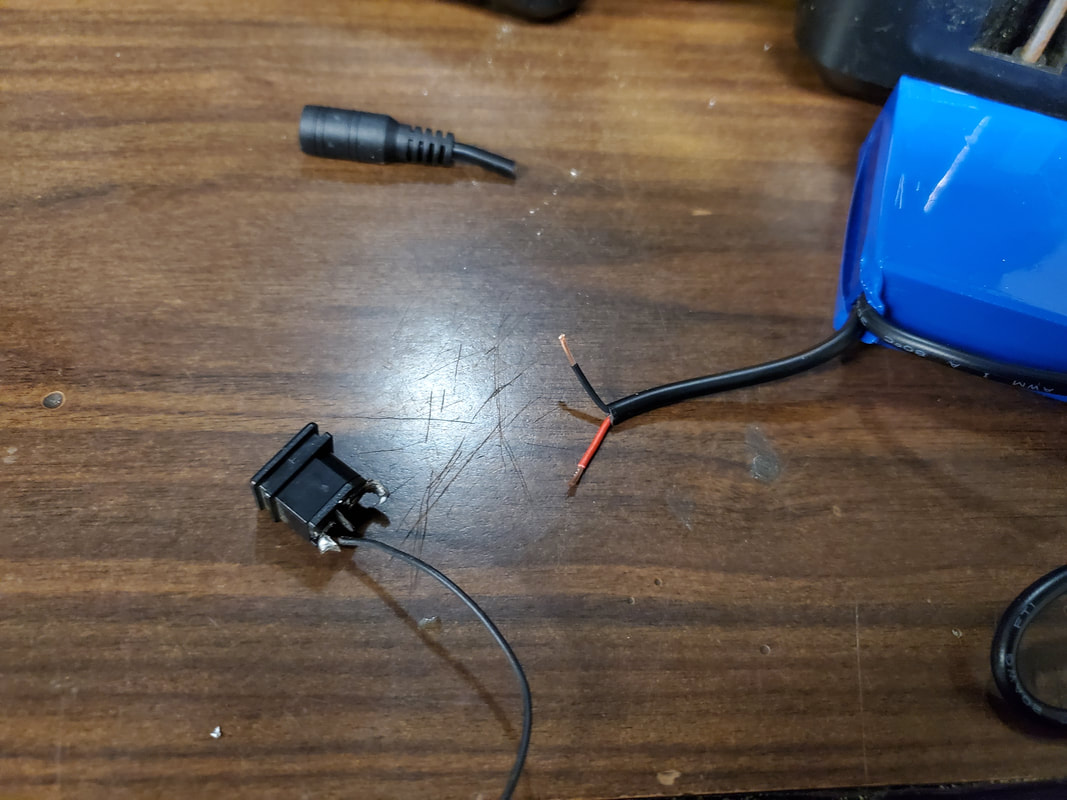
Charging plug has been cut off and wires stripped with new old charging port ready to have its wires removed.
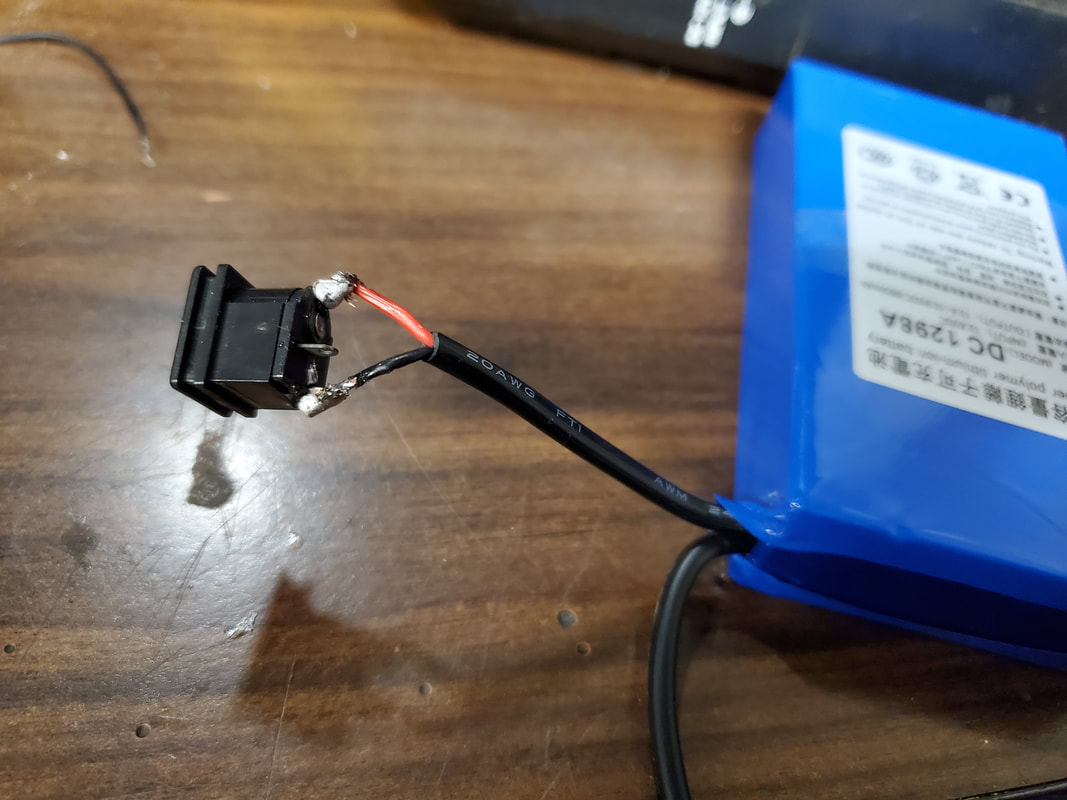
Old charging port soldered to wires on battery.
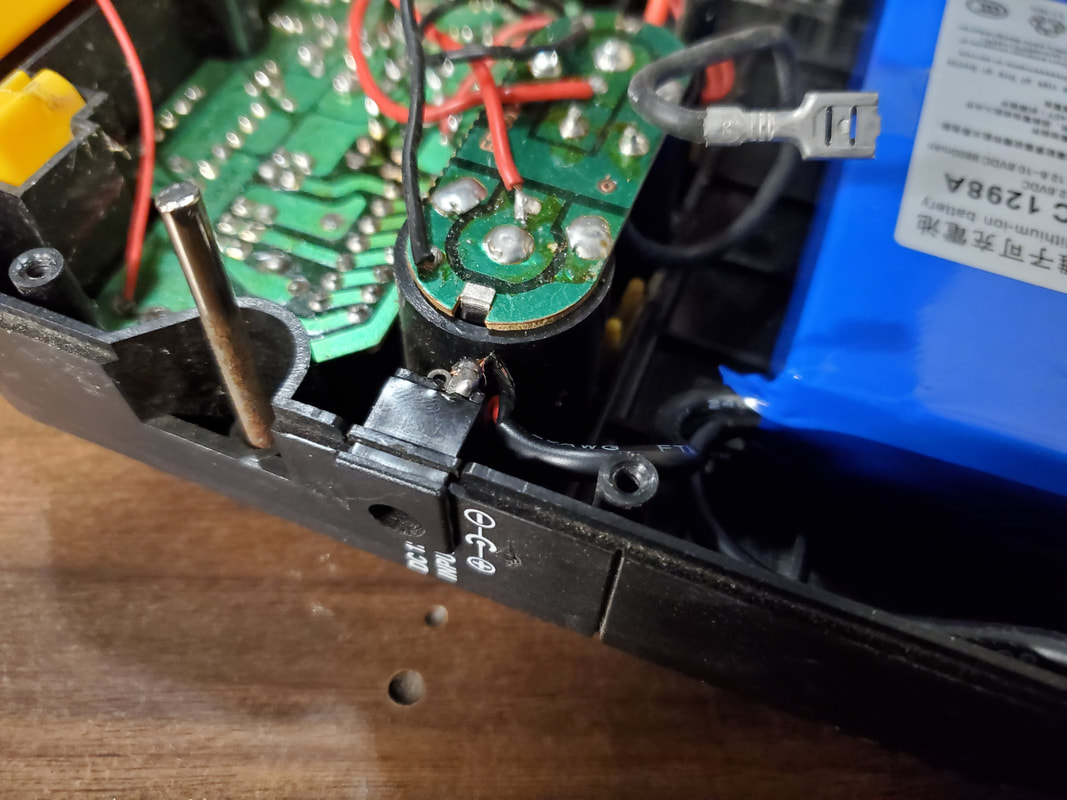
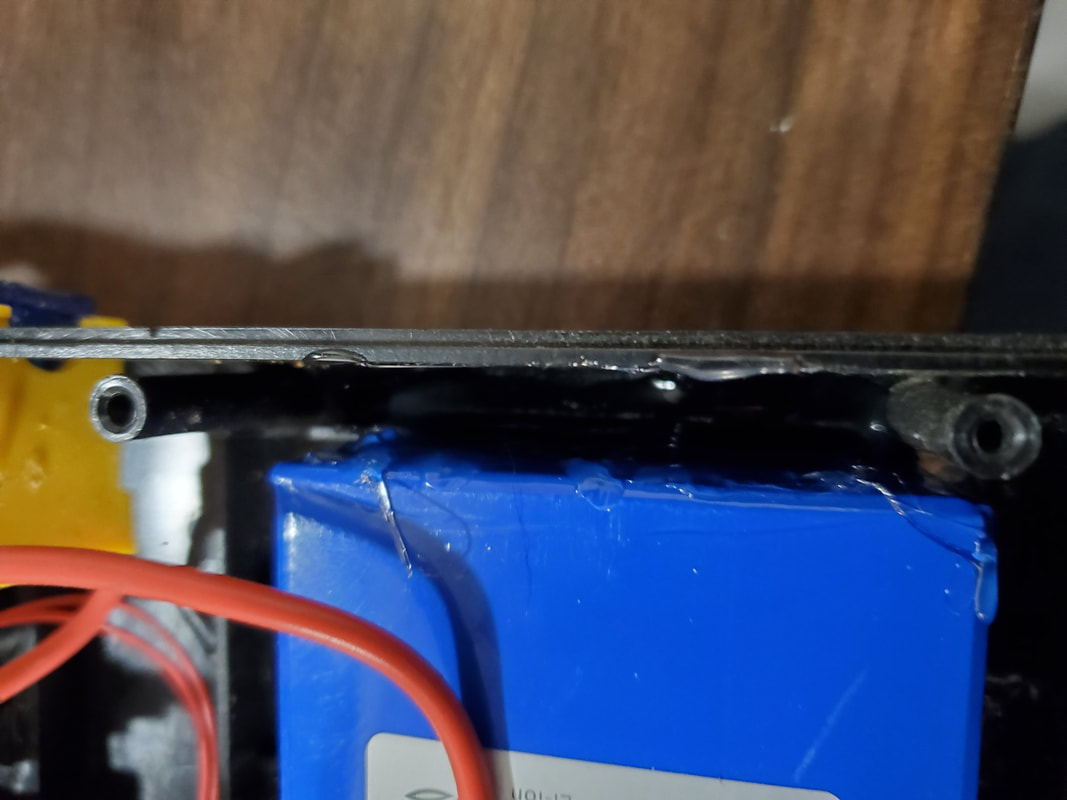
Charging port re-seated in casing with battery sitting in its new home.
Instead of going apeshit with the hot glue, I applied a small amount on either end of the bottom of the battery, enough to ensure adhesion on the inside of the casing. At least this way when it does come time to remove the battery to replace, I won't have to go through extra hassle cutting the old glue free. The next thing was wiring the battery up. This was as simple as cutting the plug from the power output side as stated before, and crimping two male terminals to the wires so I could plug them up with the female terminals on the wiring inside the box.
From there I had to cut a slot on the bottom of the casing to open up a spot to allow access to the onboard switch on the battery pack. I used a rotary tool and cutting disc to cut a square out that was big enough to put a finger inside to flip the switch. With the battery secured in place I was able to replace the other half of the casing and do my checks to verify this thing works.
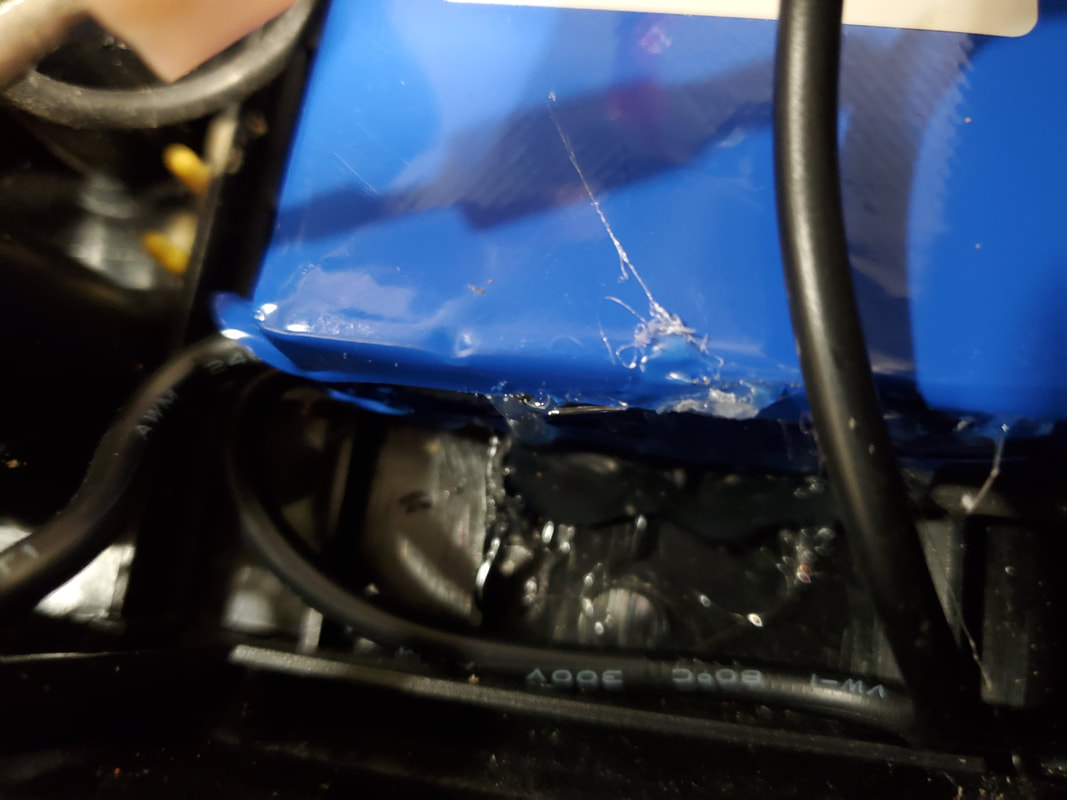
Battery pack glued in place on side where charging port is located, note small amount of glue.
Another reason for not going crazy with the glue, having to cut glue out from this narrow cavity would be problematic.
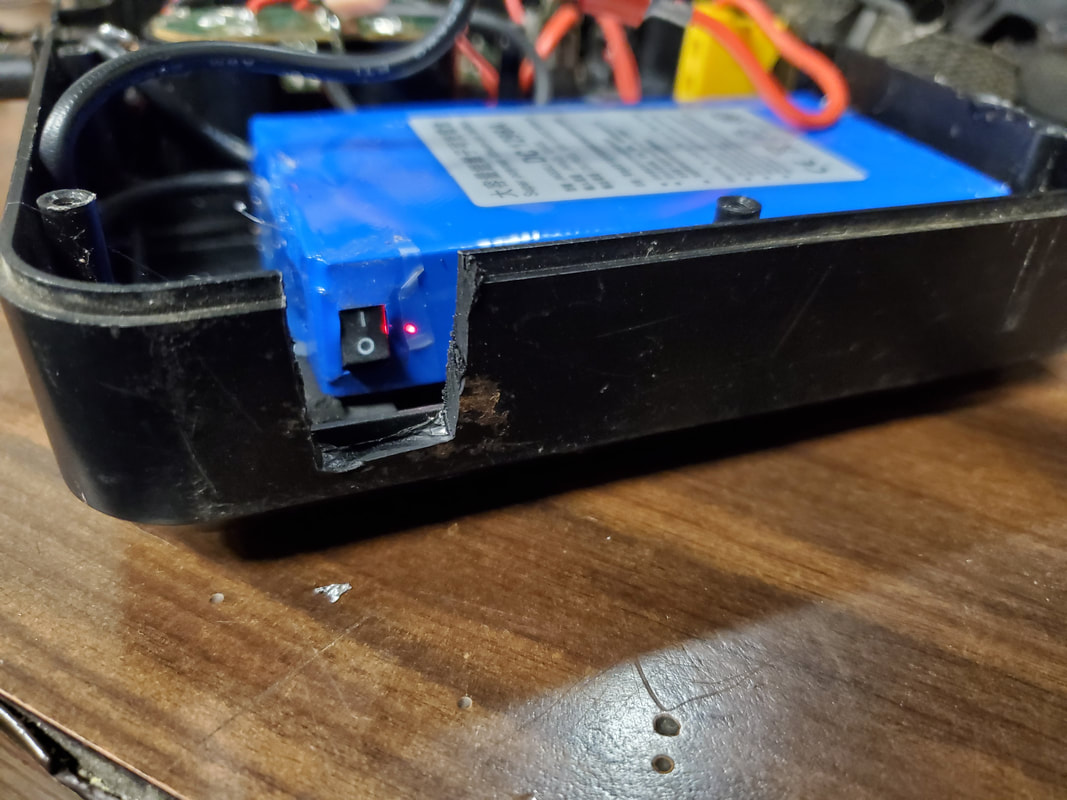
Opening cut out from bottom of casing to expose power switch for battery pack.

Power source reassembled with charging cord plugged up.
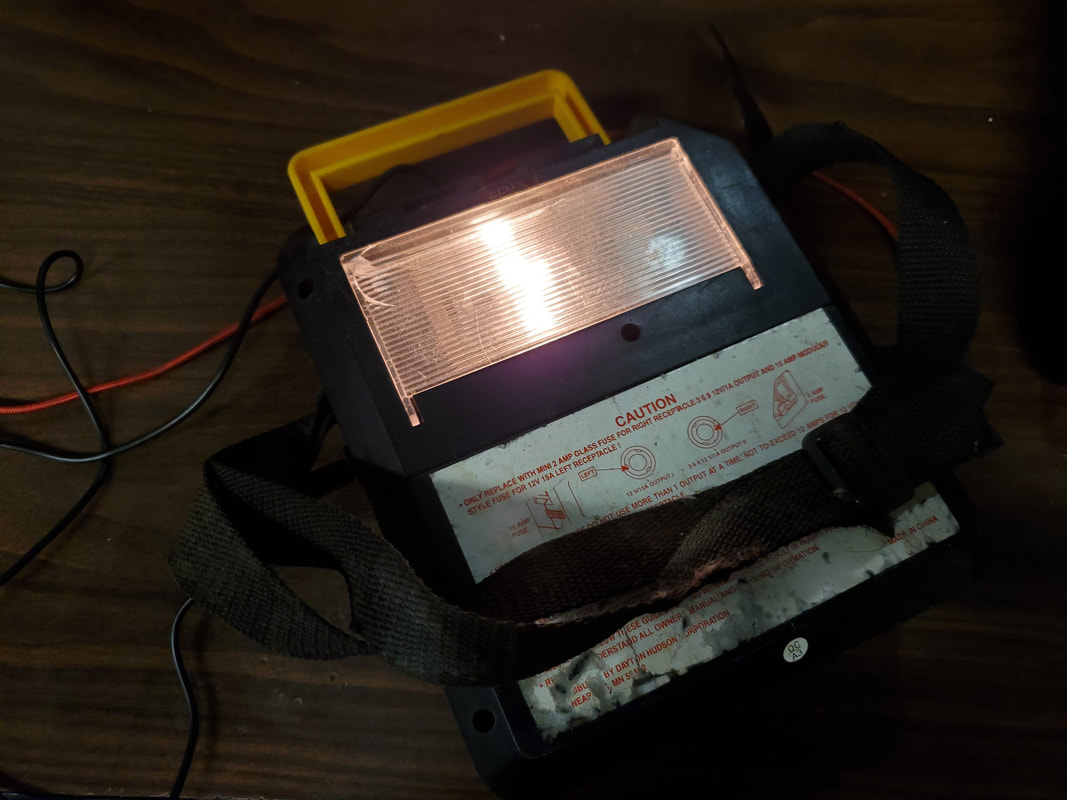
Auxiliary light working on power supply.
Because this power supply is as old as it is, the auxiliary light on the unit is a regular incandescent light. I will of course get an LED replacement light, more than likely get one of the COB (chip on board) LED's that has a pigtail with the light socket to adapt it to the different old school light sockets that are out there, such as this one. The LED would be the next improvement on this device as those LEDs are WAY brighter than this little anemic incandescent light. This light was decent for emergency illumination 25 years ago but now, it has room for improvement, and that is accomplished with LED's so that will be the next thing to be done with this.
I've also given the thought about looking at some of the low profile power inverters that are out there and thinking about possibly seeing if I could install one of those into the casing so I could turn this power supply into an all inclusive unit where it provides that same 120vac power without the need to plug in an external power inverter. I will definitely be looking into this. Also I thought about taking one of the surplus USB jacks that plugs directly into the 12v receptacle and plugging it up to the jack that used to be the variable voltage jack. I'd leave the charger in there so this power supply can also provide 5v USB power for charging devices that use this power source. I would have to verify that the charger puts out 2amps as you can't say you have a USB charger unless it puts out 2 amps. If the chargers I have don't meet this rating I'll just find one online and get it for exclusive use in this power supply. Now of course another modification might even be for me to double up and add another one of these battery packs, glued directly to the current one and parallel wired together to accept charging current from the same plug. Having 20Ah of power and an on board power inverter and USB charging would make this power supply be the ultimate in emergency preparedness tools as well as a versatile camping/recreational tool. I'll definitely post these mods as they come down the pipe.
|
|
|
|
|
|
|
|
|
|
|
|
